


While I was in there, decided to do a little write up and get a bit in-depth and give you some pointers from someone who has done it quite a few times on 850 and 70 series.
Here's a bonus... Since I have a sunroof, you get a video on how to remove it.
If you guys are not satisfied with the video, ive no problem re doing it
With taking photos this took me approx 25 minutes to remove the headliner. Putting it back in took around 20-25 so if you know what you are doing I would say combined removal and install should take around an hour. + what ever time you denote to your headliner replacement repair or what have you.
I only needed to respray the back dome of my headliner.
Will be replacing it in a month or so, did not know how dirty it was until I removed it and saw it in the light.
So I will update this write up if necessary then.
Tools I used,
T-25 Screw Driver
T-10 screw driver
10mm slim socket (don't use any thick craftsmen ones, the little $5 socket set from auto-zone is probably the best to use for this)
Eyeglass repair kit flat head
Starting off,
If this is your first time doing this, I urge you to be careful with some of the plastic trim pieces as they can be brittle from age.
With that said lets start removing them.
You are going to want to start with the center pillar.
Pop off the covering, can be done by hand if you grip it right, or with a flat head in the little insert.
Once the insert is off you will see this.
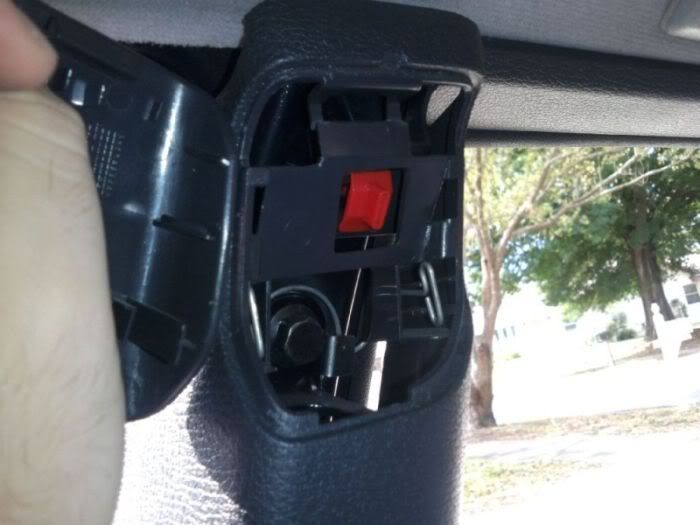
The red clip just twists out. And the two metal pins need to be squeezed towards the center so you can pull the center pillar out.
_____________________________________________________
Once you get the center pillar off, its pretty simple to do the rest.
The rear pillars do not really need to be taken off in order to remove the headliner, as I have never needed to.
But if you want to, you need to first pull the bolster off the rear seat and pop off the pillar. Make sure you pop and go UP with it, as there are to clips that need to be slid DOWN when re installing it, and UP when removing it.
The A-pillar simply pops out, Start from closest to the center pillar to ensure you do not break the pillar.
The rear upper trim peace (above the rear doors) just pulls straight out.. and by straight out I mean it... Do not pull down on it or you will likely break it.
Pulling up or straight back would be the most effective way to remove that piece.
___________________________________________________________________
Once you have removed all the pillars and associated trim pieces the next step is easy.
Lets start removing the handles, sun-visors, dome light and mirror.
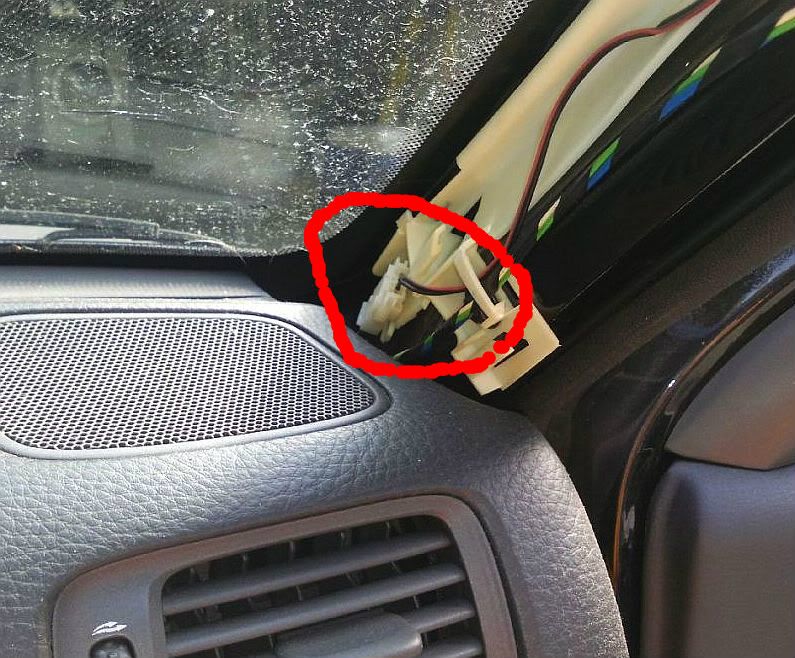
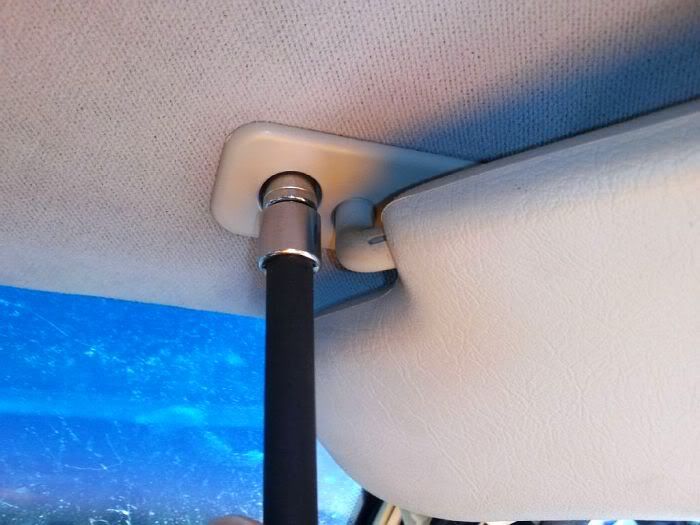
Sun-Visors.
The part circled in Red is the clip to unplug the sun-visors lights. Un-Plug it now or wait until you have unbolted the visors. You'r choice.
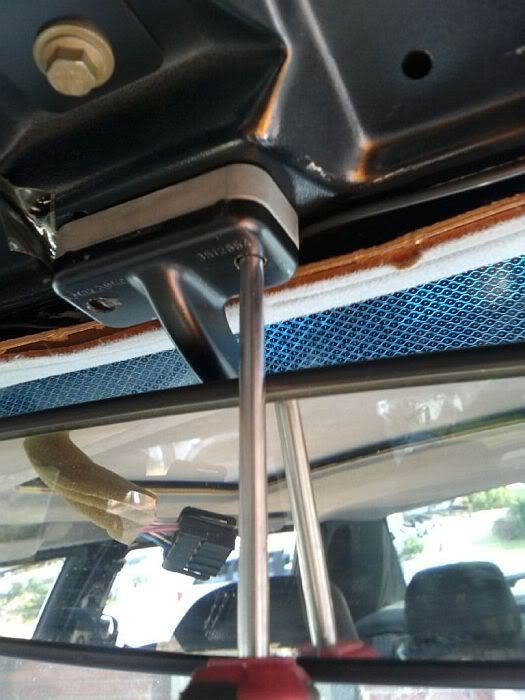
Here is where you are going to need your 10mm and either a 8" extension or 2 4" extensions.
No need to break out the ratchet wrench unless you feel the need to and cannot undo the bolts by hand.
Note: There is a different strategy to getting each bolt out... Please note where the visor is in the photos.
And now it should be out.

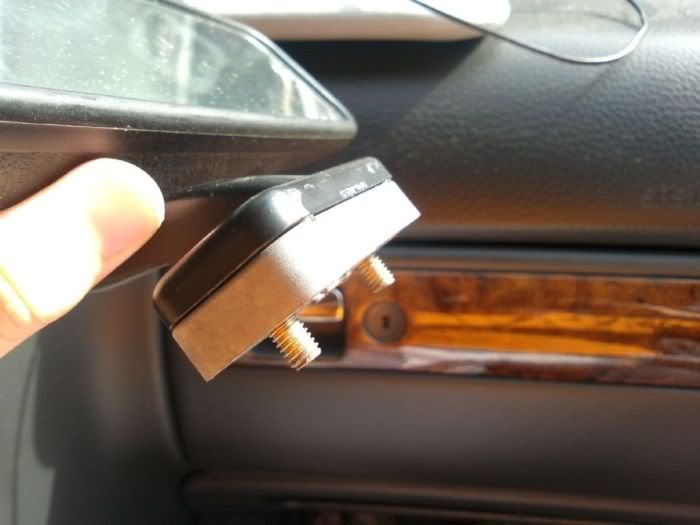
Now that you have your visor out you might be wondering...
How do I remove that little clip? Easy, pry it out like so.
Note: You may find it easier to leave 1 in until you are ready to remove the headliner, makes it nice to not have a headliner fall down on top of you.

Now lets move on to the next part,
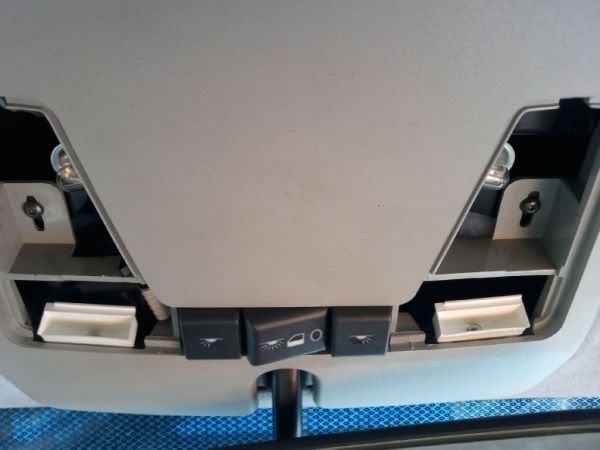
The Dome Light and Mirror.
Tools Needed
1. Eyeglass flat head
2. T10 screw driver (just a bit might work as well as the screws only need to be snug and if over tightened, will break the plastic)
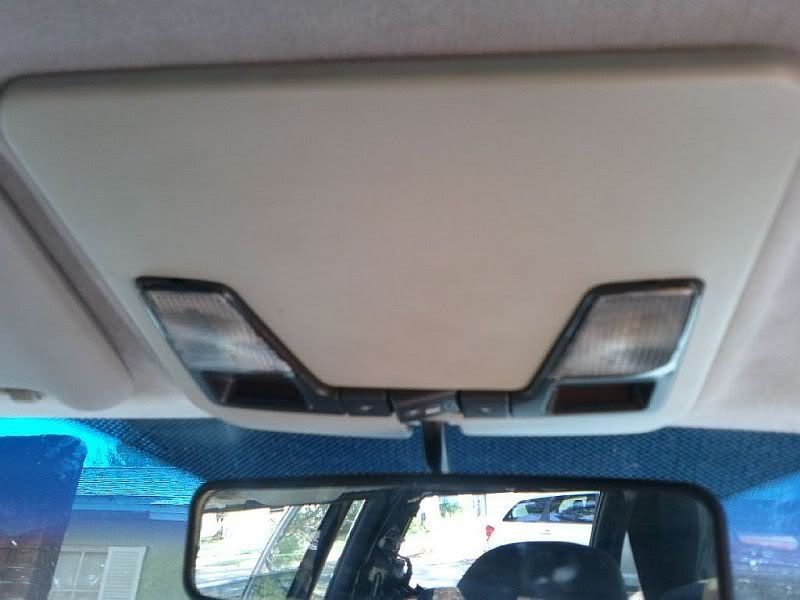
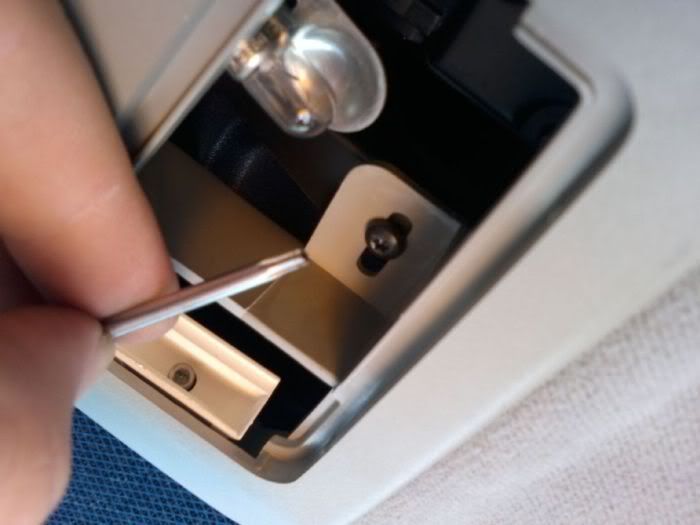
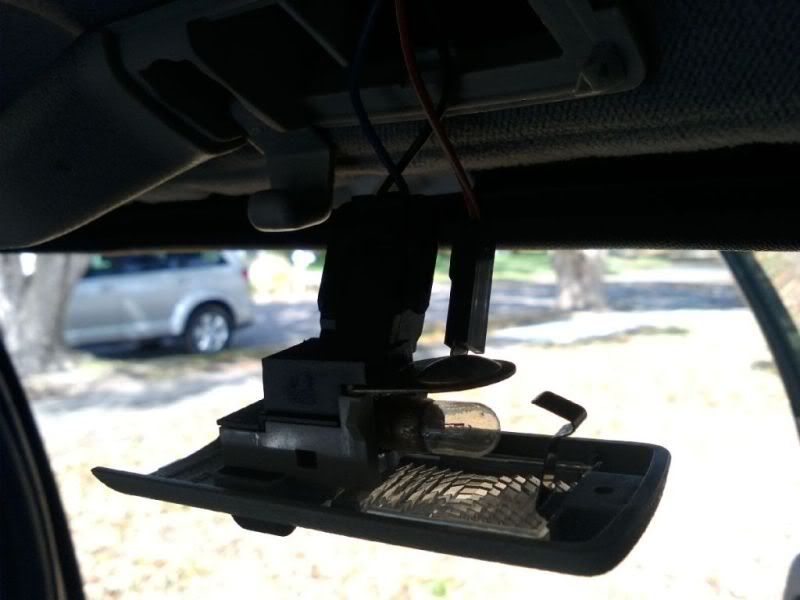
Take your small flat head driver, I used one I bought from auto zone in a kit a long time ago, and pop out the lenses first.
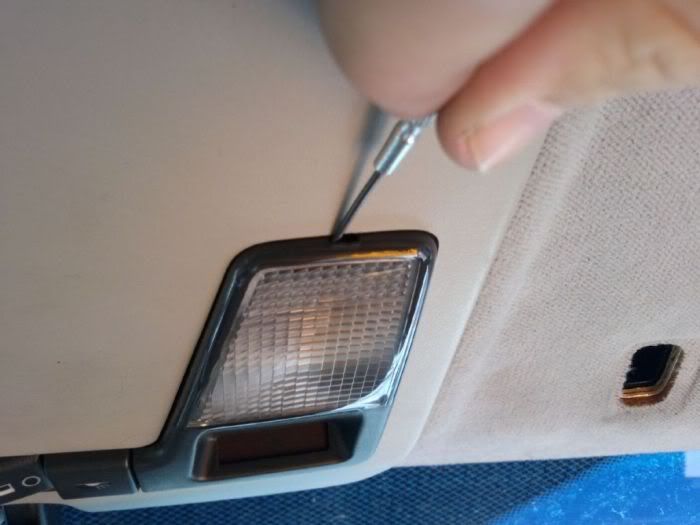
You should now be looking at a similar picture.
Note the 2 screws, you will have to remove these.
Once the two screws have been removed you can un plug it from the car and set it aside. It pops out easily if you push it forwards before prying down.
Removing the Mirror
The mirror is pretty easy to remove.
2x T25 screws and it will fall right out.
No need to worry about dropping the screws as they will stay inside the mirror base no problem.
_____________________________________________________________________________________________
>Removing the Handles, Front and Rear
To remove the handles you will again need the 10mm and either just an extension or a rachet wrench depending on your strength lvl.
These just pull out once the bolt is removed.
Front.
Start by popping off the plastic cover parts with either your finger nail, or the little flat head.
Once they are up you can simply take the 10mm and remove the 2 bolts.

Rears
The rear is a little bit tricky. No big deal but if your not careful and its too brittle... it might snap.
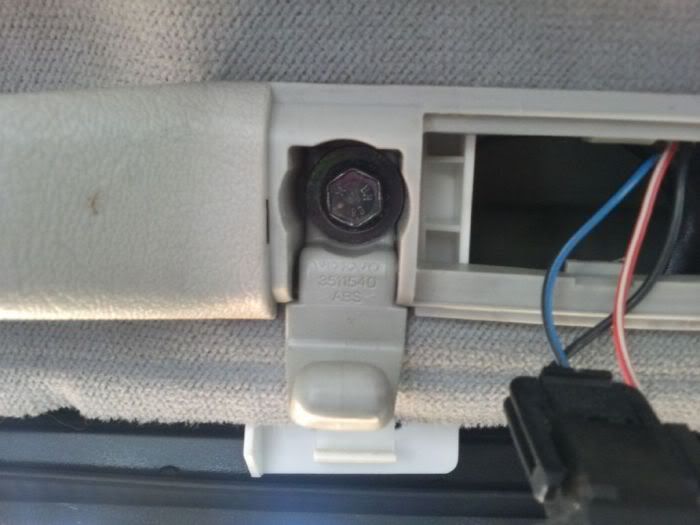
you will notice the rears have lights on the handles. these pop out very easily using the little flat head.
When re-installing them you will find it easier to put the metal piece in first then clip it in and slide it. (see photo for detail)
Once you remove the 2 10mm bolts you will need to pop it out while sliding backwards as to not snap or break the light part.
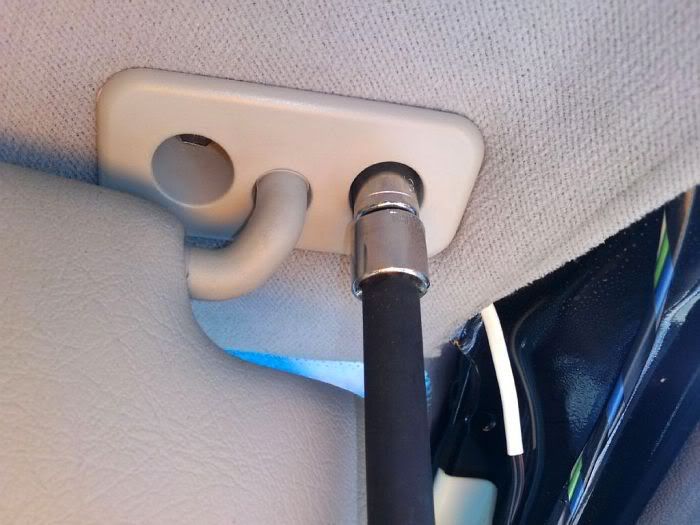
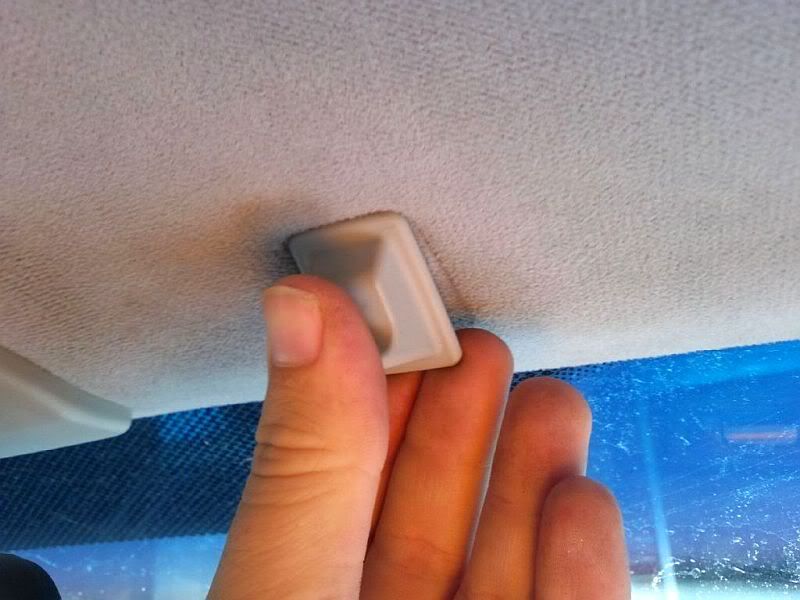
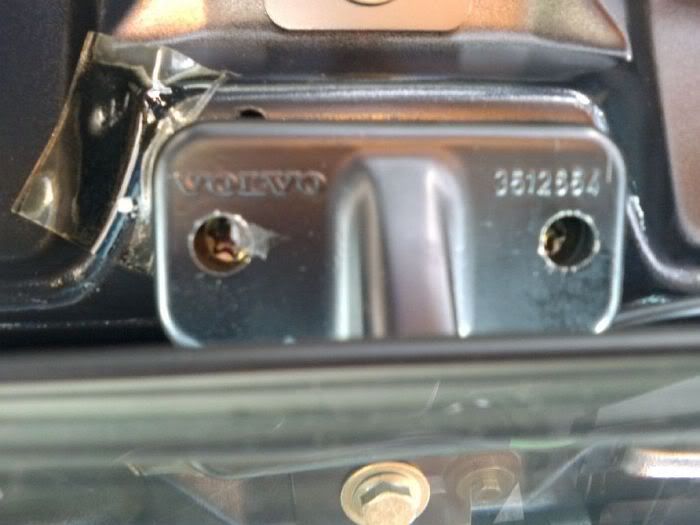
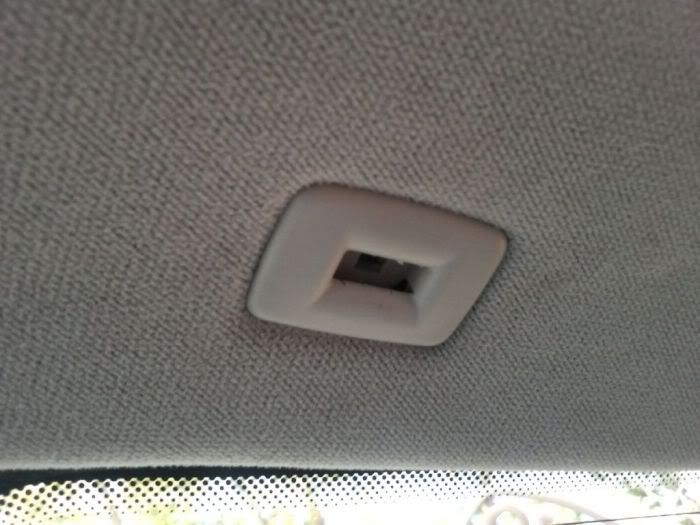
Rear Headliner Clip
This clip is easier then it seems.
Push in and rotate 90degrees.
If it does not pop right out, just pull it out.
this is how it will look when it is securing the headliner
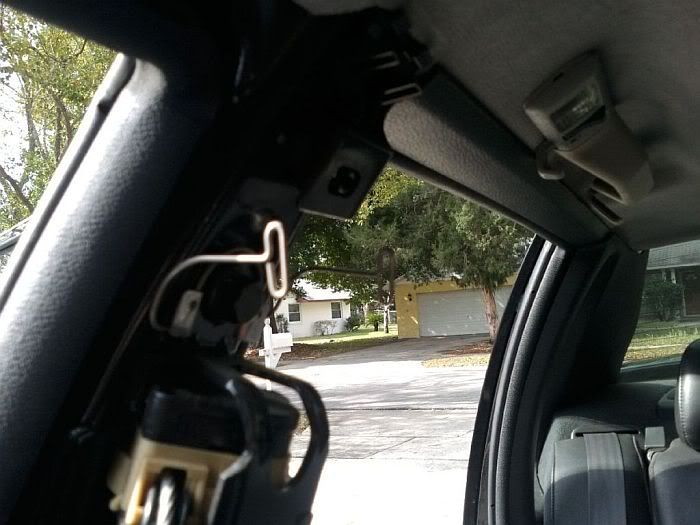
Once you have taken these off, if you look to the side of the car you will notice the headliner is still held up by the clip in the front (if you left it in) and the rear pillars.
You can either remove the pillars like it was suggested above, or you can leave them in and easily bend the headliner over and out of the pillar, it should only be about 1/4" behind the pillar. so easy to remove.
Or you can remove the front clip, slide the headliner forwards, and allow it to slip out of the pillars.
Now onto that big task of getting it out of the car.
Removing the Headliner from the car
Study the photos before you attempt this,
In some areas it will get snug and you will need to pull on it, Do not worry, it will bend and flex a little bit but as long as you keep to this you will be fine.
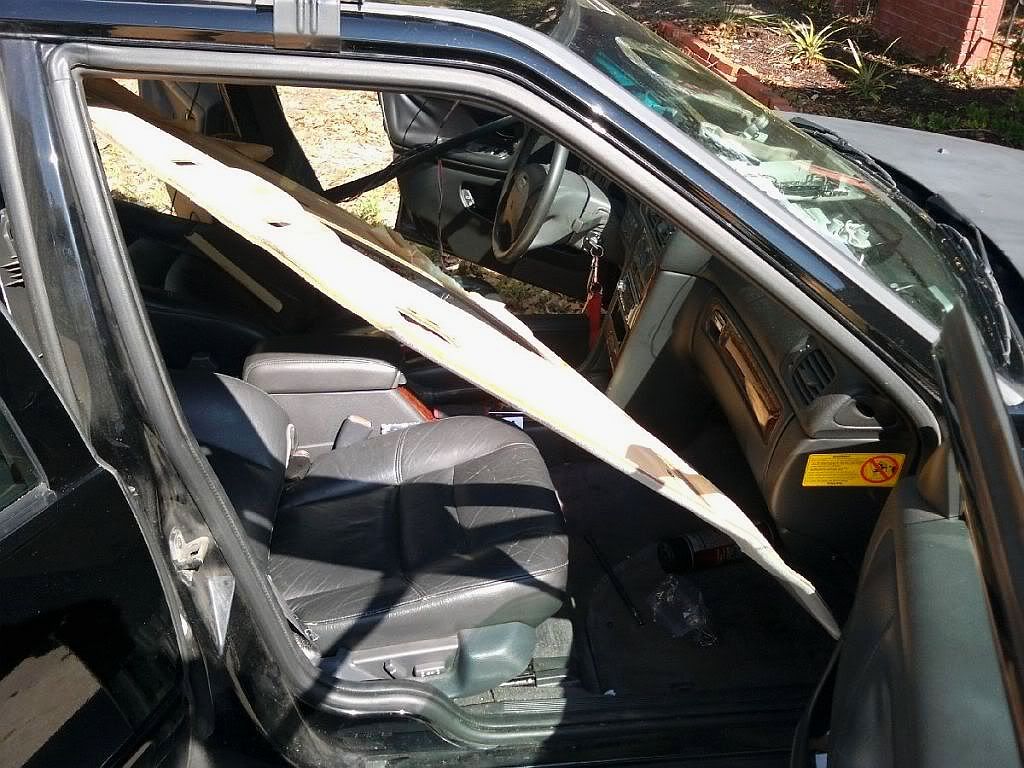
We will be going through the passenger front door.
You can either remove the front seats, or lay them both all the way back and down.
I suggest you chalk the back wheels, put your key in the ignition, and drop the shift knob all the way back to make this easier... if you do not.. do not count on this being as easy as it should.
If you have not already removed the front clip, and the headliner from the rear pillars, or the rear pillars, do so now.
Start by popping the headliner over these clips on the center pillar
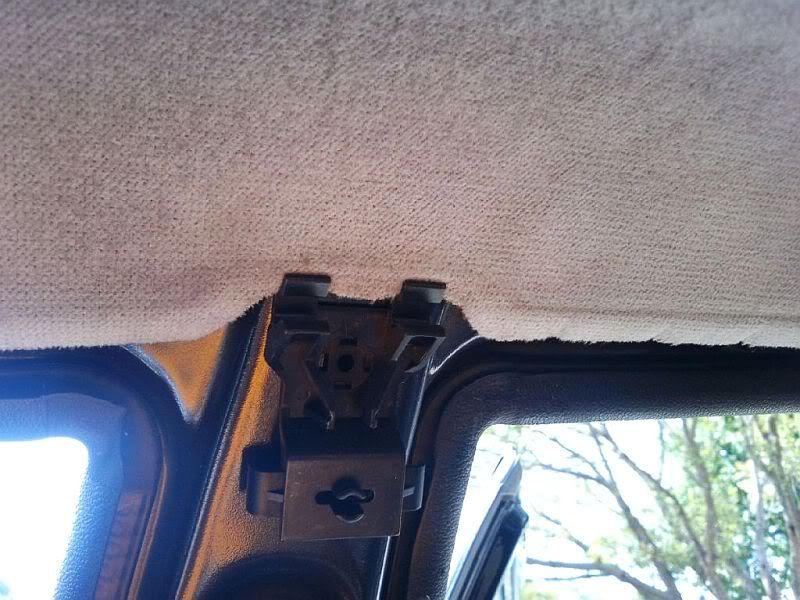
Once you have done this, the headliner will drop.
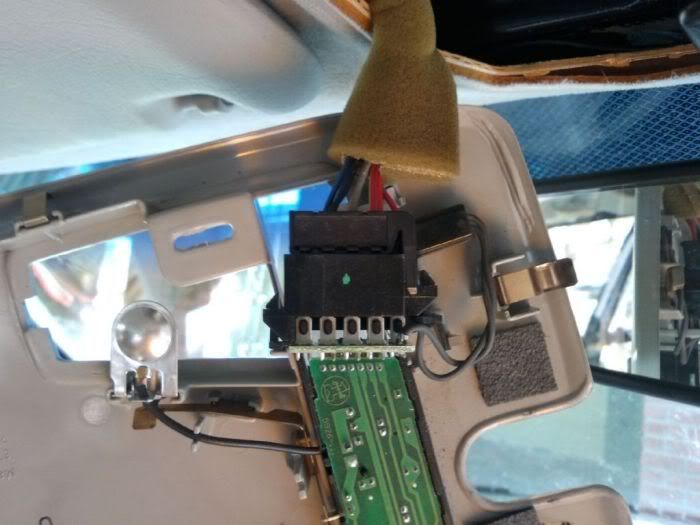
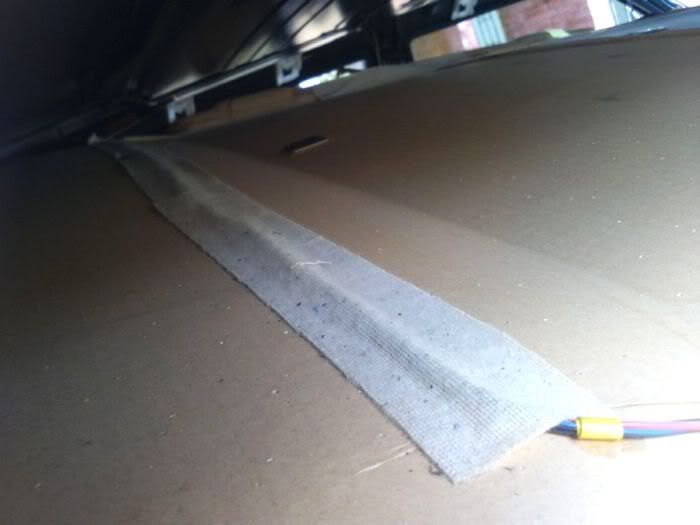
When it does you will notice the wiring on top that is tapped down.
My wiring tape came off fine and I was able to re-use it. If yours does not, it seems to be like a fabric tape and I am sure you could use painters tape or even duct tape if you had it.
Once you have removed the wiring from the headliner board, you need to angle it so that one side is going to be at the top right corner for the passenger door, and the other is at the bottom as far left as it will go.
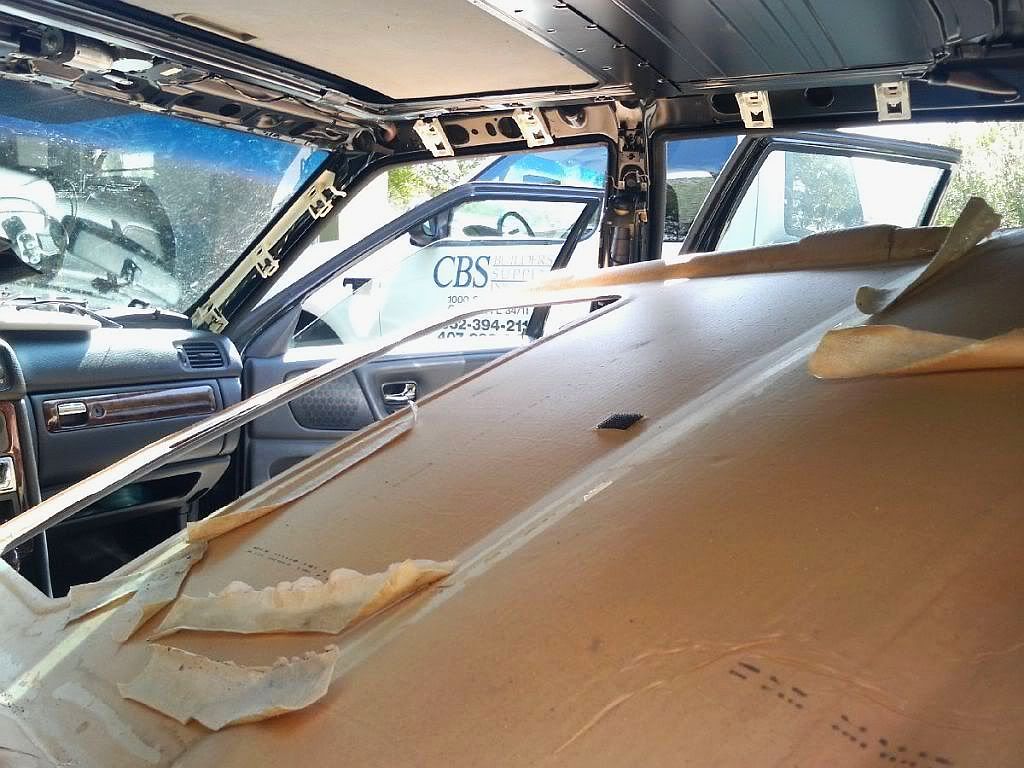
Do not worry if it bends a little bit, it flexs just fine, and will be fine once you get it out.
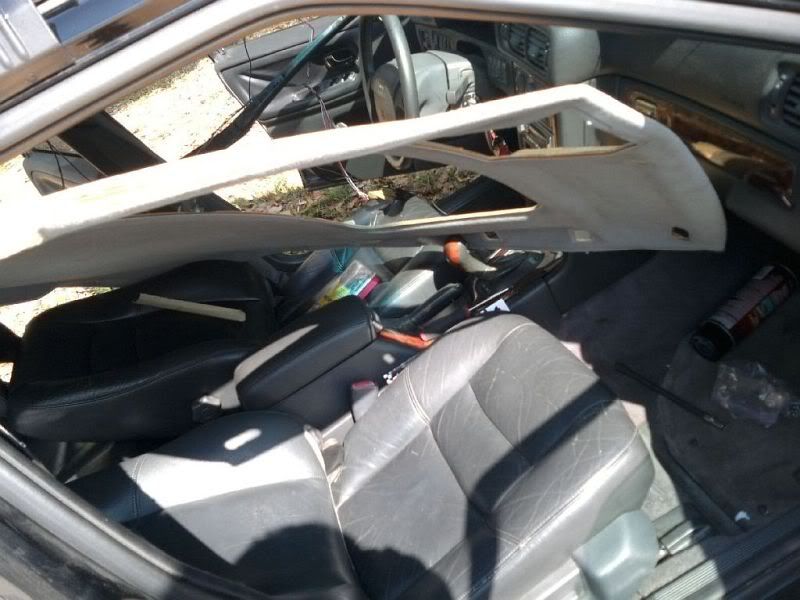
You will need to shimmy it out, top/bottom/top/bottom/top/bottom. Do not be afraid to pull and bend it a little in order to remove it from the car.
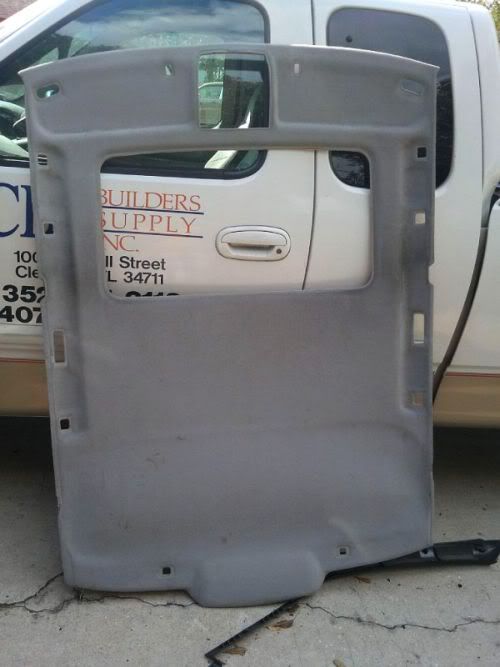
BAM
You now have 1 headliner sitting outside your car.
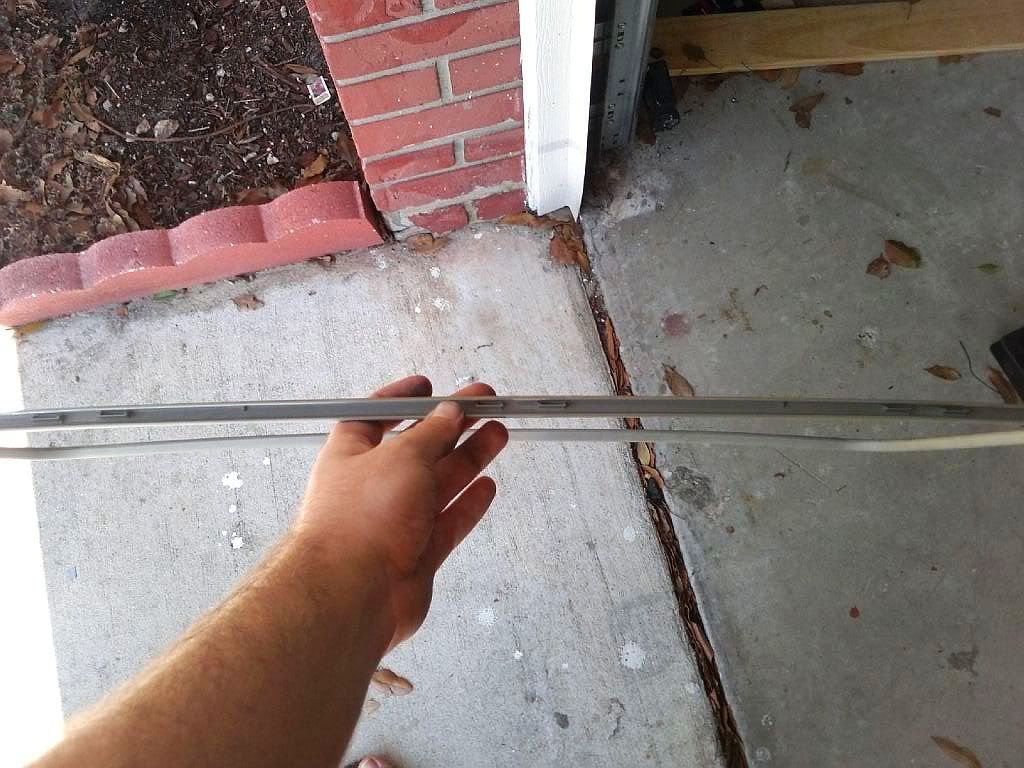
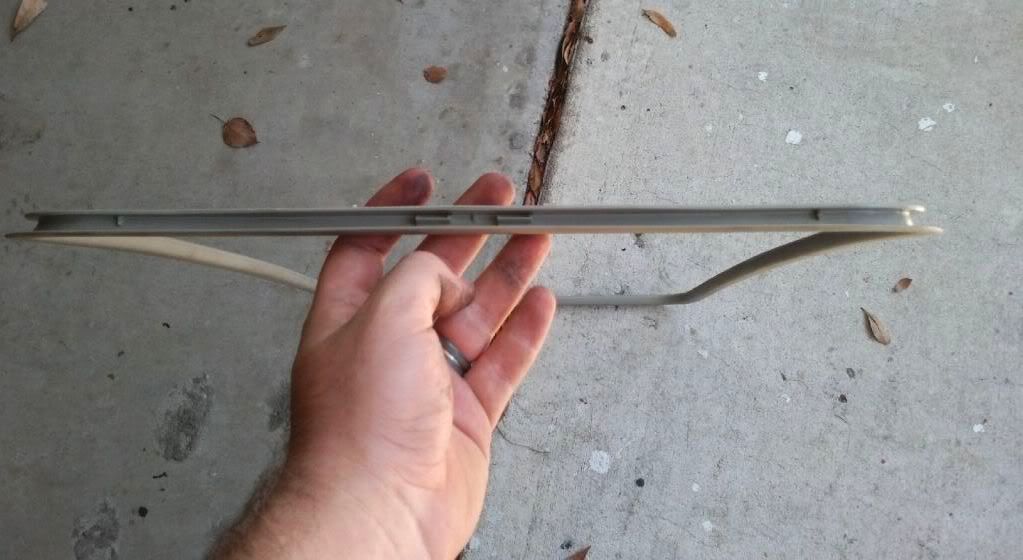
Now you might be wondering... Why didn't I mention anything about the sunroof trim.
Easy answer, because I am now.
For the sunroof trim I gave a basic break down of what to do, It really is pretty easy.
Roll up and back where the clips are. 3 in front, 3 in back, and 1 on each side in the center.
Here is the video I promised, accompanied by some photos.
I only did a little bit of it, but its all you need to know. Did not want to remove it 1 handed as that might not have ended well
[YouTube]H85grTGbBpQ[/YouTube]
To re-install your headliner, just follow the steps backwards.
hope this helps someone.
I had to learn the hard way on my 850 about the sunroof trim.
This write up will also work on a 854, and I believe this will work the same way with a s70/854 without a sunroof.
If anyone needs something cleared up, or has additional information, let me know and I will add it.
Questions?
Opinions?
Other methods of removing the headliner from the car?
