


January:
I started to notice oil stains in the driveway below the engine of our 2005 XC70. I bought this one-owner car used two years ago, with 100K miles. The whole car is fairly immaculate. So far it has been a good replacement for our old 240.
I took off the belly pan and decided, by reading the oil leak patterns, that the leak was either from the rear main seal or the turbo oil drain return.
Choose the path of least resistance first! I ordered the turbo oil drain return seal kit.
February:
I finally found time to install the turbo oil drain seal kit. Not easy to do with a bevel gear in the way, but I'm skinny and good at working blind. Got everything done properly and test drove the car. Still leaking oil.
I looked in VIDA and started to accumulate the parts needed for a transmission removal. That involved looking at the group 43 Transmission Installation procedure and documenting all the requirements for new bolts and seals, then identifying those parts in the parts diagrams, and then ordering them.
March:
I finally finished other projects on other cars to allow me to work on the XC70. I printed out the VIDA Transmission Removal instructions and saved three egg cartons, numbering each egg cup with each set of bolts removed, and noting that number on the printed instructions. On the first workday I completed all the removal steps except the seven main bolt and the torque converter bolts.
I only owned one engine support bar. I found a second bar on Craigslist that morning, unused, for $50. Nice coincidence.
On the second workday, a friend joined me for the big steps. We set up the engine support bars, lowered the subframe, and then set up a boat winch on wooden frames on top of the engine support bars. With nylon webbing wrapped around the transmission, we used the winch to control the fall of the transmission as we pulled it away from the engine.
To create space in the driver wheel well, I just removed the entire steering knuckle and brake assembly. I also used two 2x4 boards as ramps, running from the subframe to the ground, to guide the transmission out of the wheel well. Lastly, I used a floor jack to apply lift from beneath where necessary.
The combined benefit of all these ergonomic devices helped bring the transmission out with relative ease.
I covered the car and walked away for a few days to let my body and mind recover from two days of laying under the XC70.
In the meantime, I bought my first air tools to help speed some operations. I used them to remove the flywheel bolts. There before me was the smoking gun--I very wet, oily rear main seal.
I pulled the seal and installed a new one with help from a 4" PVC pipe cut to about 1" long, with a small slice taking out of the outer circumference to slightly reduce its size. Held together with a hose clamp, this worked very well, with a steering wheel puller, to gently install the seal. The puller was held in place with 7/16 fine thread bolts, which will thread into the flywheel bolt holes just enough to hold the puller in place (M11 x 1.25 bolts are just not easy to find, so this was a good hack).
Installing the flywheel, I fully seated it with old bolts, then installed 7 out of 10 new bolts, then removed the old bolts and completed all 10 new bolts.
On the transmission, I used a grinder to cut grooves in the old terminal sleeve, and used a gear puller to pull it out gently. New seals were installed and the new sleeve was heated and snugly tapped into place, using the old sleeve as a driver.
The bevel gear was cleaned, drained, resealed, and refilled in-situ, since I could not easily access the prop shaft bolts.
April:
Two weeks after removal, I called my friend back and we got the transmission mated with the engine, plus the bevel gear, and a few other core items, done in about four hours. The following day I reinstalled the suspension and subframe components, removed the engine support bars, and installed the wheels.
What remains: all of the topside work in the engine bay: starter, topside bolts, oil cooler line, air cleaner, etc.
I'll update this thread when I've got those done and a test drive underway.
It's been an adventure. I hope this pays off!
ALSO: my first post on MVS!
kourt
Diary of a Rear Main Seal replacement (05 XC70)

-
erikv11

- Posts: 11800
- Joined: 25 July 2009
- Year and Model: 850, V70, S60R, XC70
- Location: Iowa
- Has thanked: 292 times
- Been thanked: 765 times
Volvo horns for first post of the decade. Nice story!
'95 854 T-5R, Motronic 4.4, 185k
'98 V70, T5 tune-injectors-turbo, LPT engine, 304k, daily driver
'06 S60 R, 197k
'07 XC70, black, 205k
'07 XC70, willow green, 212k
'99 Camry V6 153k
153k
gone: '96 NA 850 210k, '98 NA V70 182k, '98 S70 NA 225k, '96 855 NA 169k
'98 V70, T5 tune-injectors-turbo, LPT engine, 304k, daily driver
'06 S60 R, 197k
'07 XC70, black, 205k
'07 XC70, willow green, 212k
'99 Camry V6
gone: '96 NA 850 210k, '98 NA V70 182k, '98 S70 NA 225k, '96 855 NA 169k
-
oragex

- Posts: 5347
- Joined: 24 May 2013
- Year and Model: S60 2003
- Location: Canada
- Has thanked: 102 times
- Been thanked: 352 times
- Contact:
This is a manual transmission ?
Several Volvo Repair Videos https://www.youtube.com/playlist?list=P ... s0FSVSOT_c
-
kallekula

- Posts: 1074
- Joined: 2 March 2014
- Year and Model: S70 2000
- Location: Orange County, CA
- Has thanked: 58 times
- Been thanked: 75 times
I almost always find its simplest just to lift out engine+tranny as one package. Easy to do all kind of preventative work on the engine having it sit on the floor too.
Just my 2c
Just my 2c
BMW 540i 2002
S70 Base 2000
-
kourt
- Posts: 7
- Joined: 30 September 2019
- Year and Model: 2005 XC70
- Location: Austin, TX
- Been thanked: 5 times
This is an automatic.
Yes, I considered briefly just lifting the whole engine + transmission assembly out. In the end, I still think the method I used is easier, but only just a bit.
The main problem is the ergonomics of my workspace. I have no garage and no concrete driveway. I work in a slightly sloped gravel driveway, with two 4'x8' sheets of plywood laid down. I drive the car over those sheets and do my work that way. When removing the entire engine+transmission, it really helps to have a level concrete floor to work with. I don't have that.
Anything I do in the driveway is visible to the public and can be pilfered/stolen/etc. I would love to leave parts lying around, but instead I am compelled to neatly pick up all items in the driveway and stow anything that might be attractive to thieves.
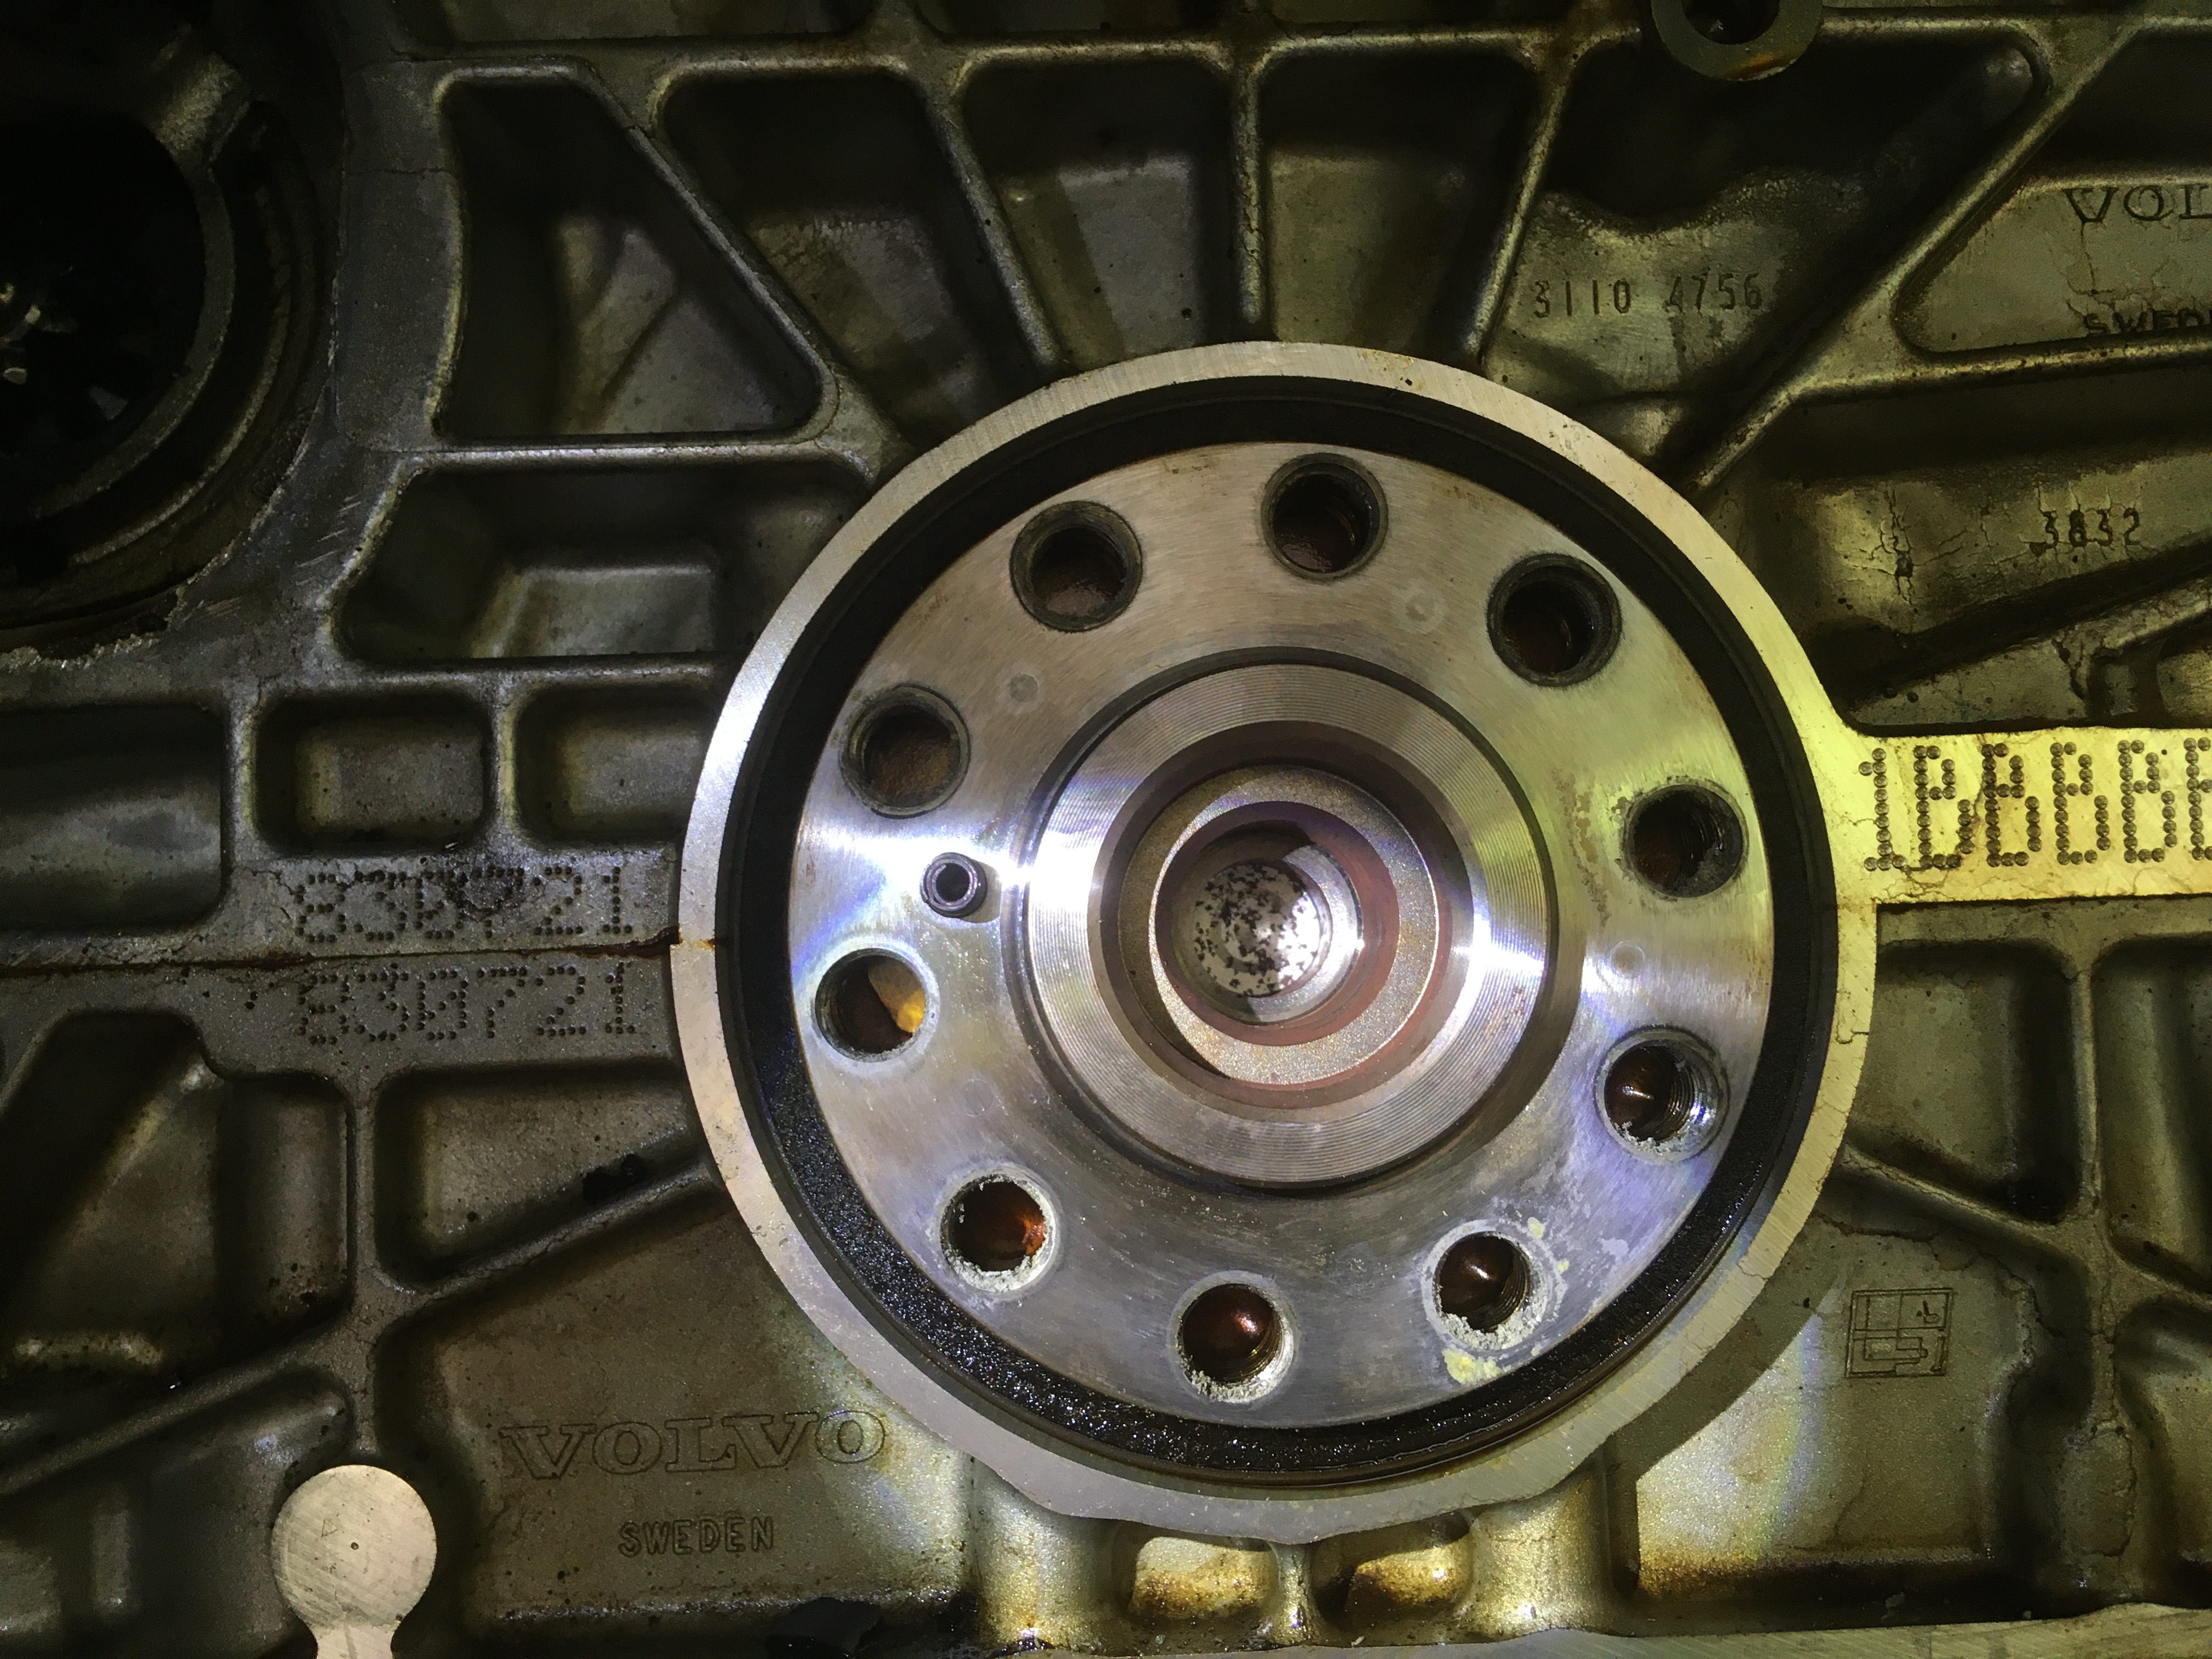
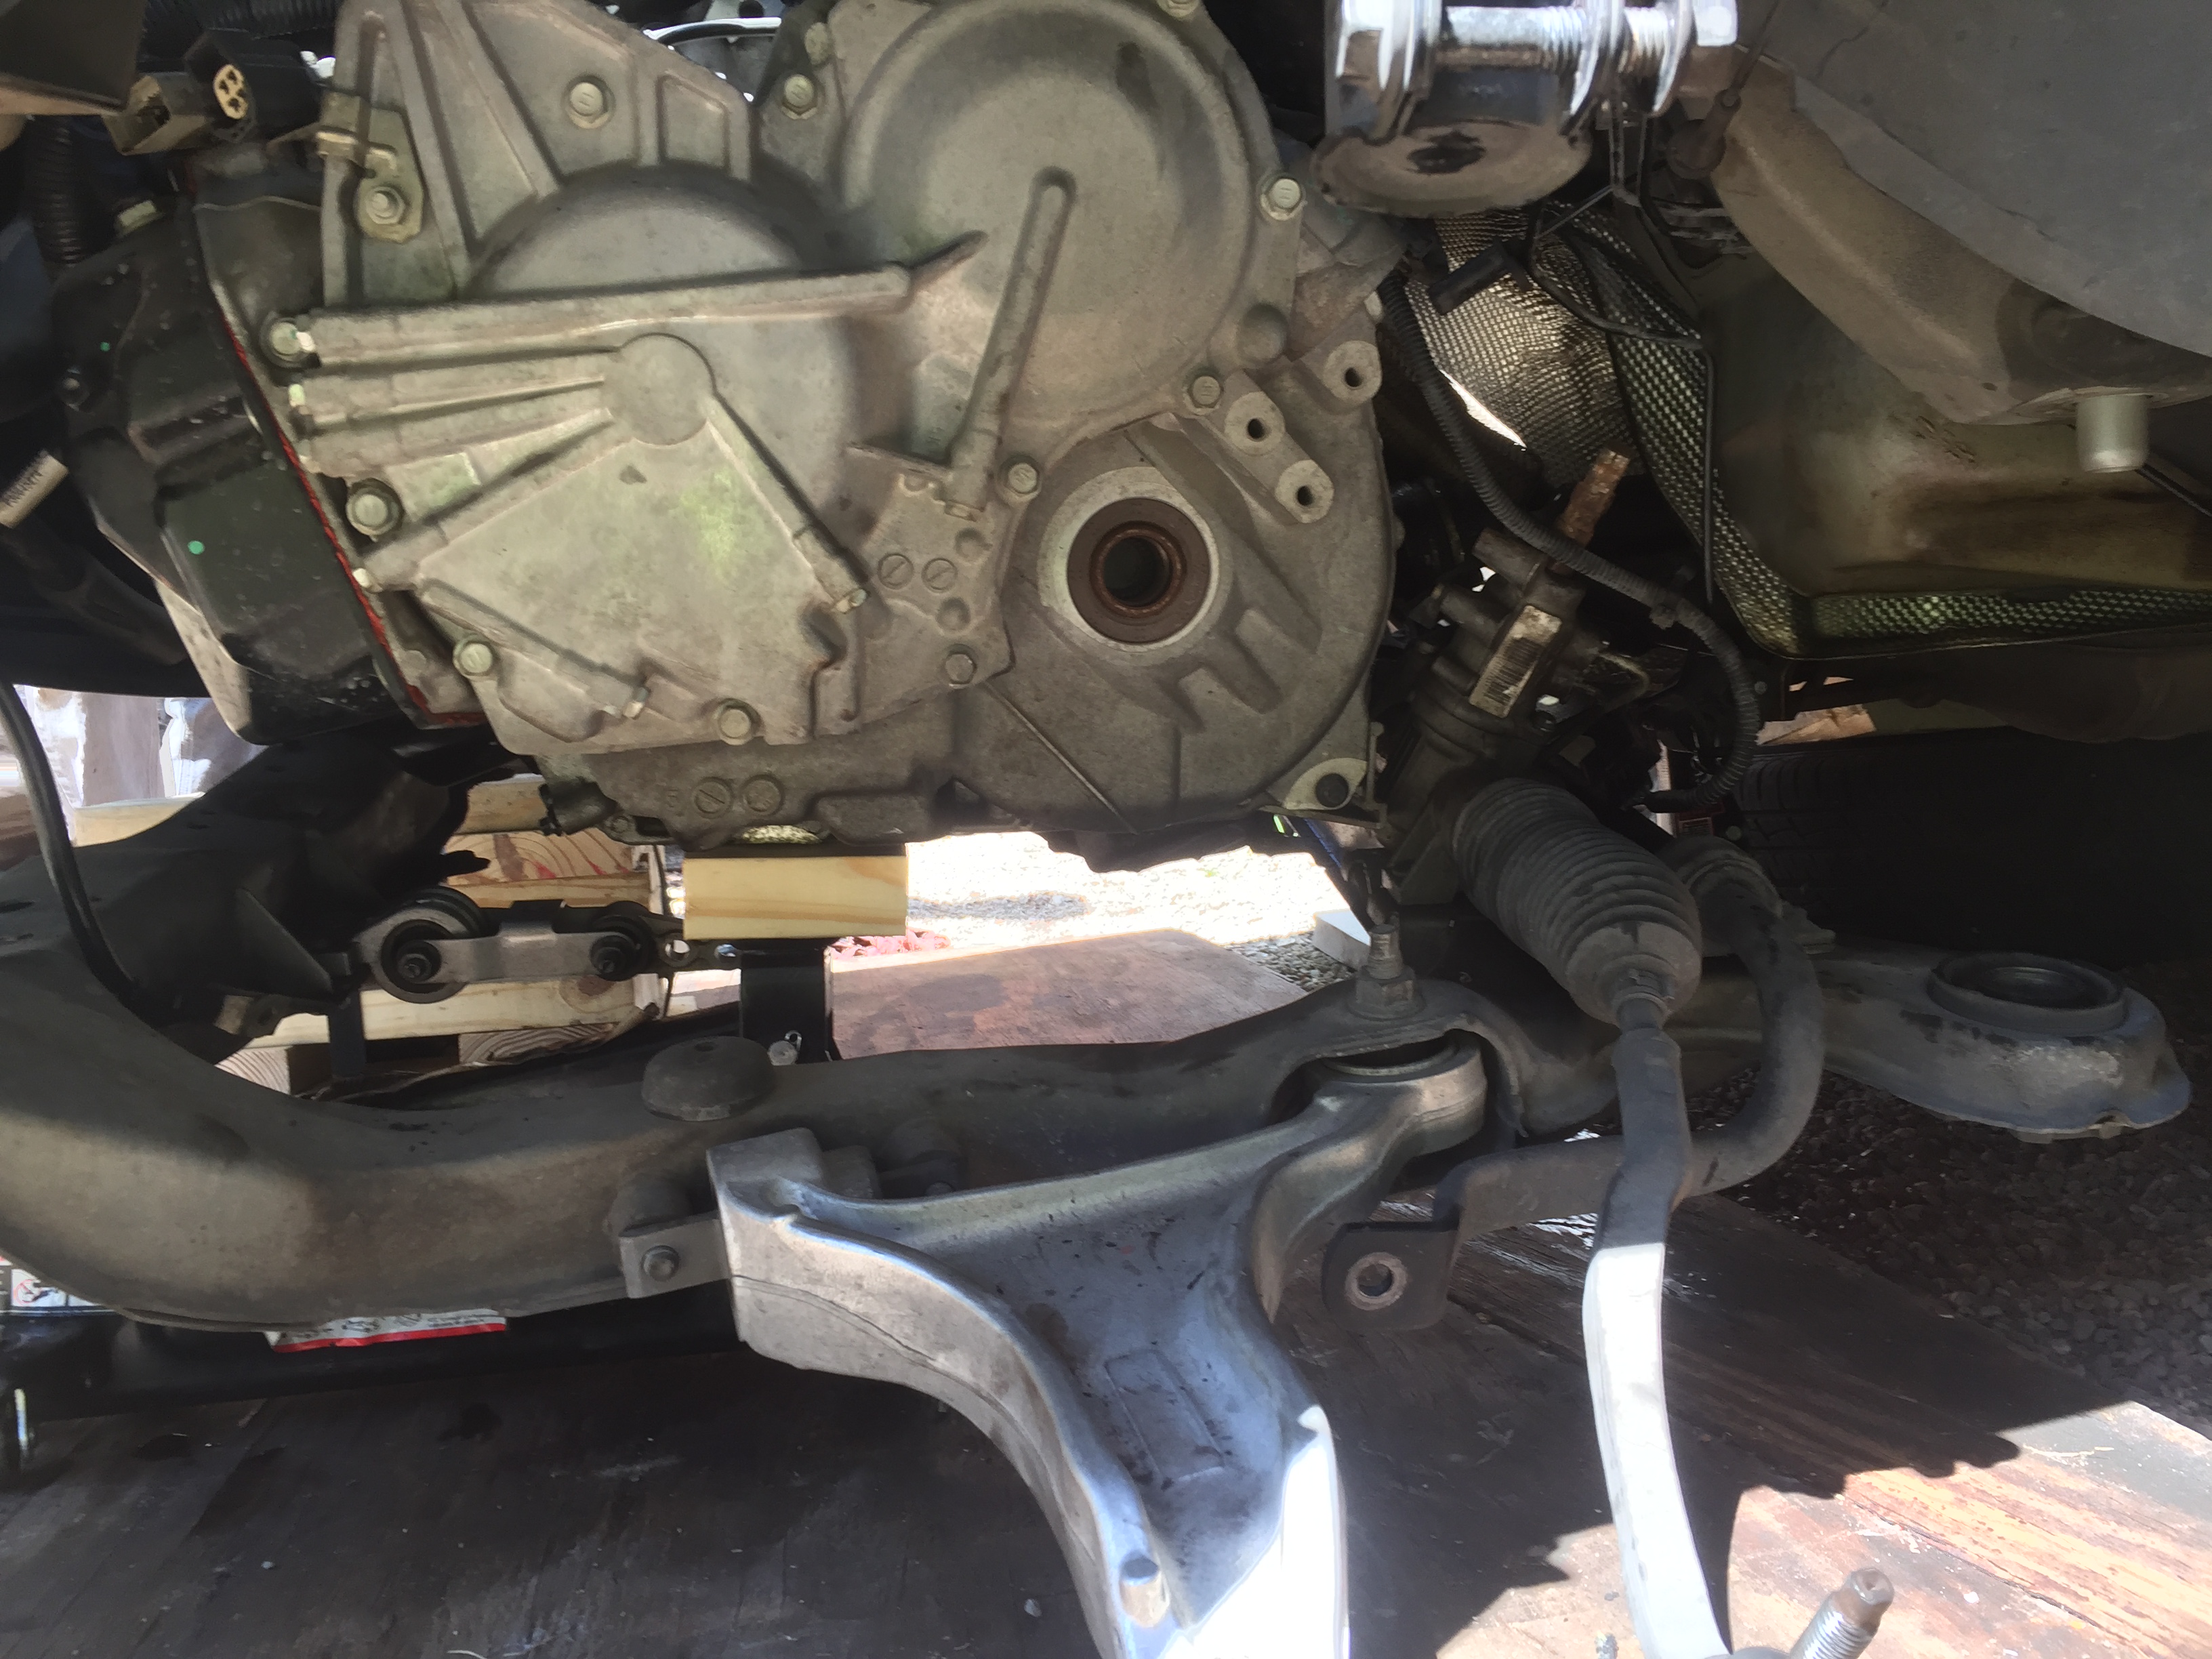
Pictured below is the crankshaft output flange at the back of the engine, with the leaking rear main seal still installed.
kourt
Yes, I considered briefly just lifting the whole engine + transmission assembly out. In the end, I still think the method I used is easier, but only just a bit.
The main problem is the ergonomics of my workspace. I have no garage and no concrete driveway. I work in a slightly sloped gravel driveway, with two 4'x8' sheets of plywood laid down. I drive the car over those sheets and do my work that way. When removing the entire engine+transmission, it really helps to have a level concrete floor to work with. I don't have that.
Anything I do in the driveway is visible to the public and can be pilfered/stolen/etc. I would love to leave parts lying around, but instead I am compelled to neatly pick up all items in the driveway and stow anything that might be attractive to thieves.
Pictured below is the crankshaft output flange at the back of the engine, with the leaking rear main seal still installed.
kourt
-
kourt
- Posts: 7
- Joined: 30 September 2019
- Year and Model: 2005 XC70
- Location: Austin, TX
- Been thanked: 5 times
That video is great. Nice to see someone work with confidence like that.
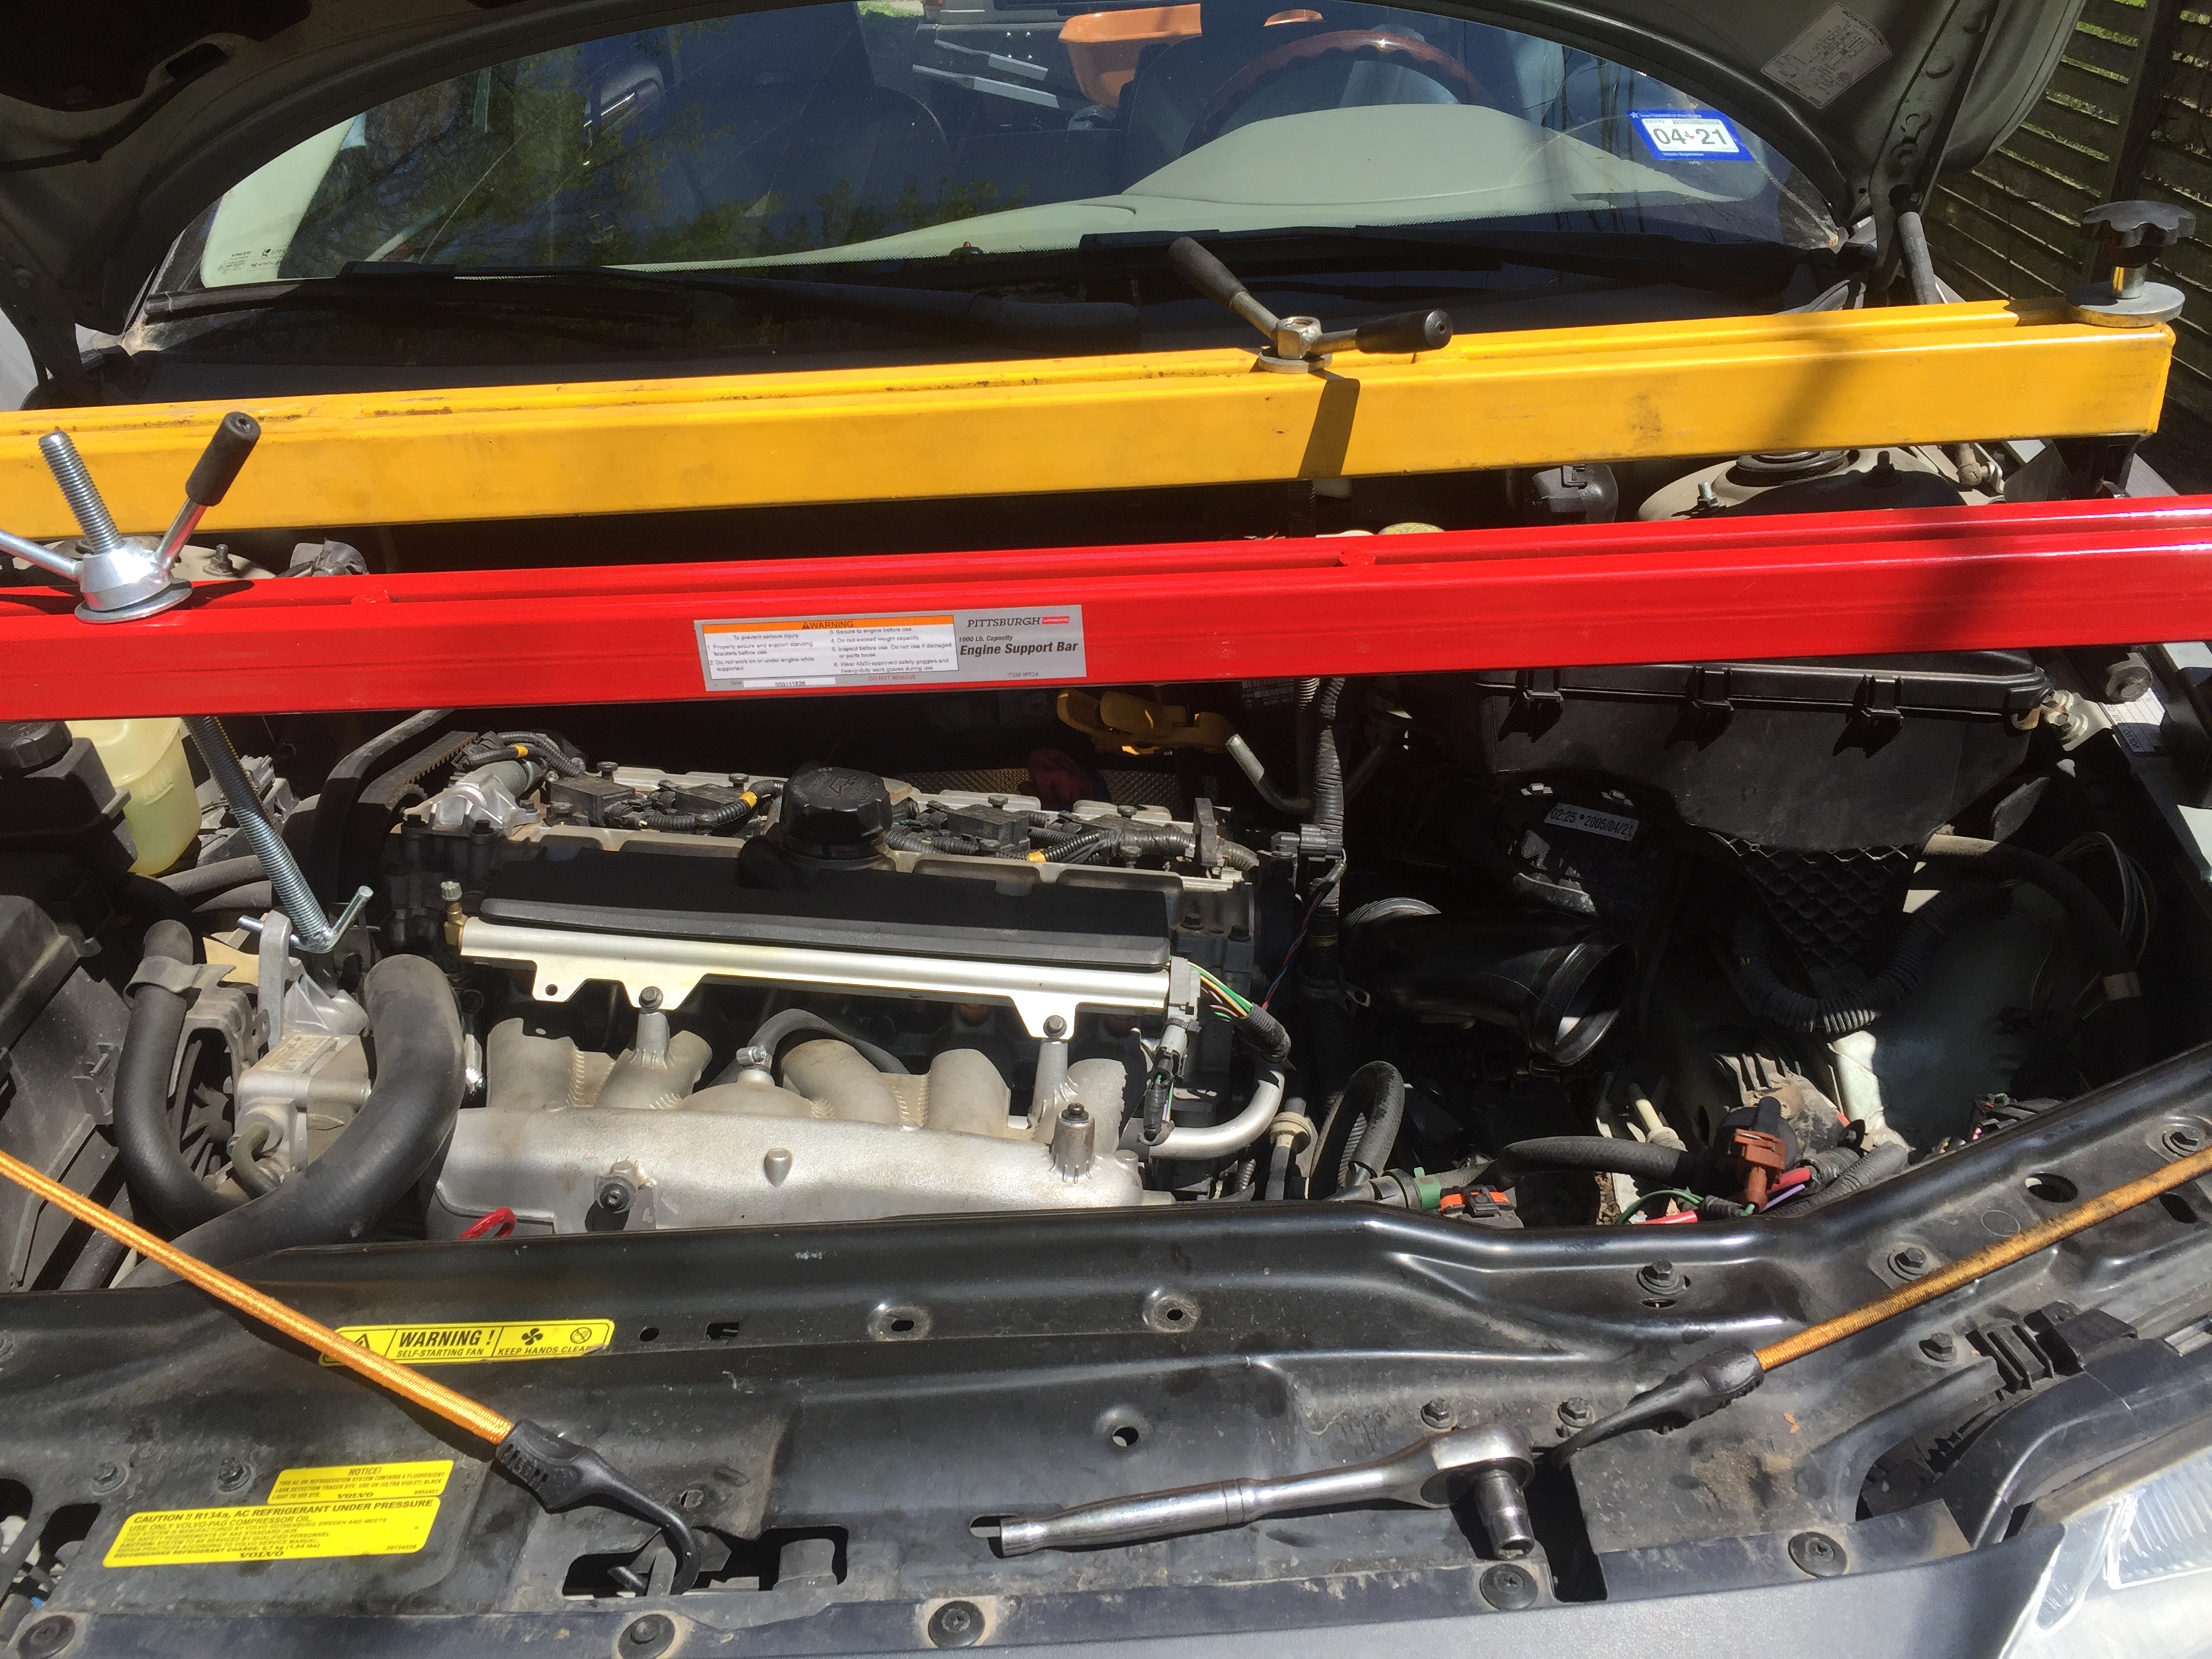
The two engine support bars:
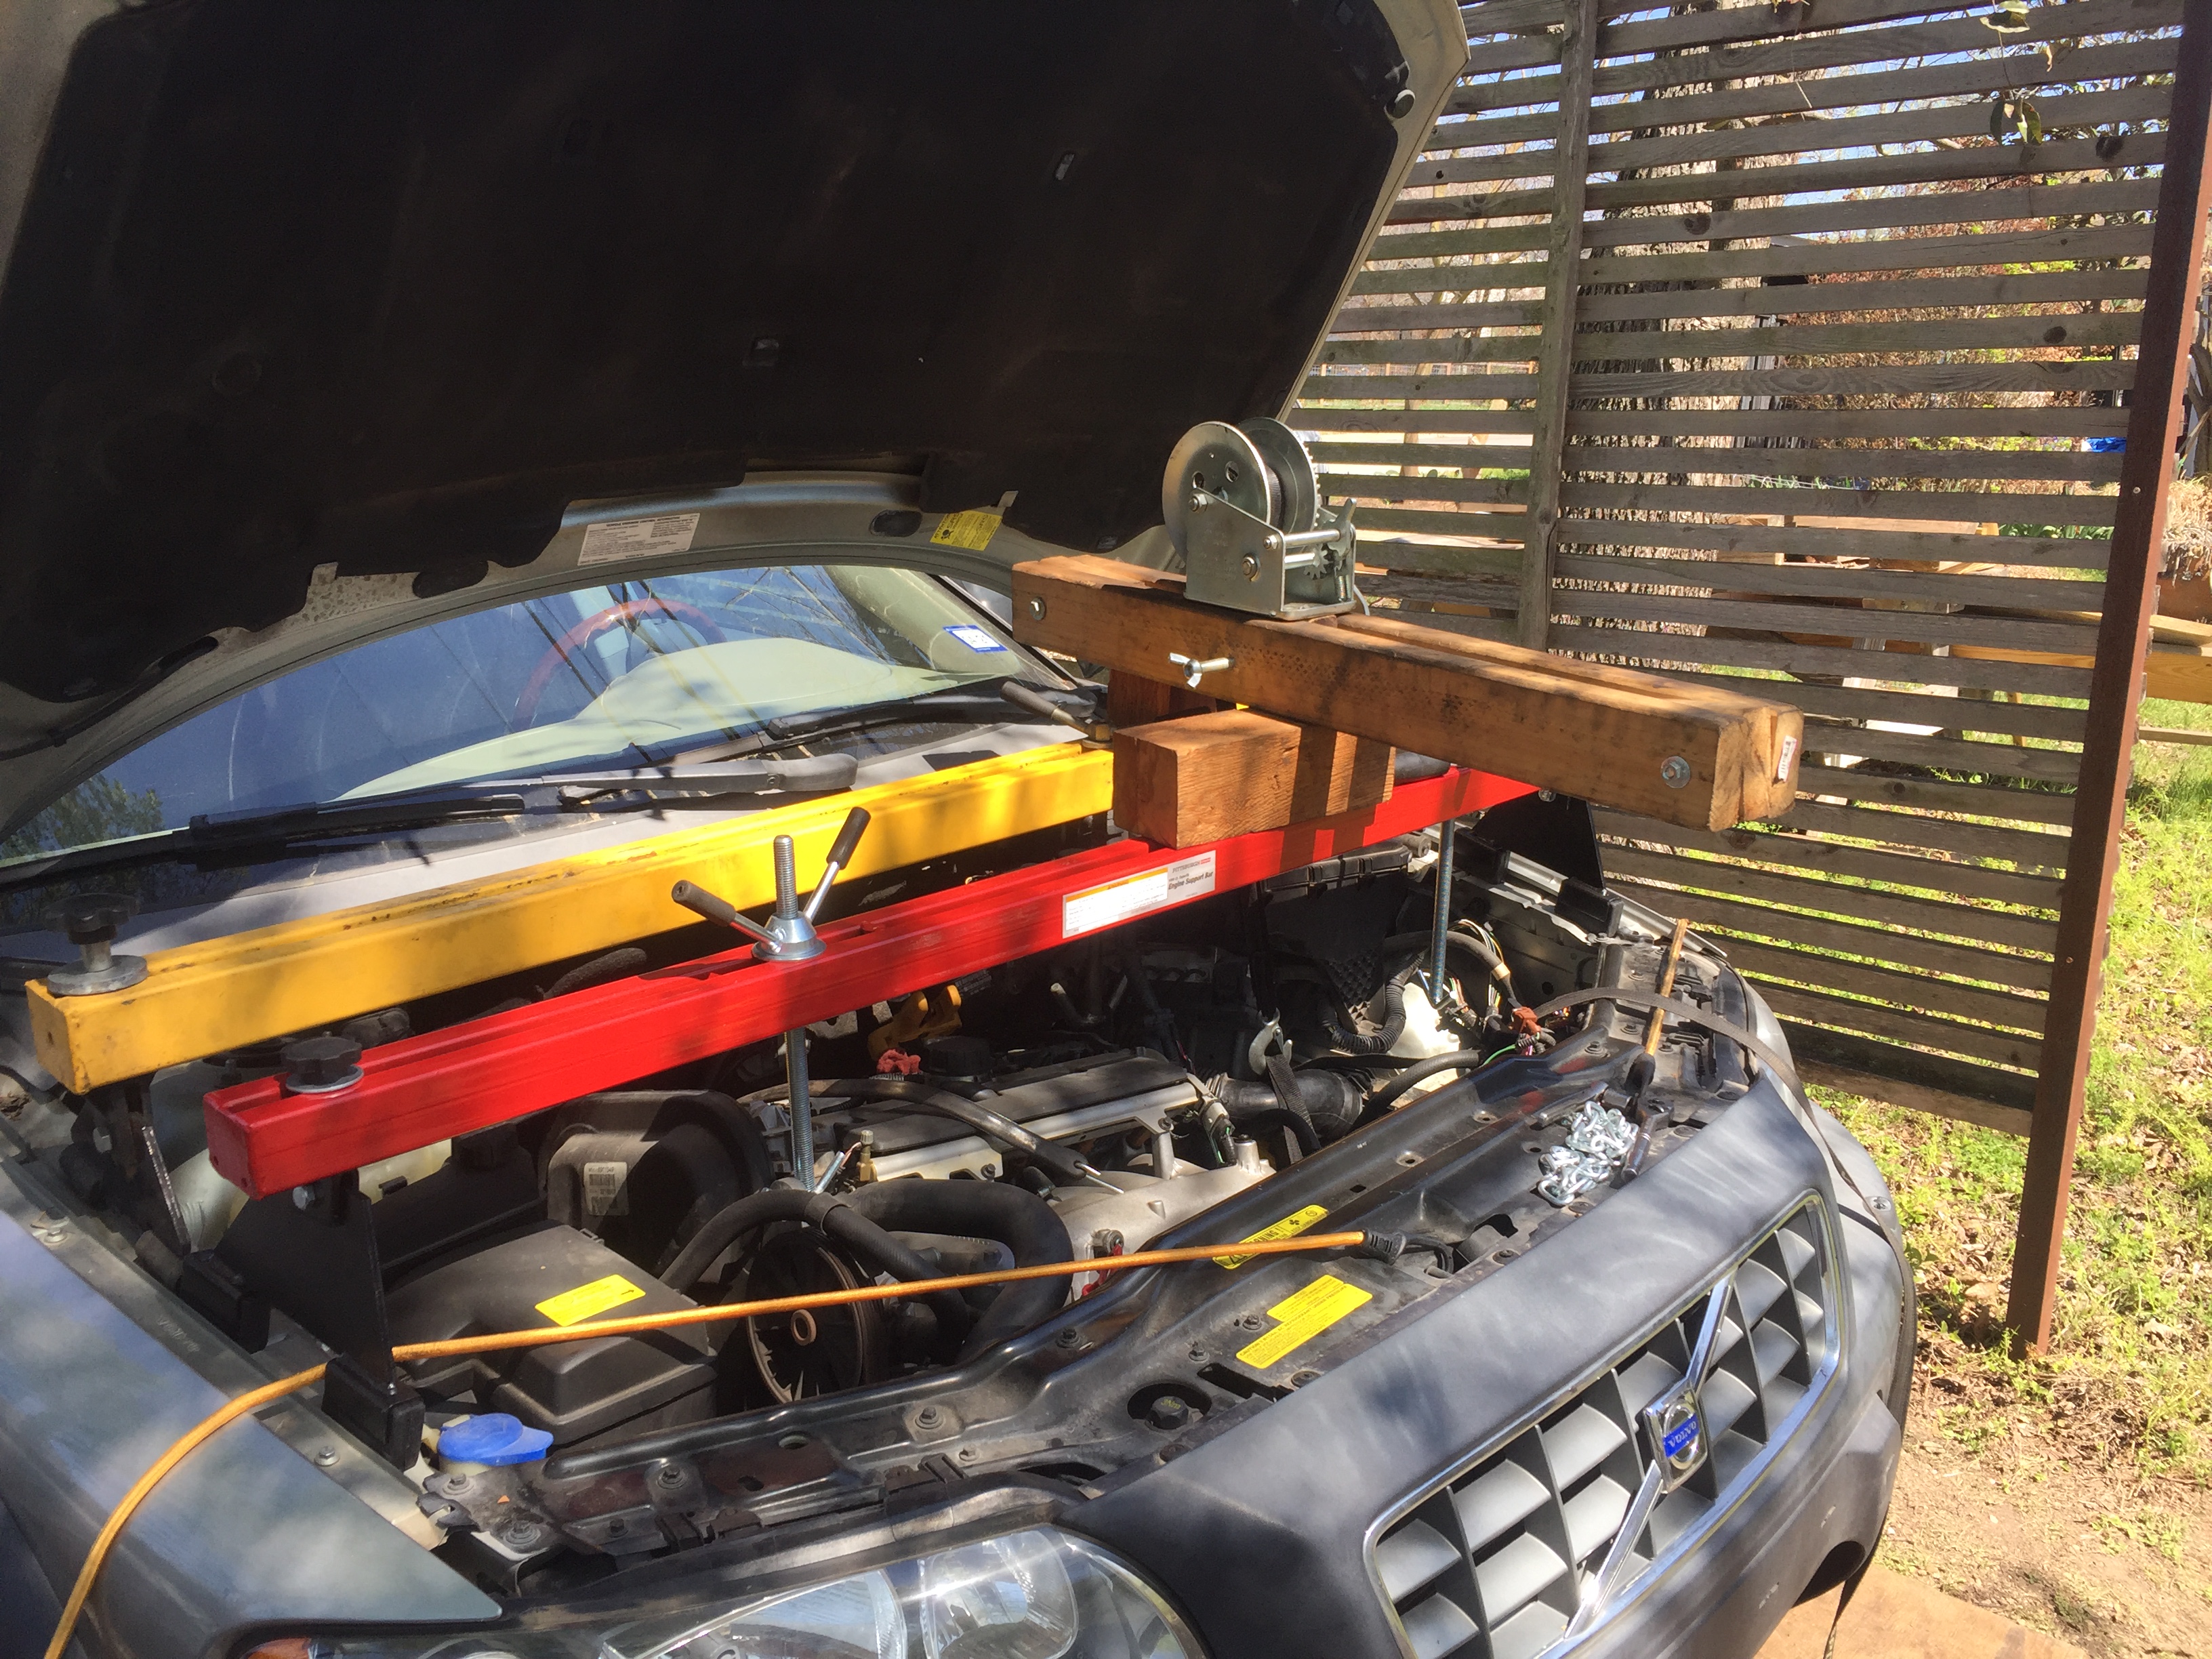
The boat winch mounted in a wood frame (also used on my Vanagon to remove/install engines/transmissions):
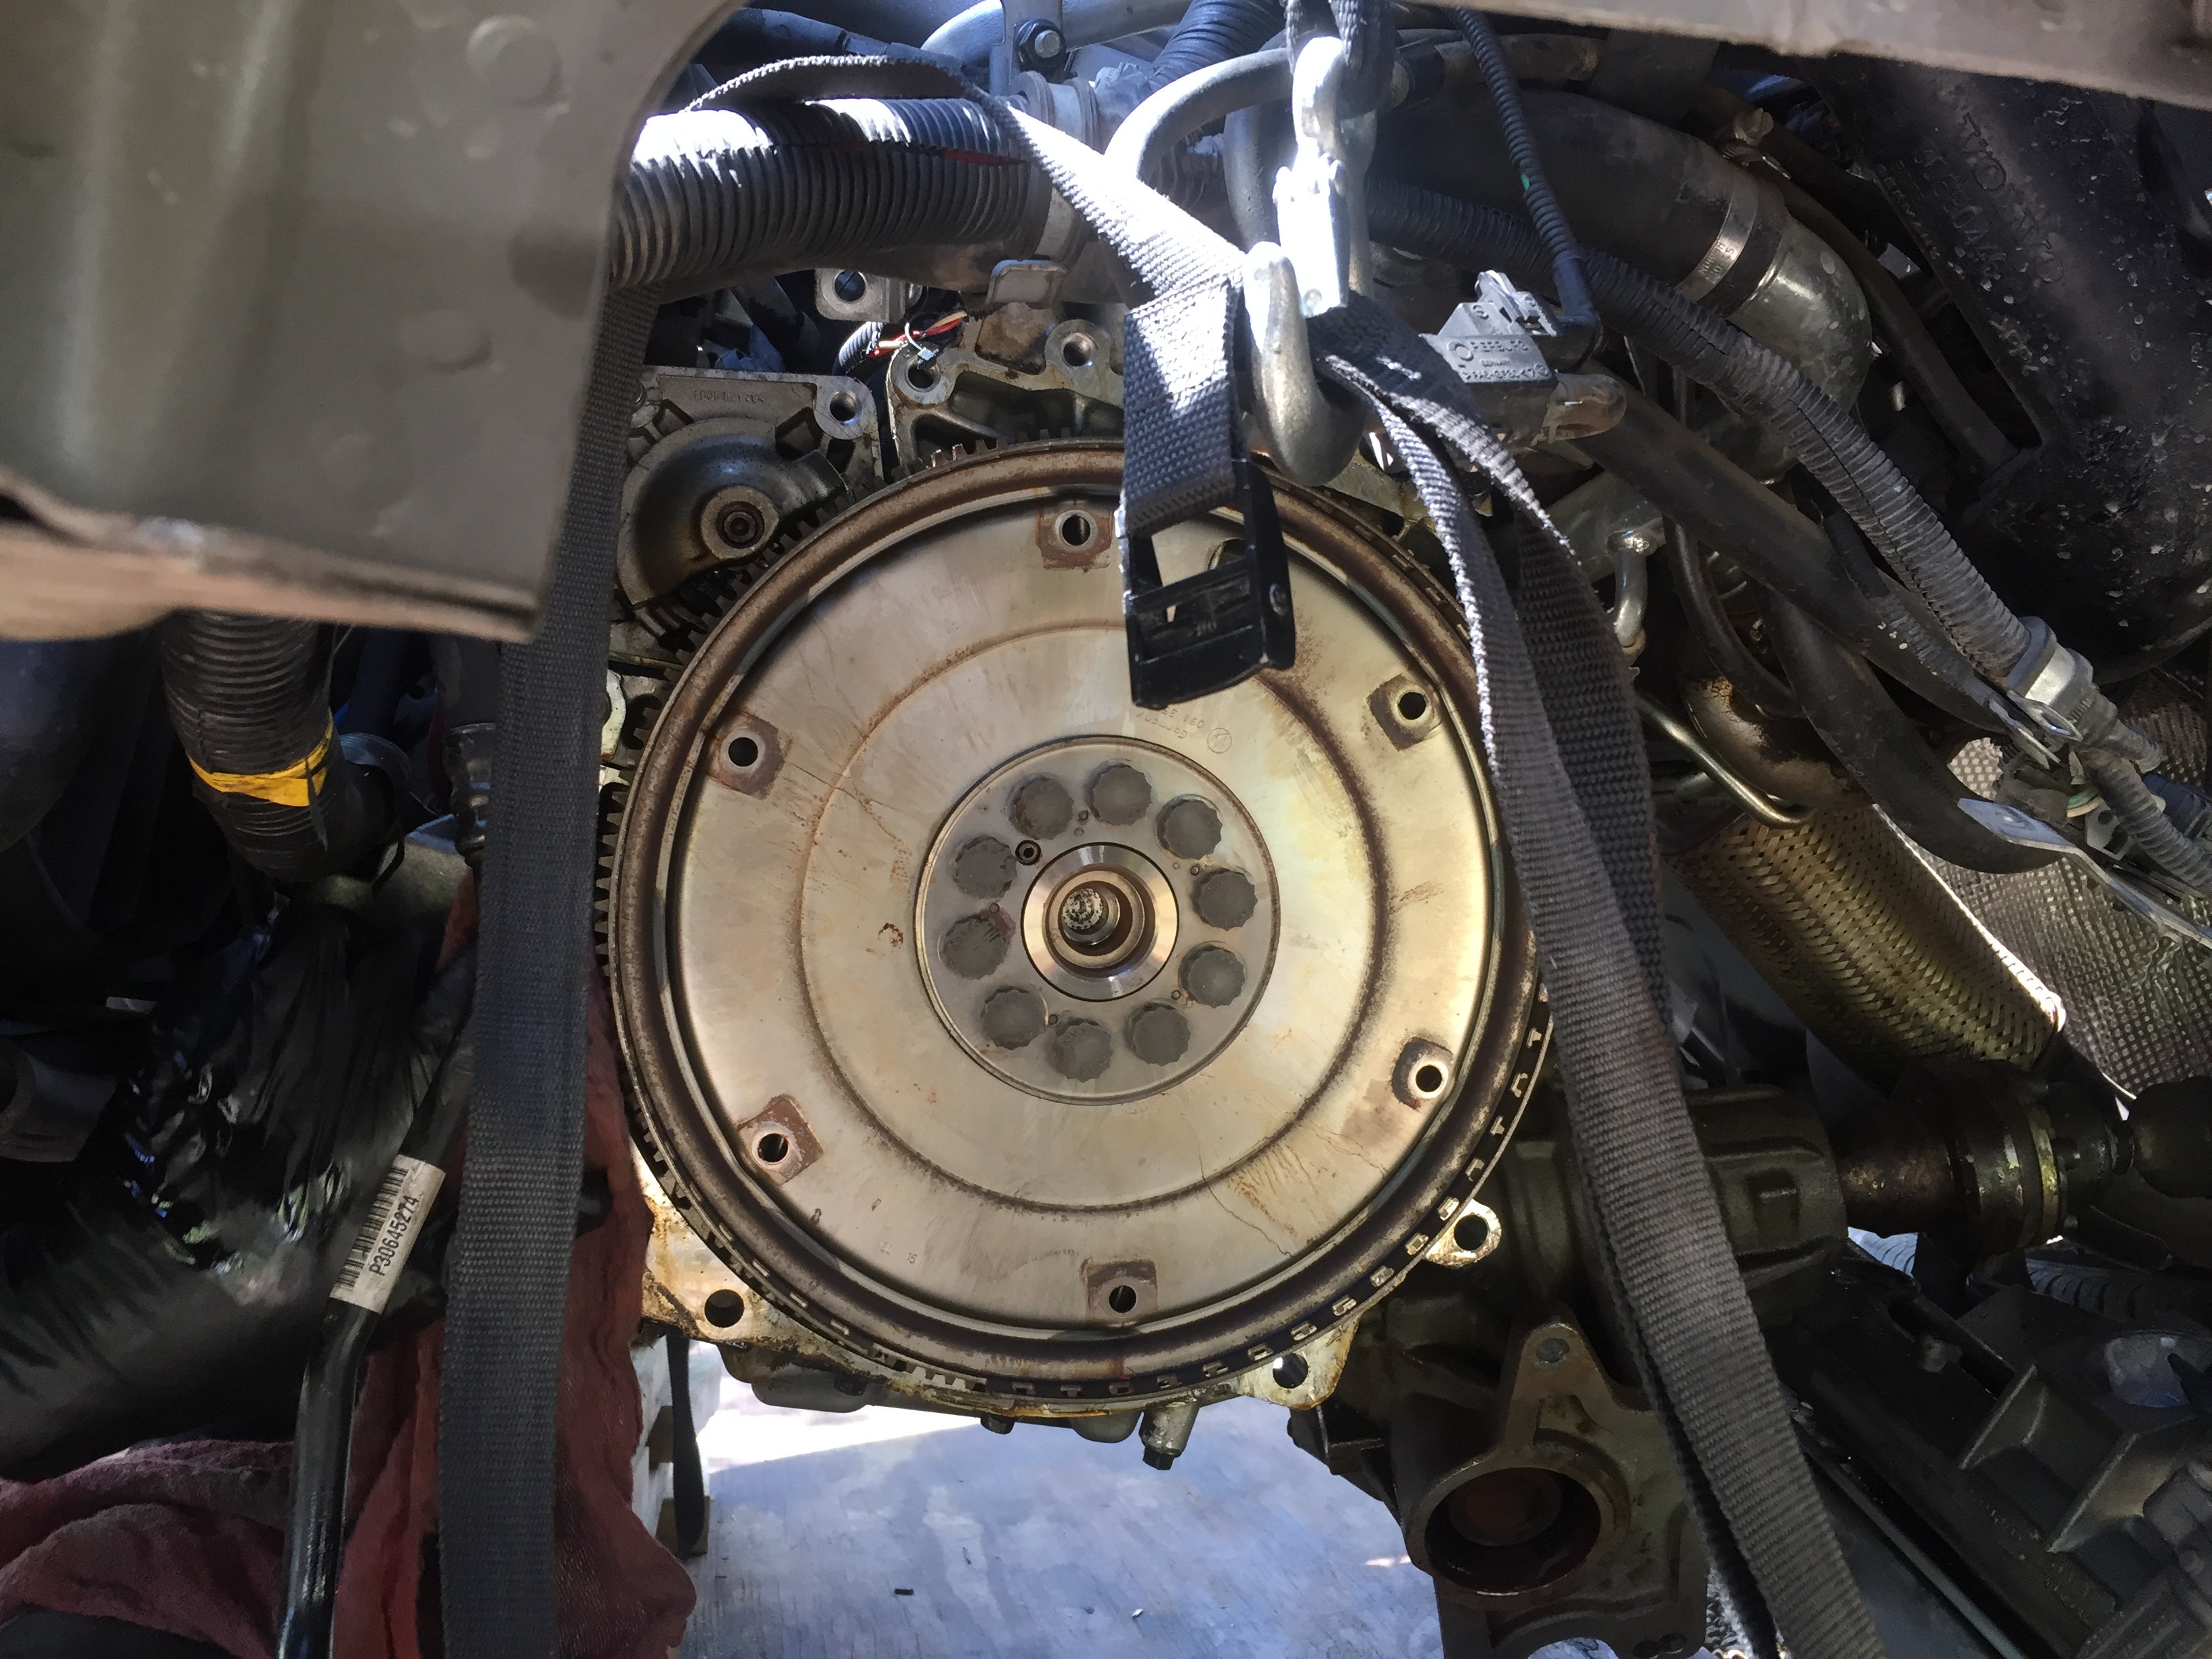
The flywheel, with oil residue. This pattern of oil residue may be coming from leakage through the flywheel bolts, which are also a pathway for leaking. I replaced the bolts and the seal:
The driver side transmission output seal, just before transmission removal:
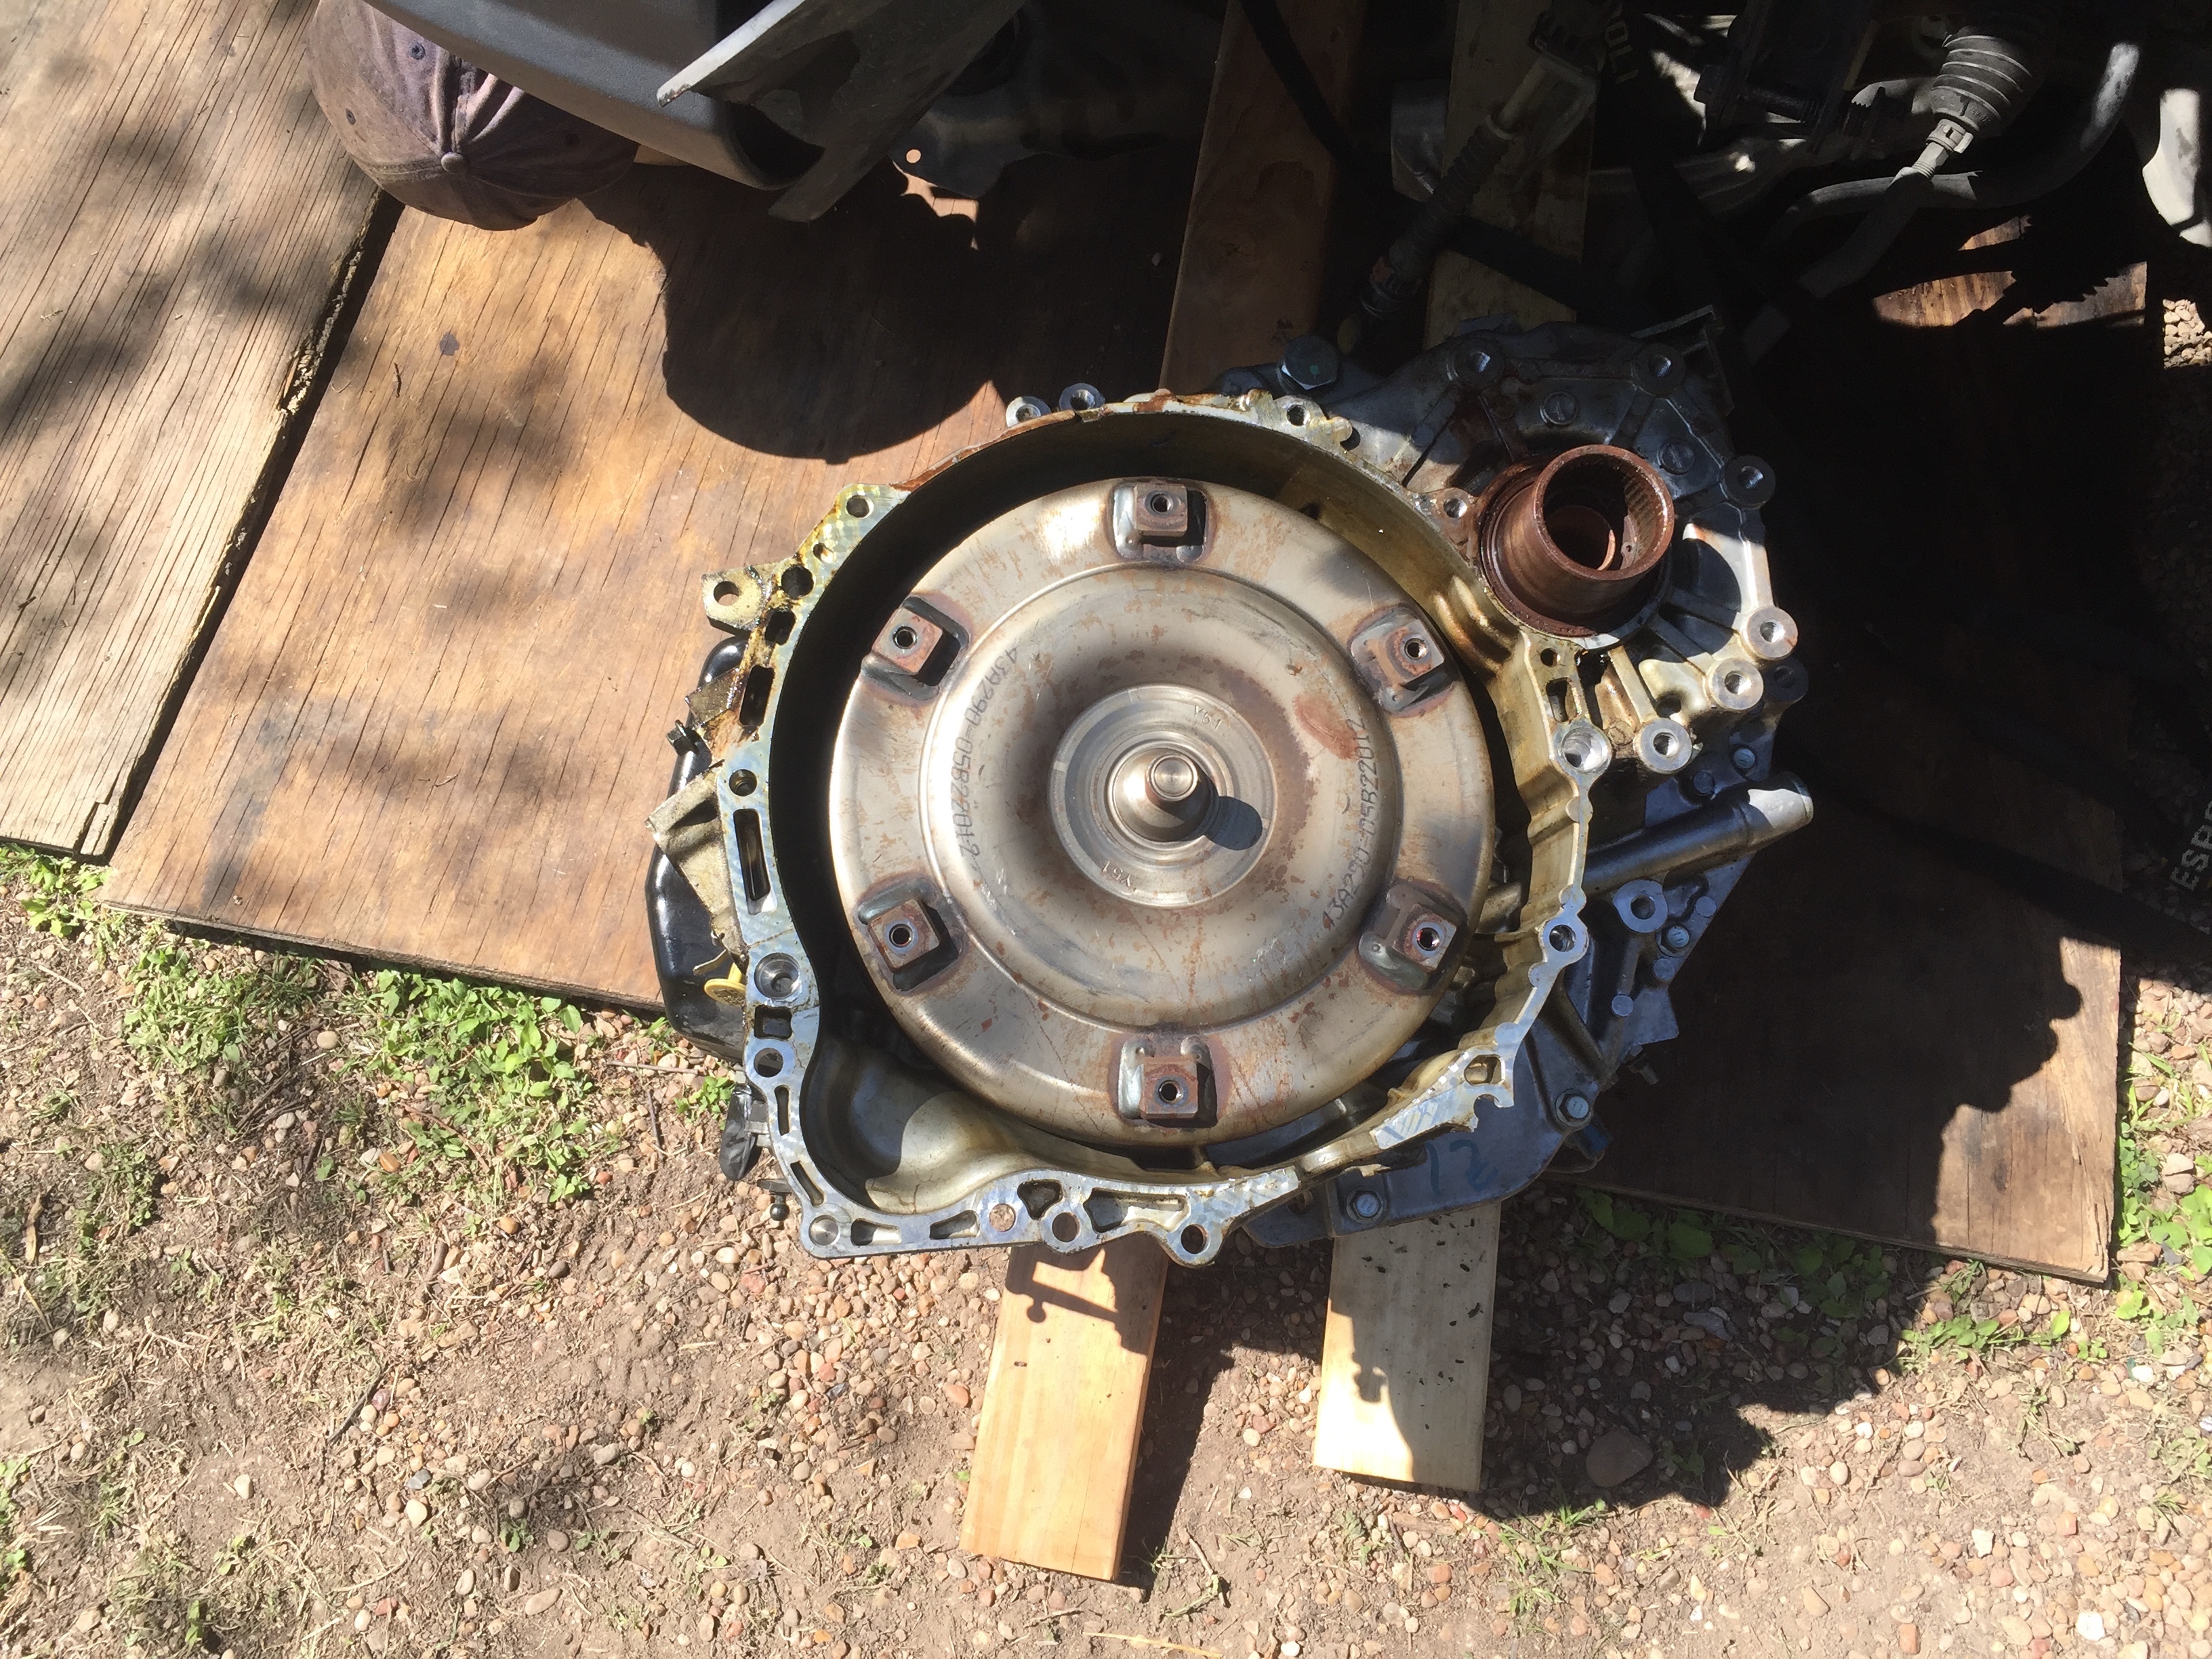
The transmission totally removed, showing the torque converter and the very corroded terminal shaft for the transfer case. I replaced the torque converter seal and all seals for the terminal shaft, plus the shaft itself.
kourt
The two engine support bars:
The boat winch mounted in a wood frame (also used on my Vanagon to remove/install engines/transmissions):
The flywheel, with oil residue. This pattern of oil residue may be coming from leakage through the flywheel bolts, which are also a pathway for leaking. I replaced the bolts and the seal:
The driver side transmission output seal, just before transmission removal:
The transmission totally removed, showing the torque converter and the very corroded terminal shaft for the transfer case. I replaced the torque converter seal and all seals for the terminal shaft, plus the shaft itself.
kourt
-
kourt
- Posts: 7
- Joined: 30 September 2019
- Year and Model: 2005 XC70
- Location: Austin, TX
- Been thanked: 5 times
Just a quick update: the 05 XC70 was fully reassembled, started, and driven today. That's progress. Now to drive it for a few weeks to make sure the oil leak does not return.
I had to replace one of the engine oil cooler coolant lines because I set the bevel gear on it and the line split. Other than that, no surprises.
kourt
I had to replace one of the engine oil cooler coolant lines because I set the bevel gear on it and the line split. Other than that, no surprises.
kourt
-
vtl
- Posts: 4723
- Joined: 16 August 2012
- Year and Model: 2005 XC70
- Location: Boston
- Has thanked: 114 times
- Been thanked: 603 times
Garage, concrete floor and a cherry picker makes it a weekend job. I decided to replace leaky RMS along with the main course of replacing exhaust manifold gaskets, turbo and downpipe.
I dropped the whole subframe. Was quicker than jumping around tilted transmission and trying to squeeze it between the engine, longeron and subframe.
Also I learned that a 200 lbs human being half filled with beer can lift the engine+transmission+angle gear combo by the end of the support bar and relocate it closer to the right side engine pad
-
- Similar Topics
- Replies
- Views
- Last post