


This write up assumes you know how to remove the front seats and the necessary precautions when messing around with front seats that contain airbags. In short you need to remove the four bolts that hold the seat to the chassis before disconnecting the cars battery only then can you disconnect the seats electrical connector(s) to remove the seat from the car.
The kit used came from Here
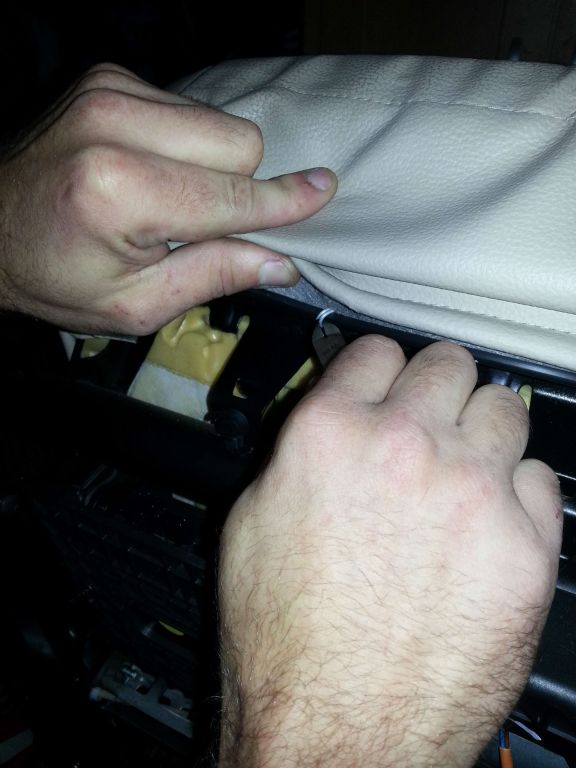
Firstly you need to remove all the hog rings securing the bottom of the leather cover to the base of the seat, best removed using wire cutters by twisting the ring to undo it before threading it out of the seat material:
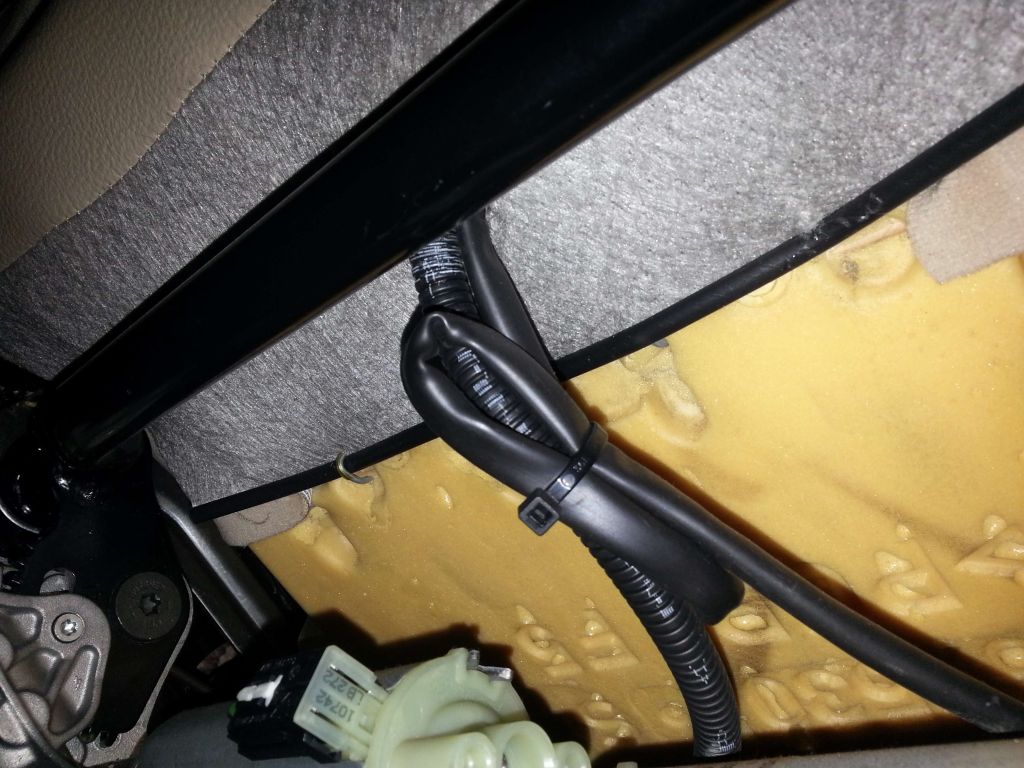
Underneath the seat at the rear of the base are a few more hog rings attaching the leather cover to the seat springs, again remove the rings to release the cover
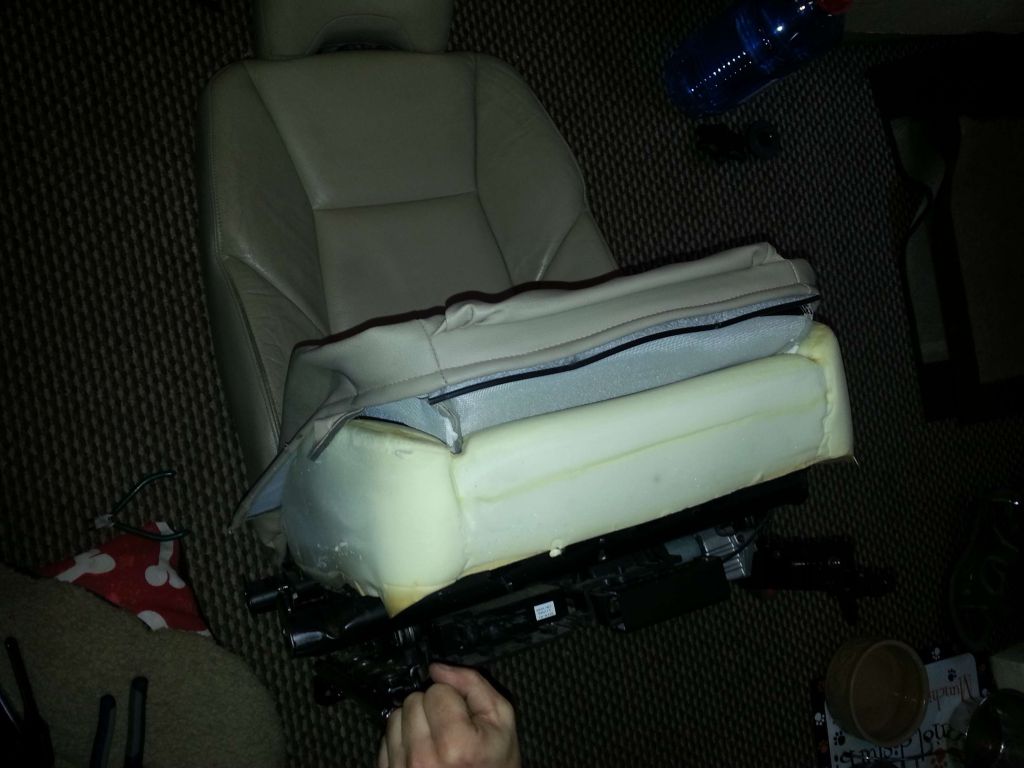
With all the hog rings removed from around the base the sides should pull up over the base foam insert:
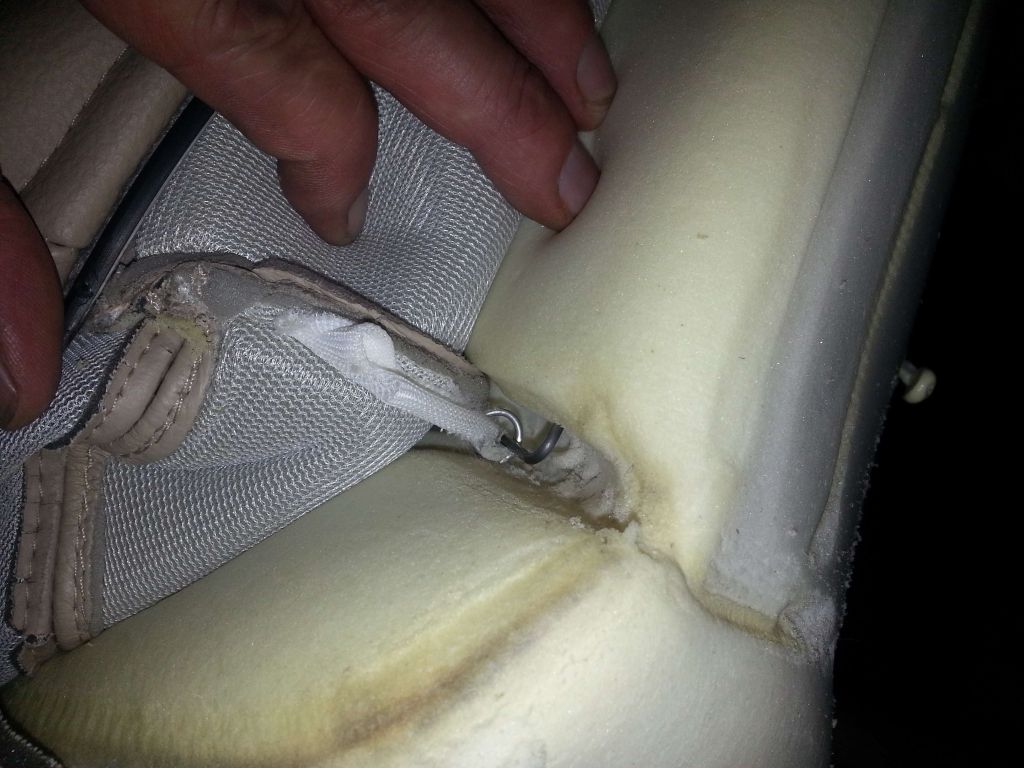
Carefully lift the leather cover up to expose the first hog ring connecting the cover to the foam base then remove it, take care not to apply too much vertical force though as you don't want to pull the metal rod out of the foam base
Continue removing hog rings from both sides of the base until you get to the first set of rings running across the base of the seat, remove the hog rings
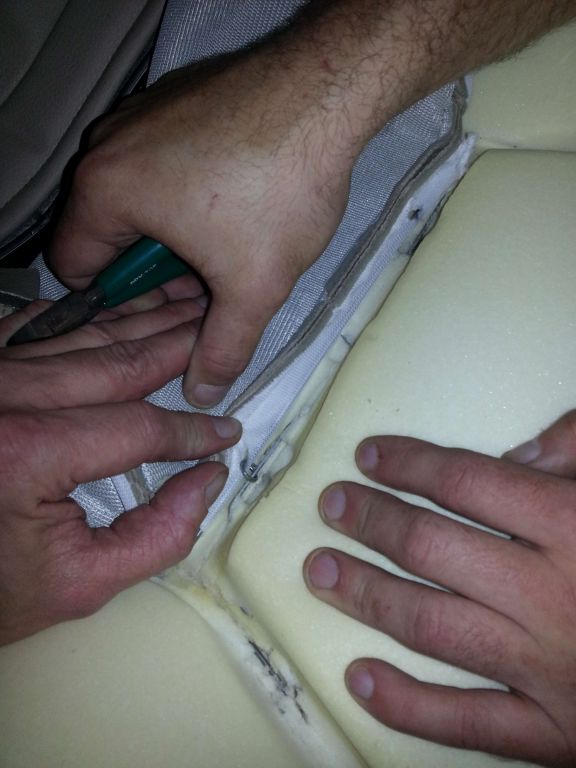
The continue working further rewards to get to the next set of rings running across the seat, remove these rings
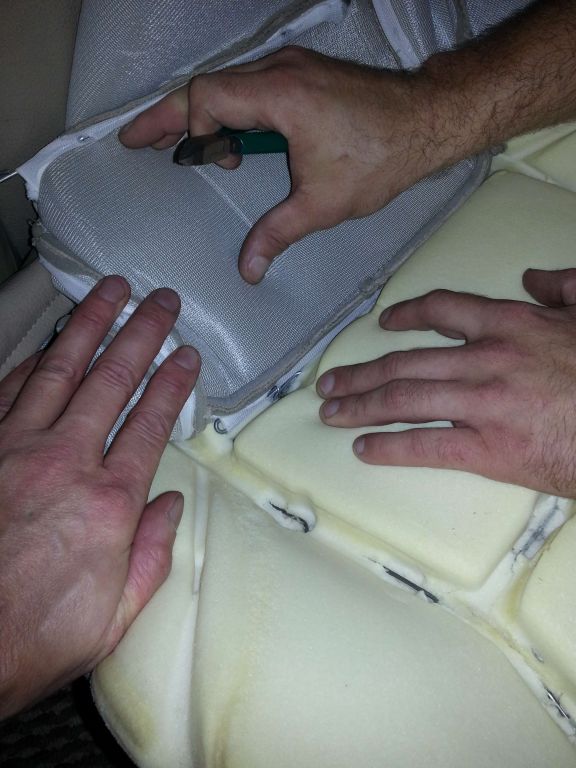
Eventually you will have the leather base cover removed although we left the rear most hog rings in place as we could work around them but you should end up with the seat base looking something like this:
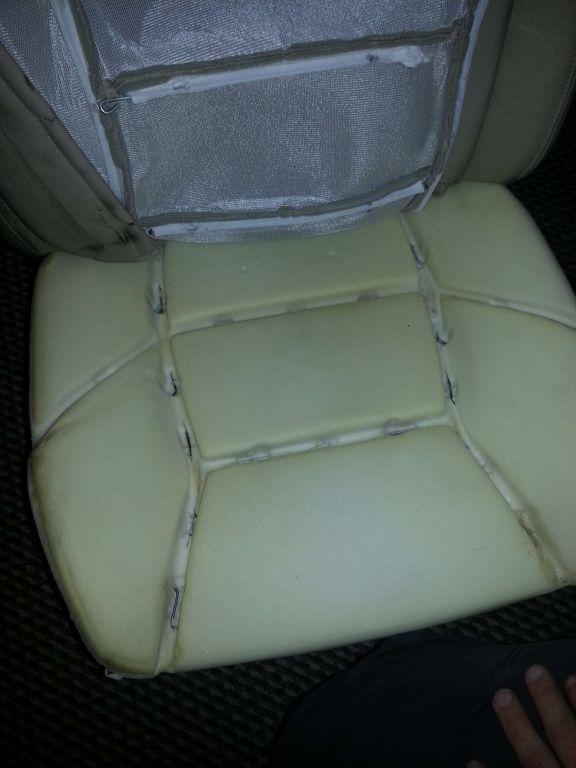
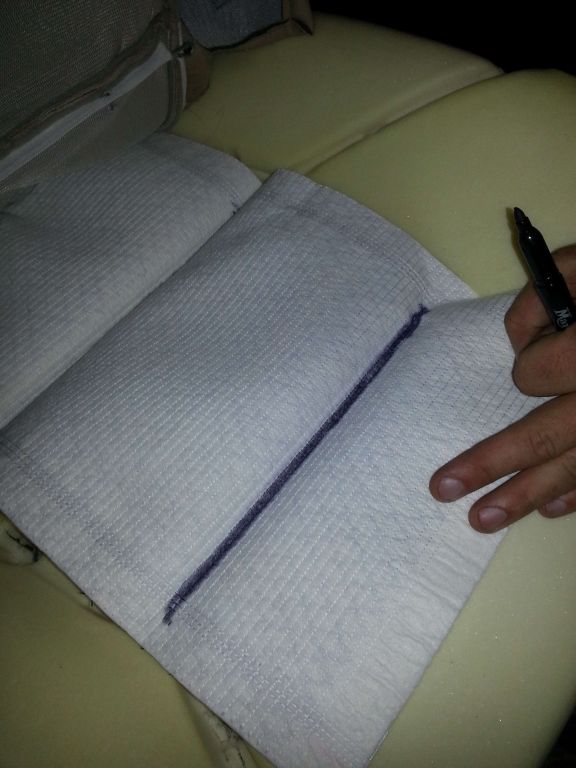
Place the heater mat on to the foam base and push the electrical wires through to the rear of the seat, push the seat heater down in to the channel where the hog rings need to go running side to side and mark the area with a felt tip pen:
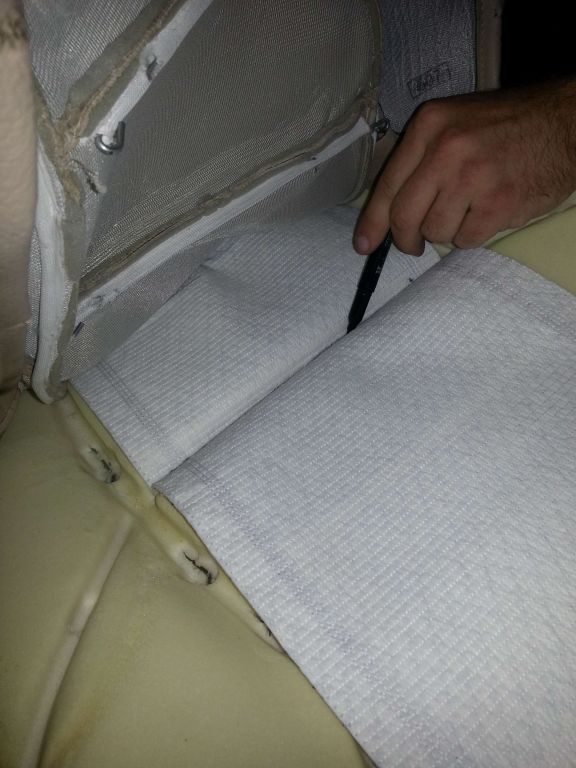
Working further forwards again push the heater mat in to the next channel in the foam base running side to side and mark the location with a felt tip pen:
Towards the rear of the heater mat is a temperature switch, this needs to sit in to a small recess in the foam otherwise you will feel it when sitting in the seat, simply tear out a small chuck of foam from the base to accommodate the temp sensor:
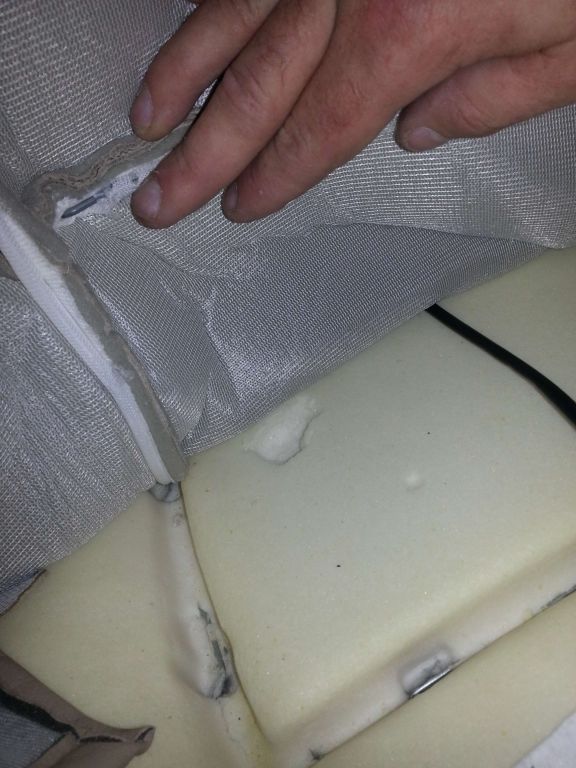
The location of the seat temperature sensor although it is difficult to see from the picture, it is very easy to locate by feel:
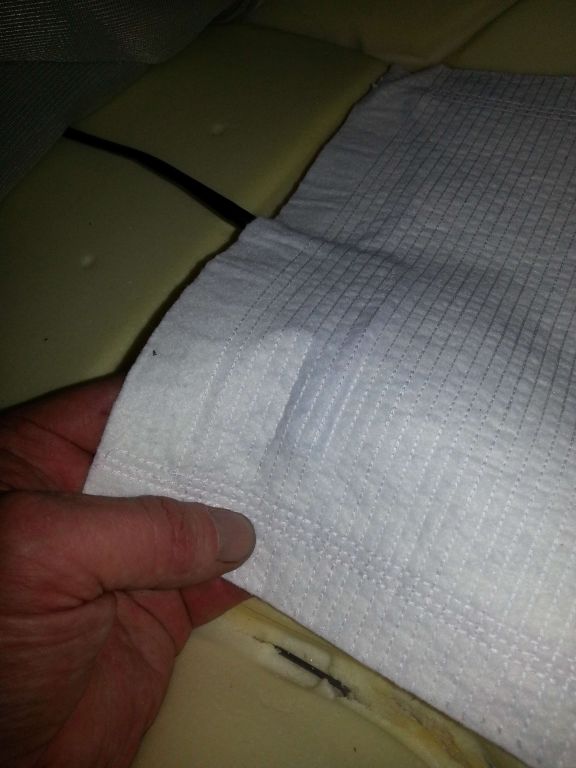
Cut the heater mat where marked up but don't cut the outer 1" strips as these run the power forwards to the rest of the seat heater mat, the slots are required to re-secure the seat cover later on:
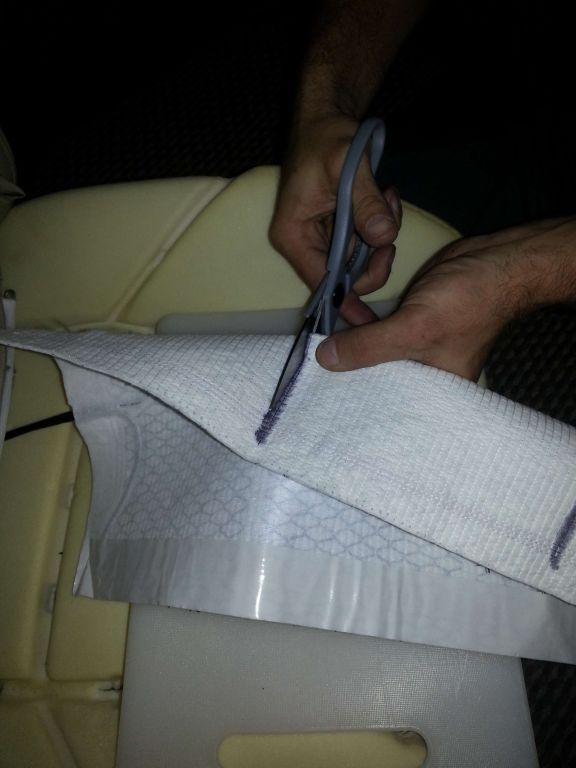
The lower side of the heater mat is covered with self-adhesive strips, remove the backing paper and secure the mat in to position making sure that at the two channels running side to side you push the may in to the groove to seat it fully:
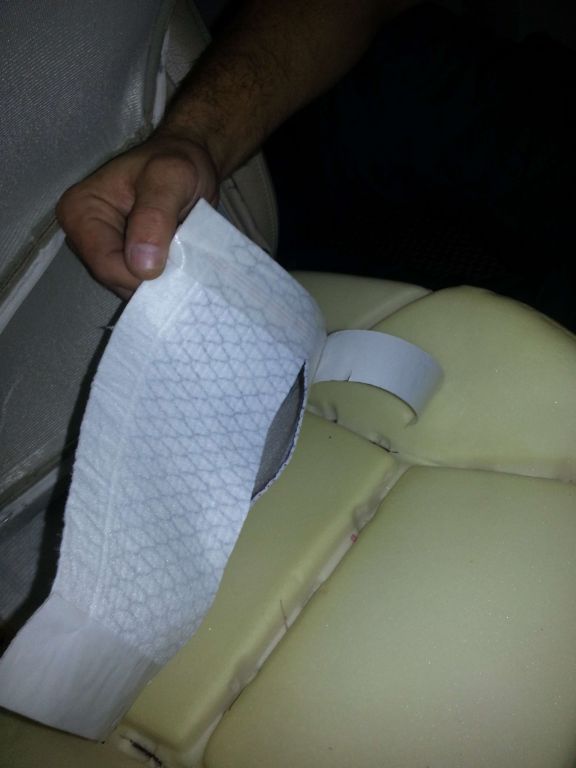
Finally put a length of adhesive tape over the leading edge of the heater mat to secure it to the foam base:

Here we decided to cheat using more modern kit than the hog rings removed earlier as getting new hog rings in place was nigh on impossible due to the restricted access, firstly tywraps were fitted to the leather seat cover:
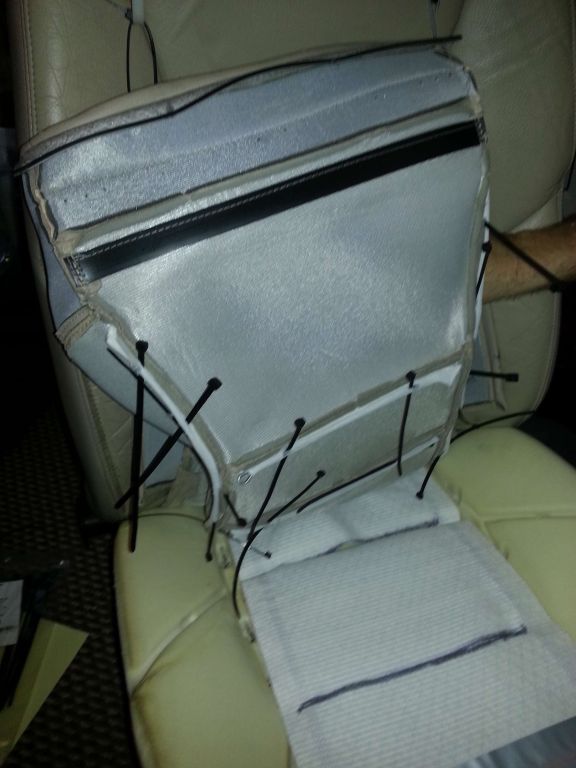
The tywraps were then pushed under the metal rod in the foam base and tensioned:
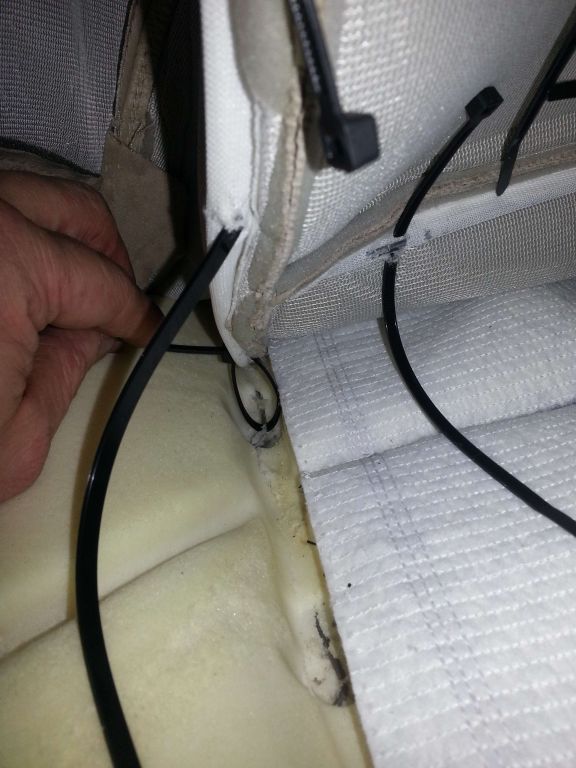
Pushing the leather cover down in to the gap allows the tywrap to be fully tightened up:
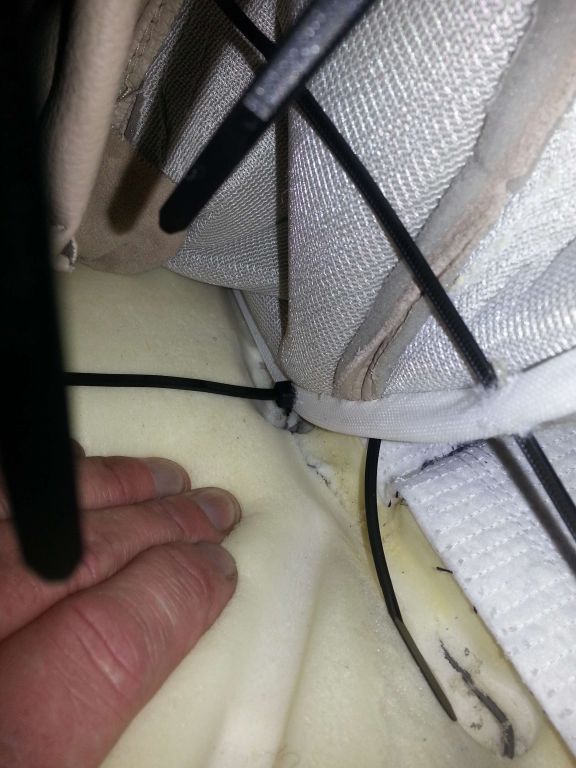
Finally cut the tail off the tywrap then rotate the tywrap so the head of it is sat under the wire in the foam base (this way you won't feel it when you are sat on the seat, continue to add and secure the tywraps until all the leather cover attachments are in place and secured:
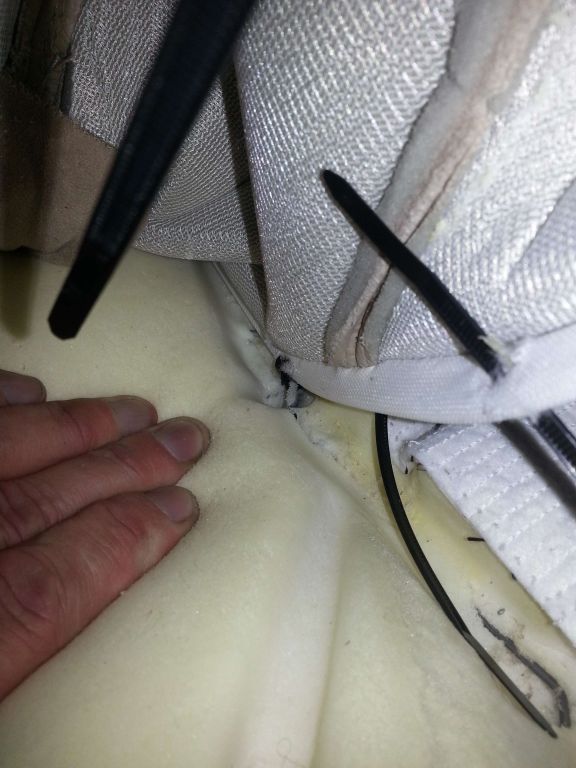
The sides can then be secured using hog ring pliers as the access is somewhat easier:
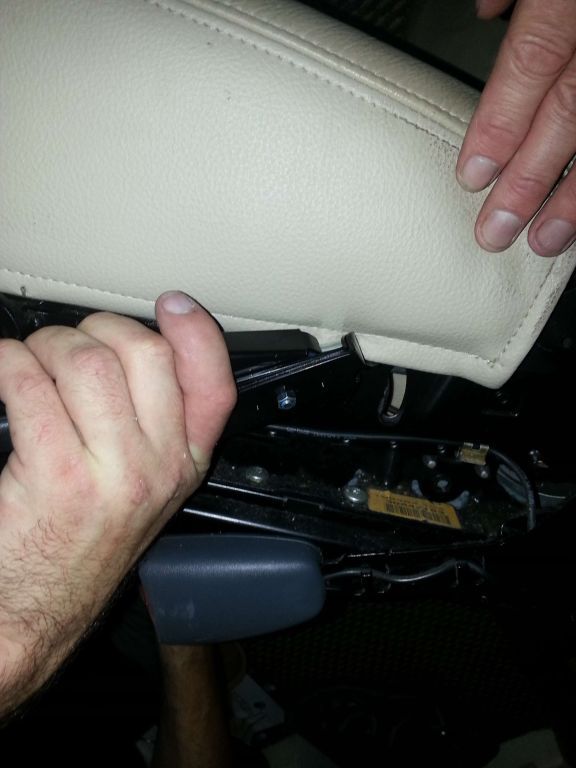
New hog rings securing the sides in place:
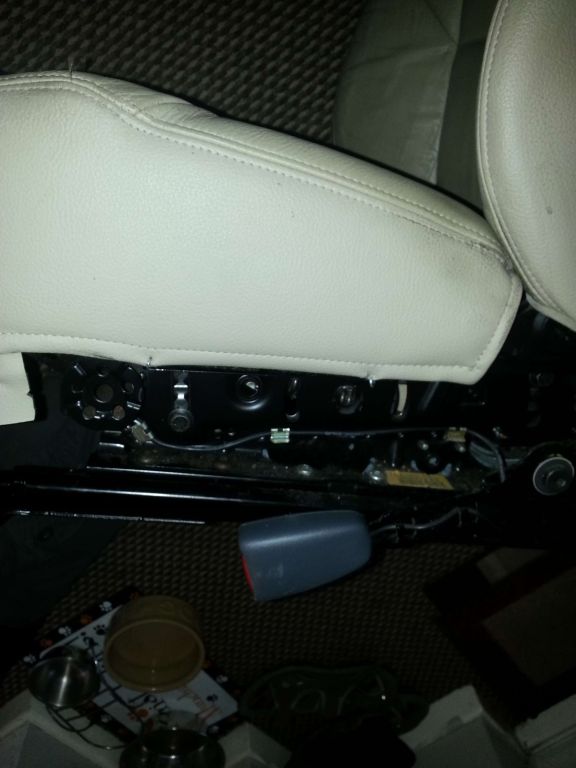
Applying more new hog rings to secure the front of the leather seat cover to the metal seat frame:
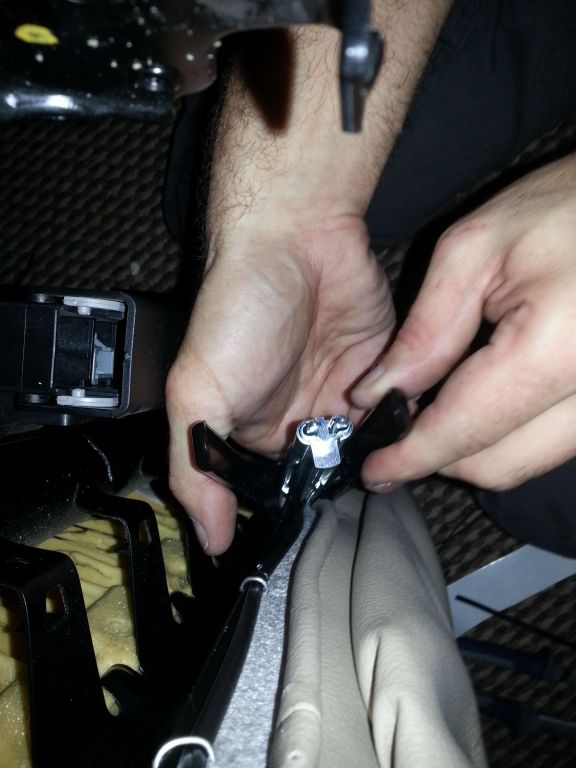
That's the first half back together, next up is the seat back:

Four hog rings secure the front of the seat back to the front at the lower rear edge of the seat:
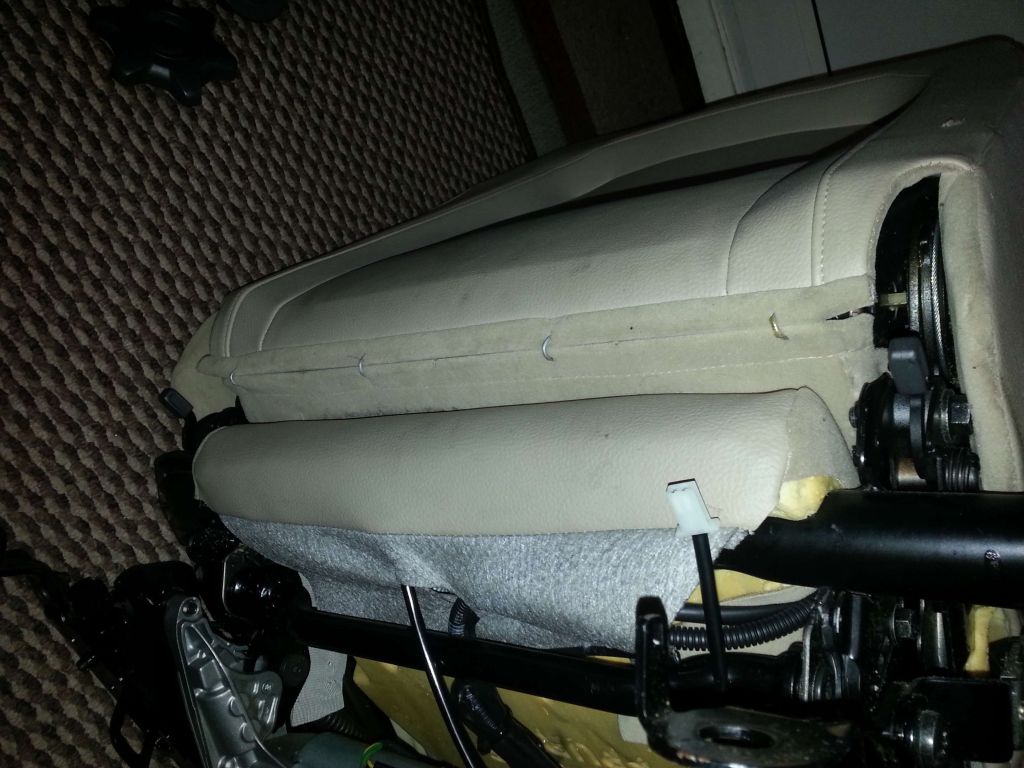
Remove the rings and the seat back cover starts to release:
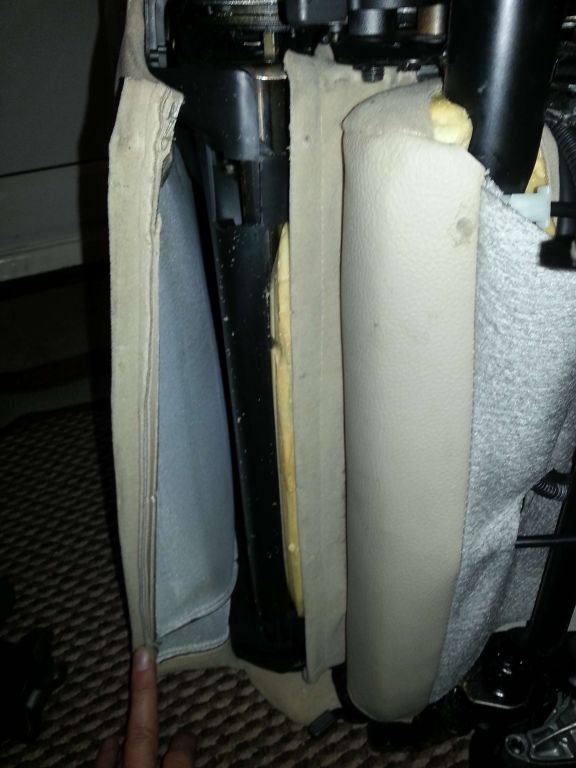
The side flaps simply stretch over the plastic side parts of the seat:
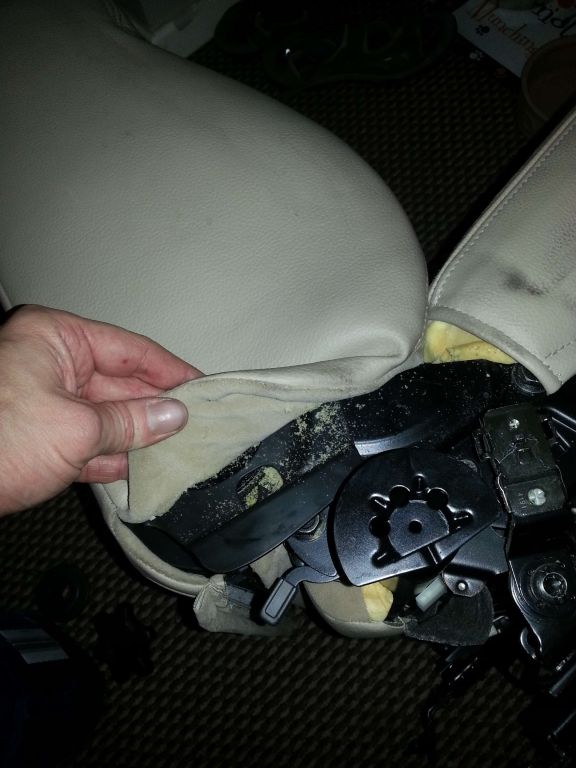
Guess what is stopping the seat back cover from coming off, yes more hog rings, again much in the same way as the base came to bits these rings have to be removed one by one without exerting too much pressure on the rods that are part of the foam as you don't want the rod to pull out:
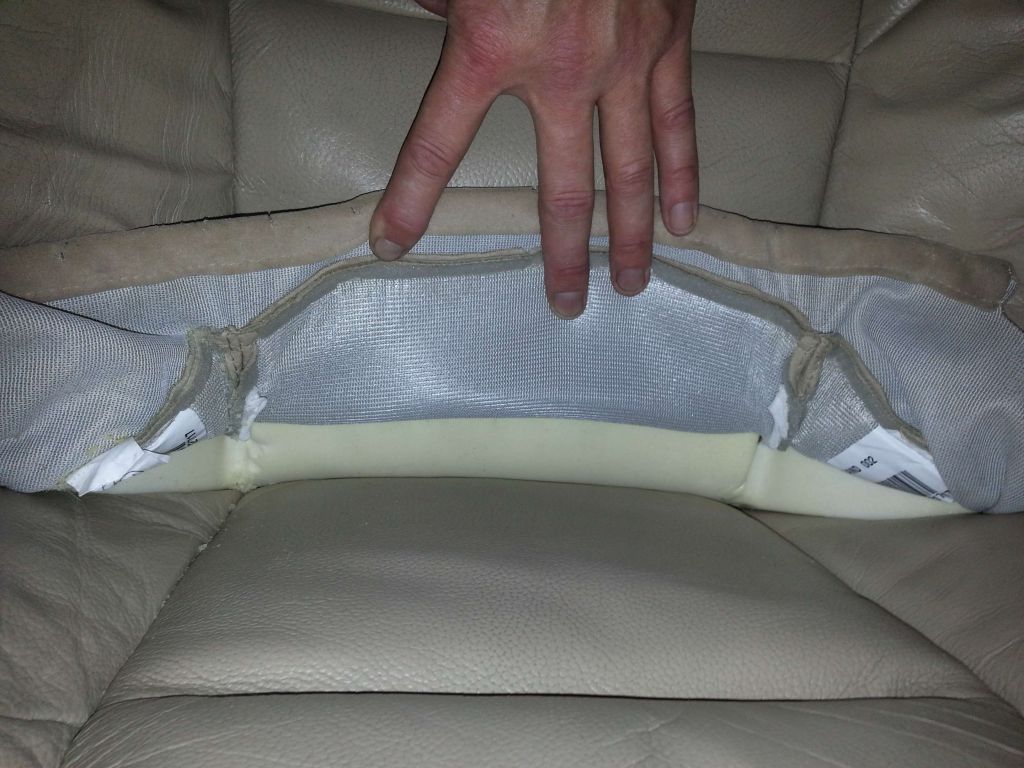
Work methodically from the base of the seat removing the rings from the vertical channels then once exposed remove the rings from the horizontal channels:
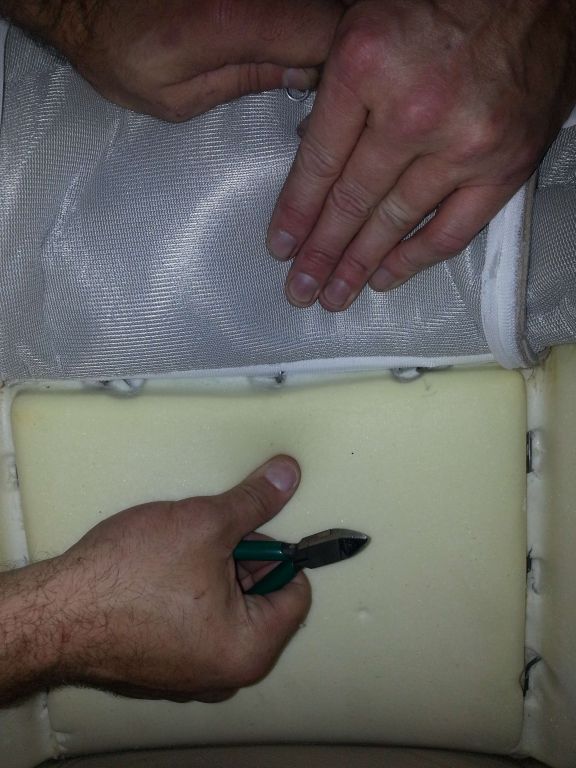
We stopped at the second horizontal channel for the hog rings as the seat heater mat was only long enough to get this far up the seat (no point making even more work):
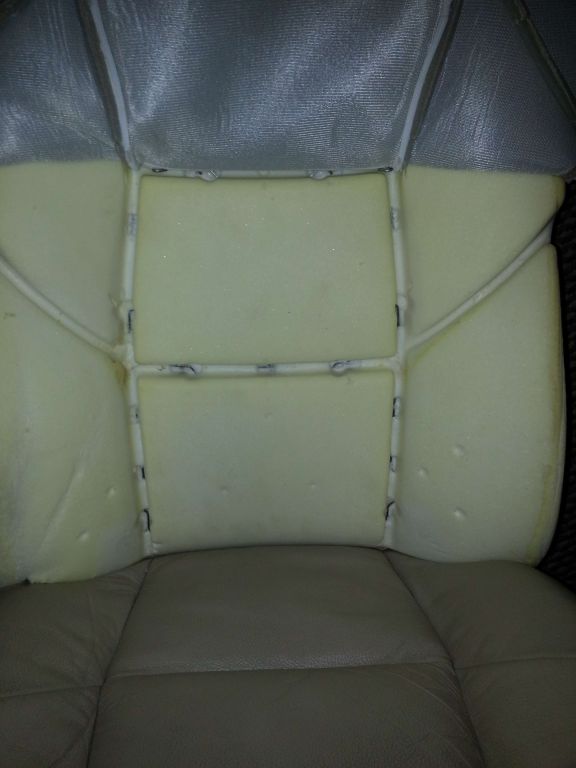
Pop the heater mat in to position and mark out the location of the horizontal channel with a felt tip pen:
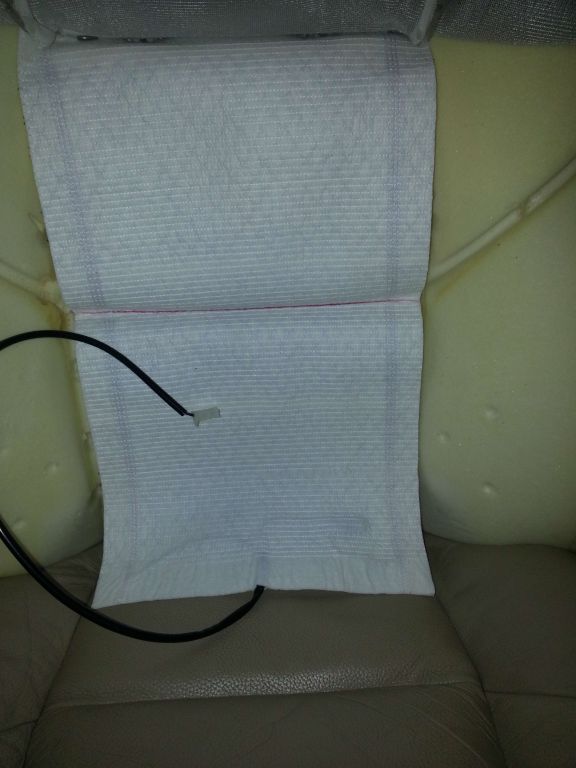
Cut through the heater mat avoiding cutting the outer 1" section then secure the mat down to the foam using the self adhesive strips:
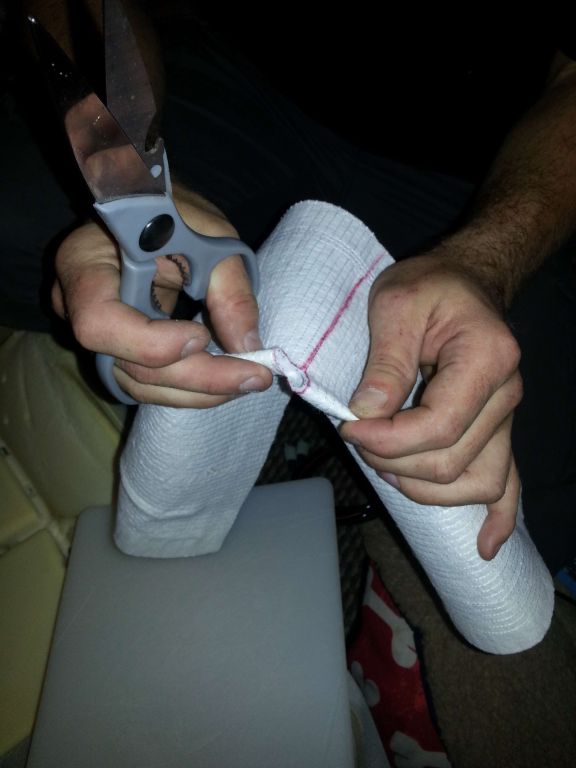
Again more tywraps applied in the same way as we did the work on the base:
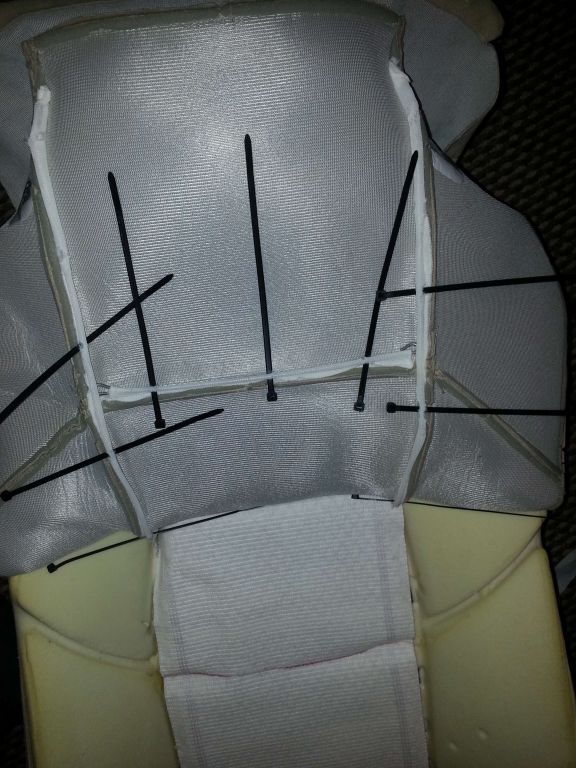
Finally you get to the rear opening of the seat which needs clipping together:
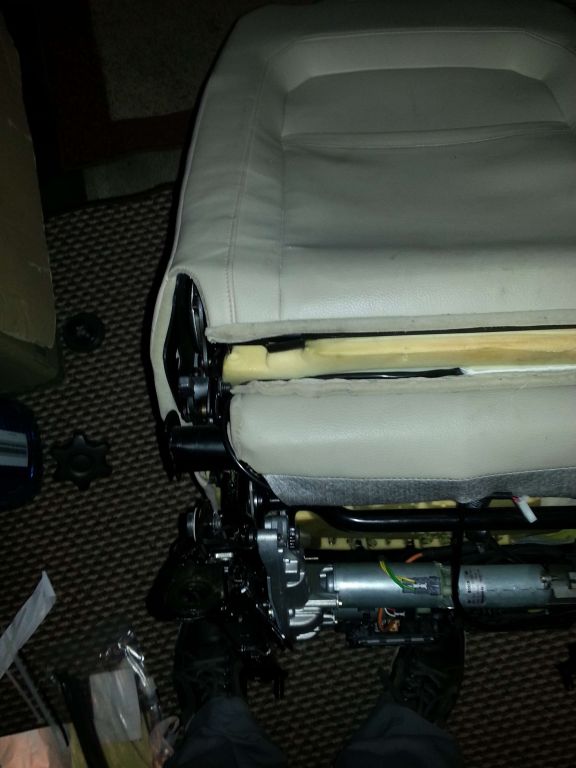
More hog rings and that is the seat upholstery work completed, the wiring and control relay was clipped up under the seat and it was time to pop the seat back in to the car:
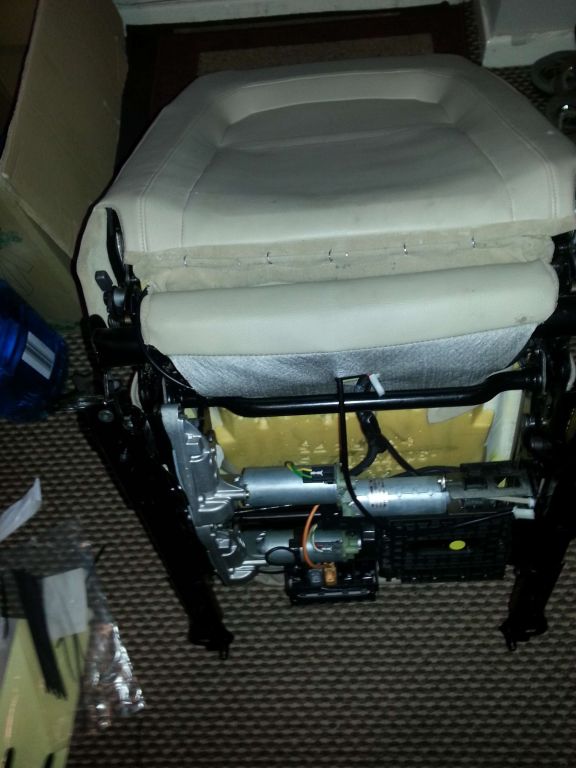
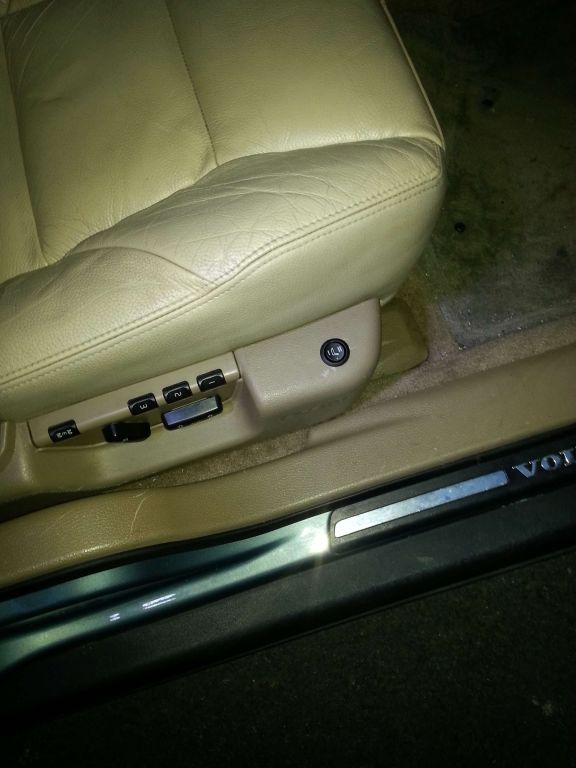
Passenger seat two stage heat control switch:
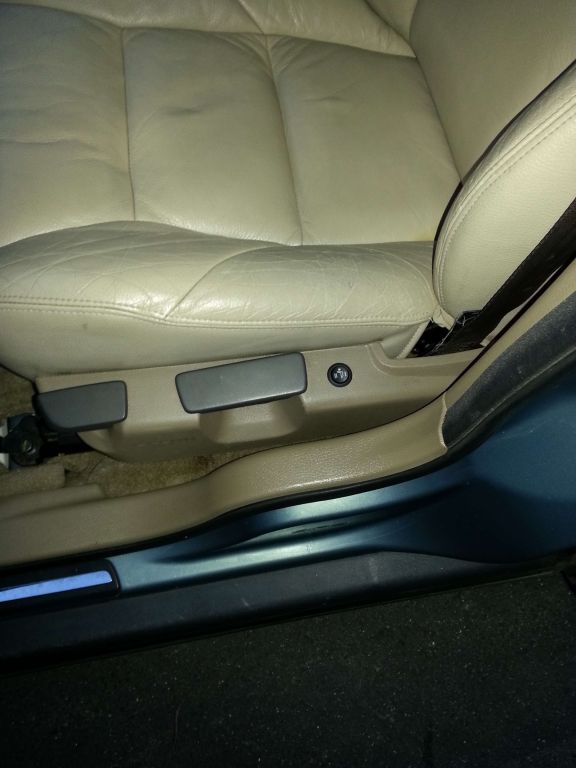
Drivers side two stage heat control switch:
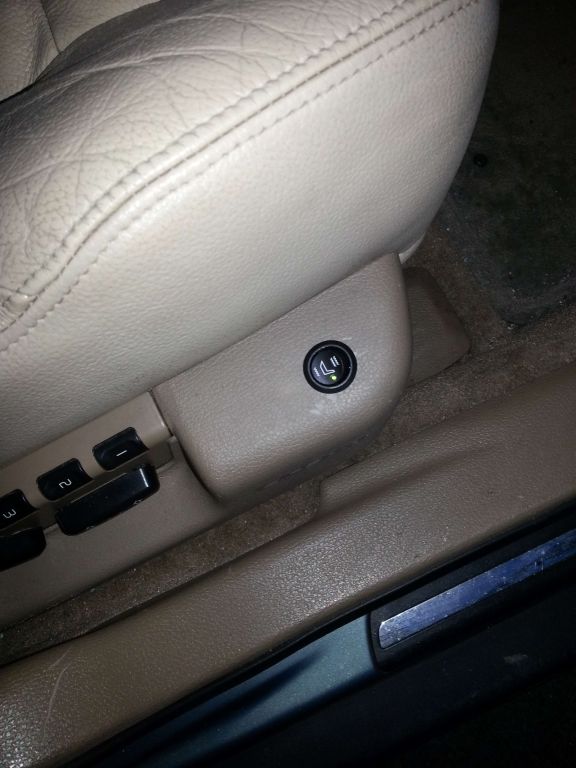
Green denotes stage one heat:
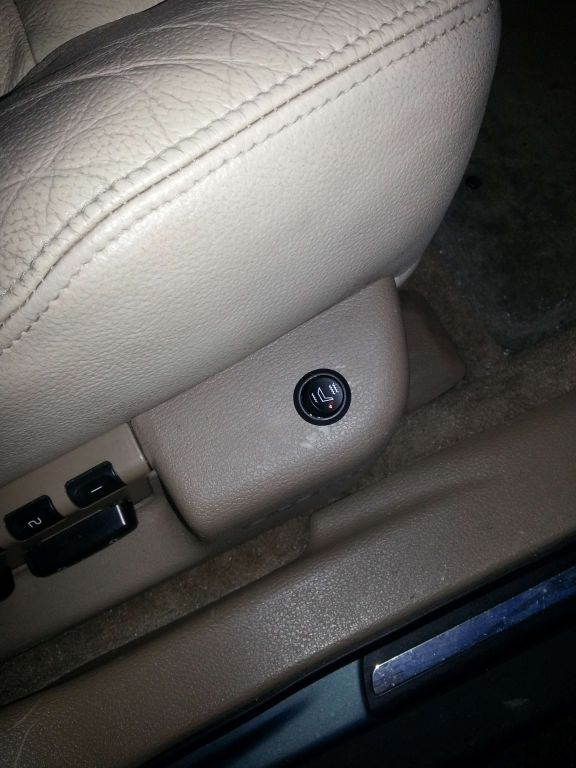
Red denotes stage two heat:
For the power to supply the seat heaters we used the Volvo fitted seat heater supply lines which is a Blue wire with red stipe (+12) in pin one of the seat connector and the Black wore in pin 3 of the seat connector is 0V (-) - The 15A fuses were already fitted which was an added bonus - All four seat heater pads are now working, total time spent was between 5 and 6 hours to complete both front seats - Mike