


My 2008 S80 needed a new blower motor. I'll start with a warning...you must have special tool 9997284. Not an option, not a "maybe" ... you must have it to do this job successfully…I wasted two hours devising ways to get the fan out the first time to no avail, while the fan popped out in 5 seconds with the tool. The tool is about $79, and considering how much you're saving this doing it yourself, it's well worth it. There is no way to remove the blower otherwise (short of tearing the dashboard out of the car completely).
Time: 4-6 hours for the first-timer.
Tools required:
Volvo special tool 9997284
T20 torx driver
8mm and 10mm nut drivers
Ratchet set with 8-13mm sockets
Small diagonal cutters
Small needle-nose pliers
Head-mounted light (no, seriously)
Flexibility (if you're not that flexible, consider removing passenger seat and carpeting completely when we get there)
Optional tools:
Weatherstrip clip removal tool (or similar clip removal pliers)
Trouble light
Mirror
DiCE and VIDA to verify CEM operation and reset SRS if SRS light stays on
Attached are the VIDA printouts for each job.
Step 1: park car in a convenient place to easily get to the passenger side (you'll also need access to the driver's side, but not as much), and while you've got the car on, put the AC in recirculate (this makes removal of a part possible later)
Step 2: move passenger seat all the way back, unlock all doors
Step 3: remove negative battery cable and wait 3 minutes before proceeding
Step 4: Lower steering wheel all the way out and down
Step 5: Pull black instrument trim panel towards you
Step 6: Use a spudger/bone tool to remove top steering column cover, starting from one corner and working across
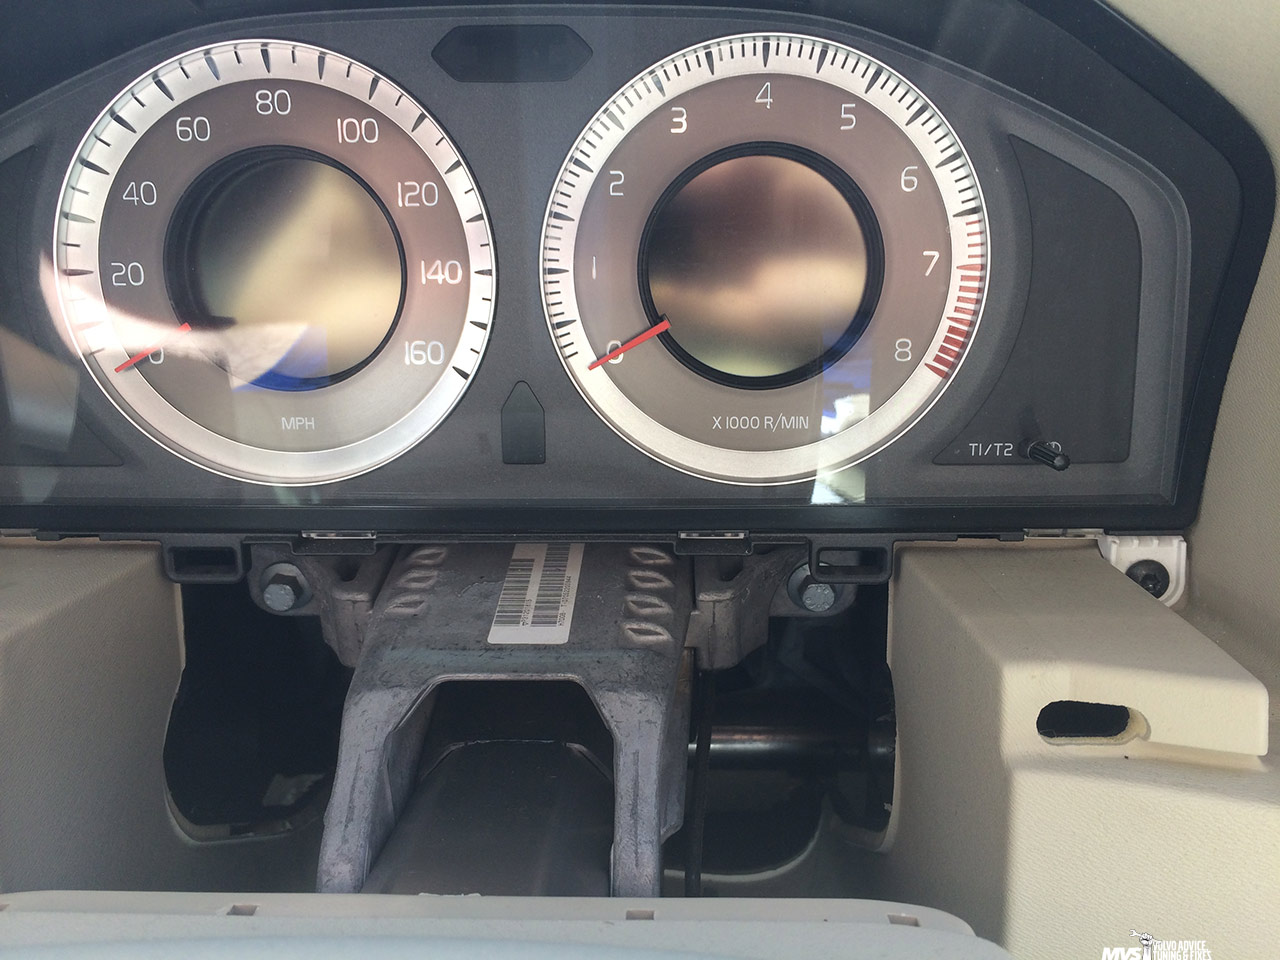
Step 7: Remove the 4 T20 torx screws that hold instrument cluster in
Step 8: Tip cluster towards you using bone tool to pry top
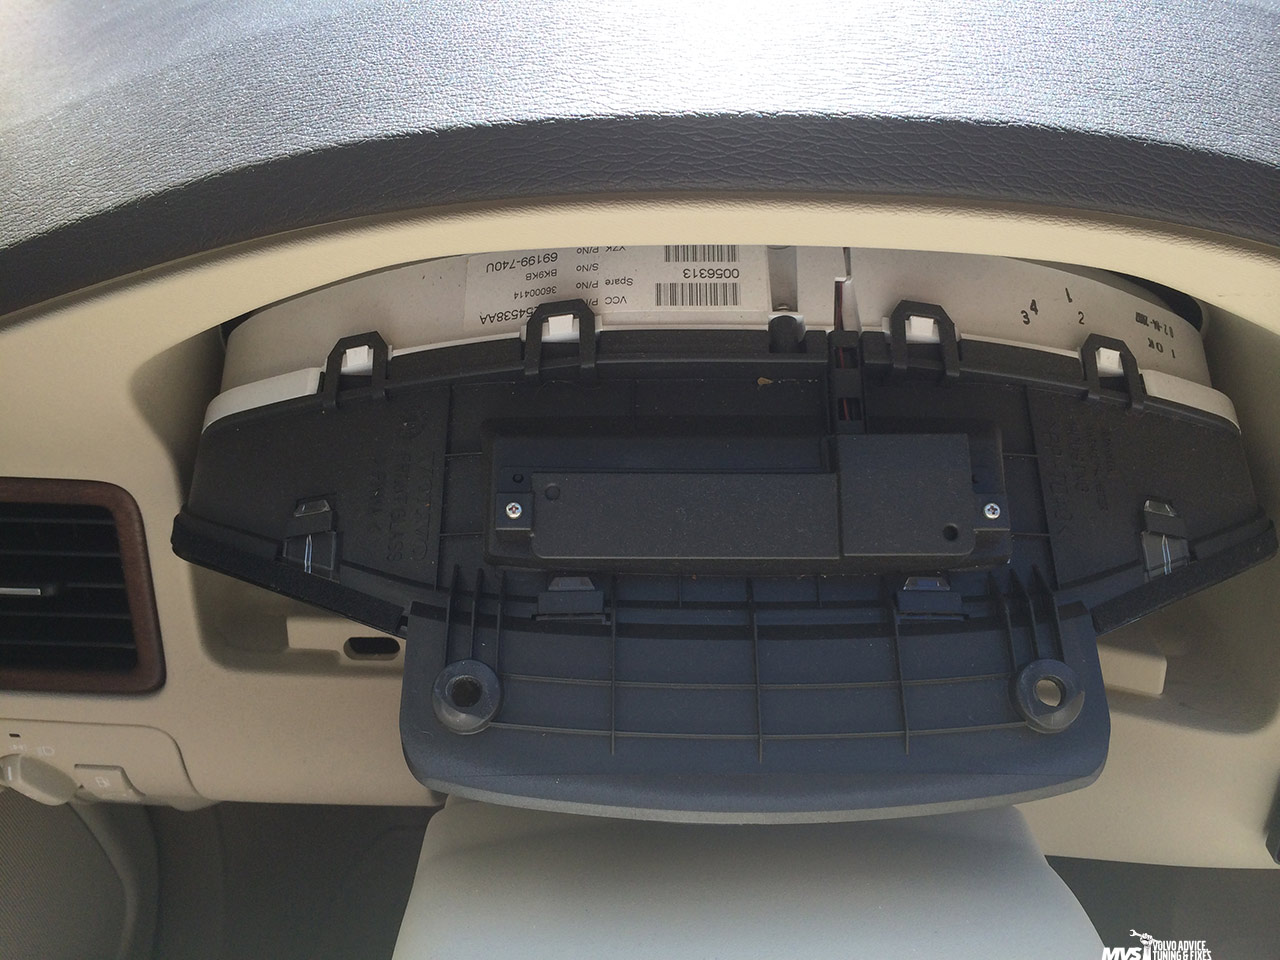
Step 9: Remove, unplug one electrical connector on left, and set aside
Step 10: Using a flashlight, locate blower motor, reach in (blindly) and disconnect electrical connector by squeezing the tabs top and bottom
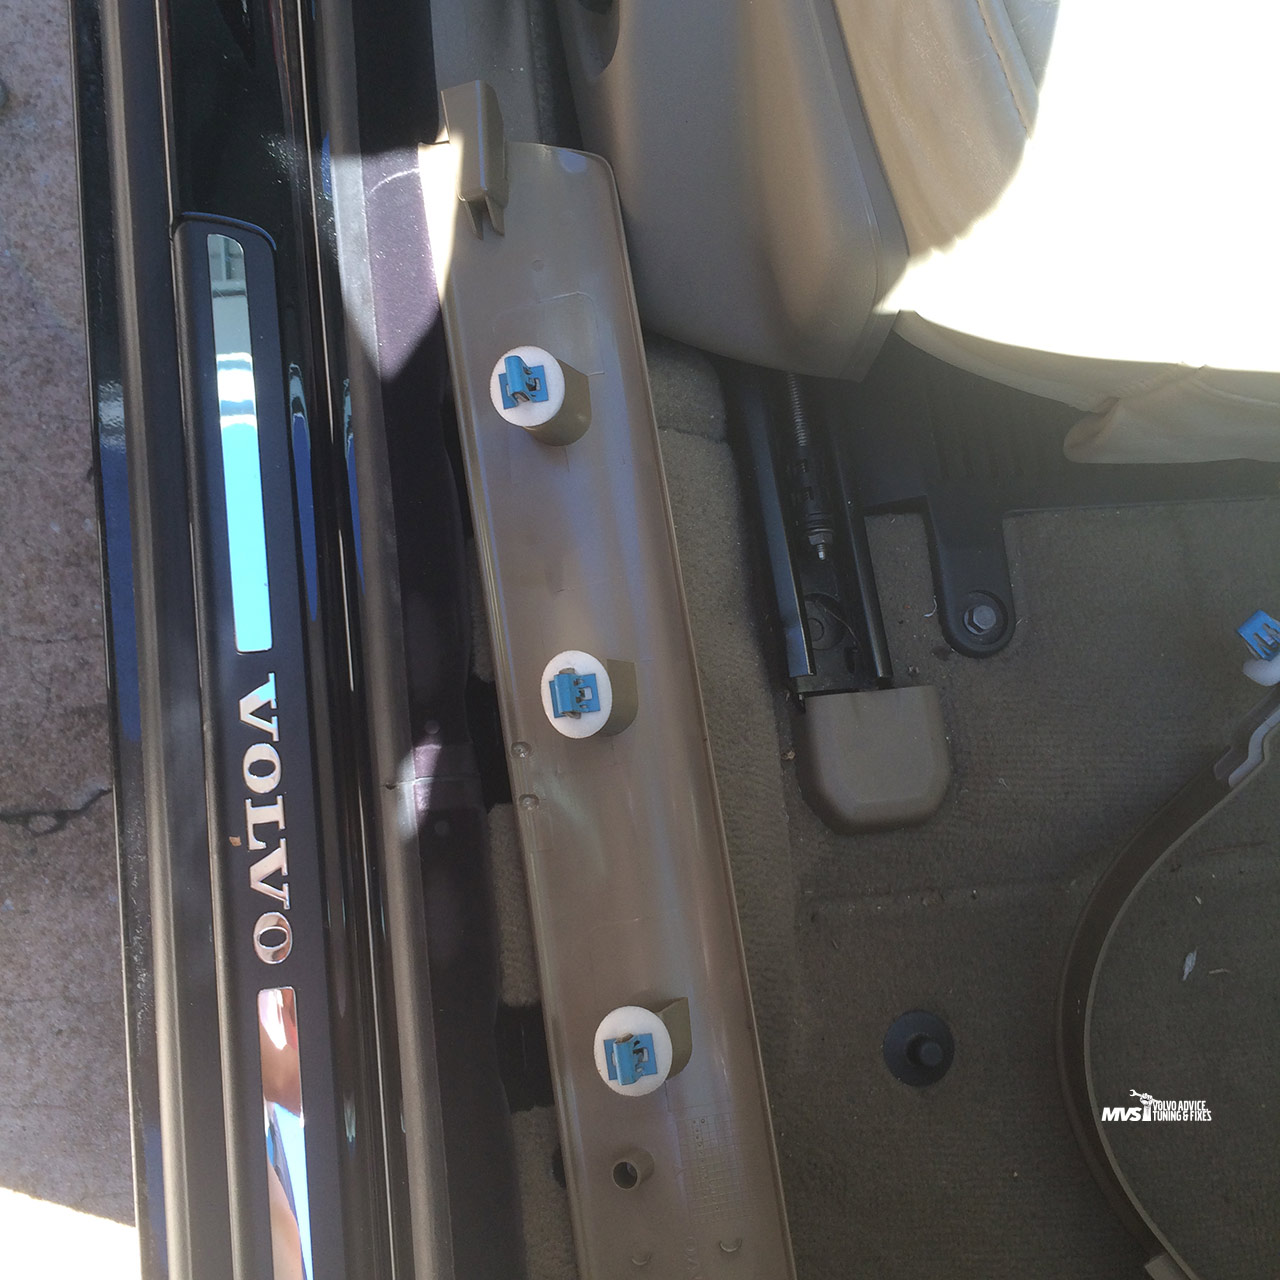
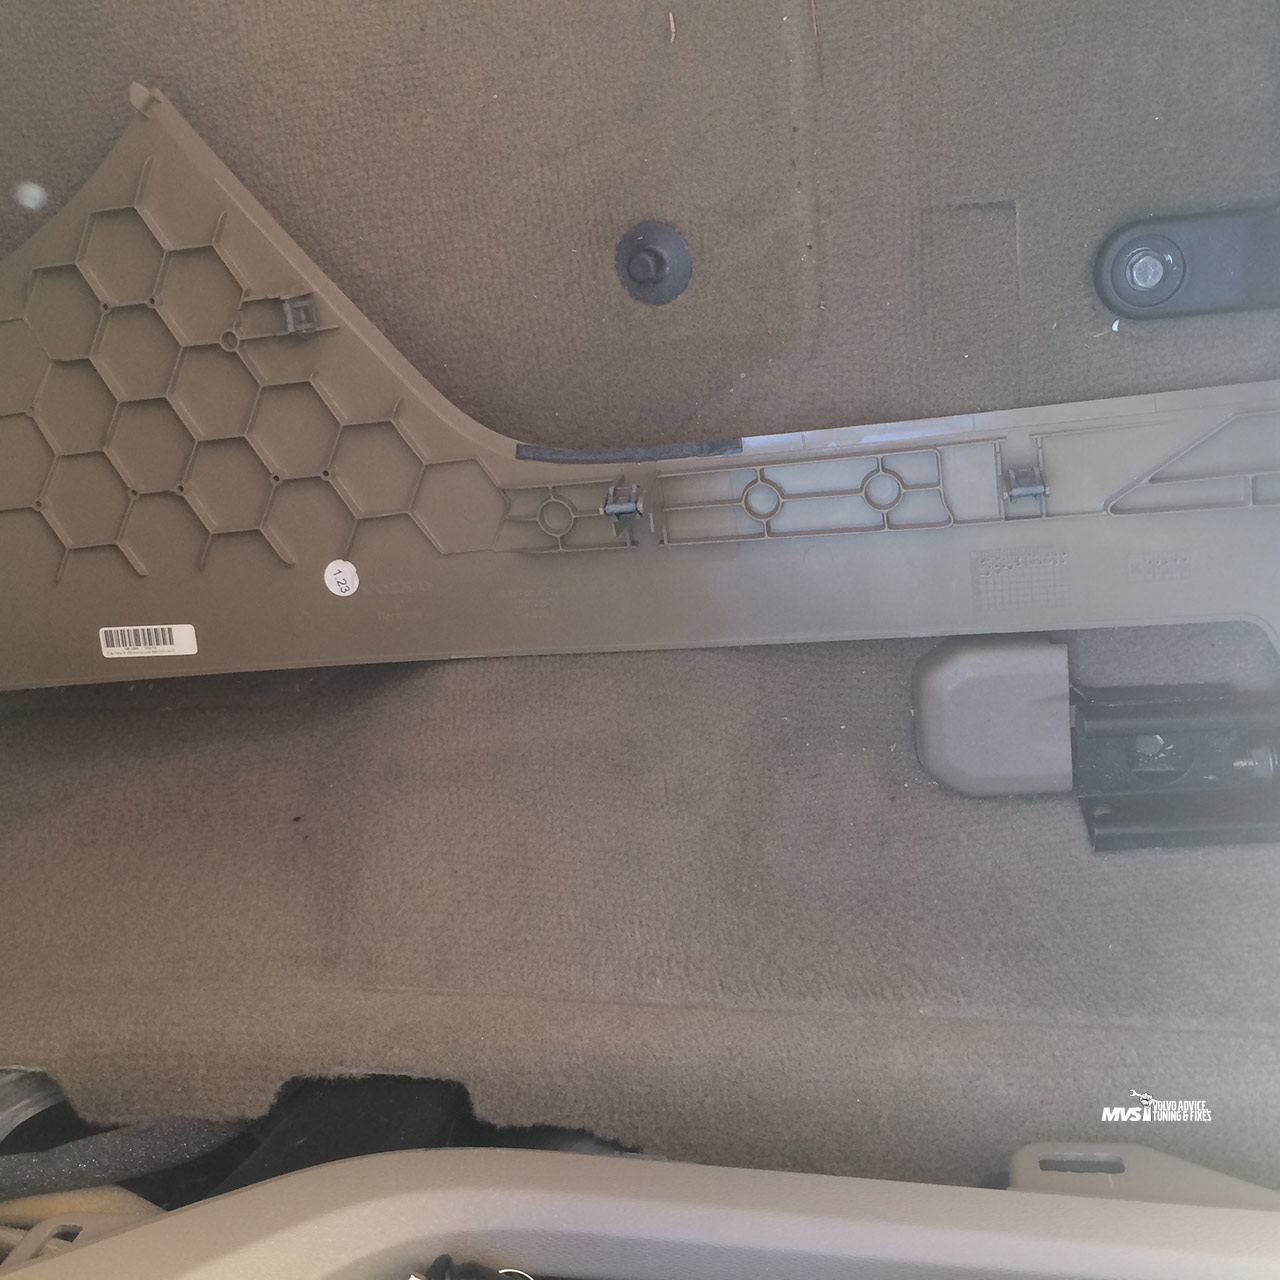
Step 11: Remove right door opening threshold trim by pulling straight up, the part pivots towards the rear of the car, so work front to back
Step 12: Remove front door opening trim by pulling up at the bottom, then towards you from the vertical part, finally sliding the part off the catch at the top
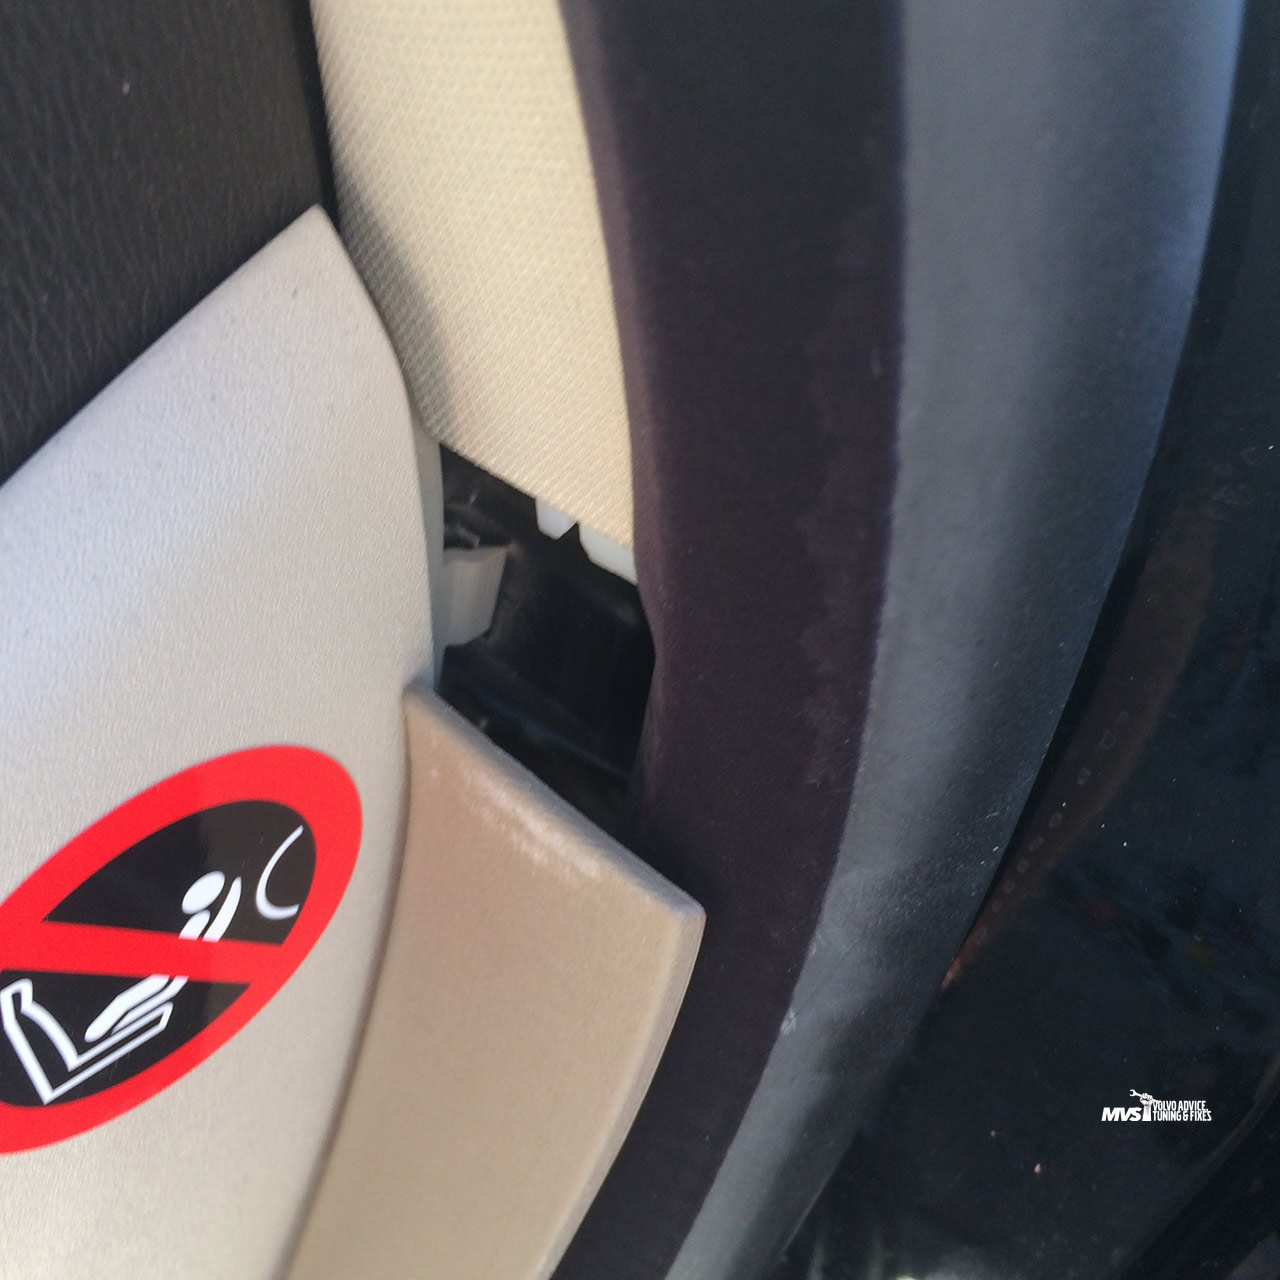
Step 13: Remove dashboard side trim with bone tool/spudger
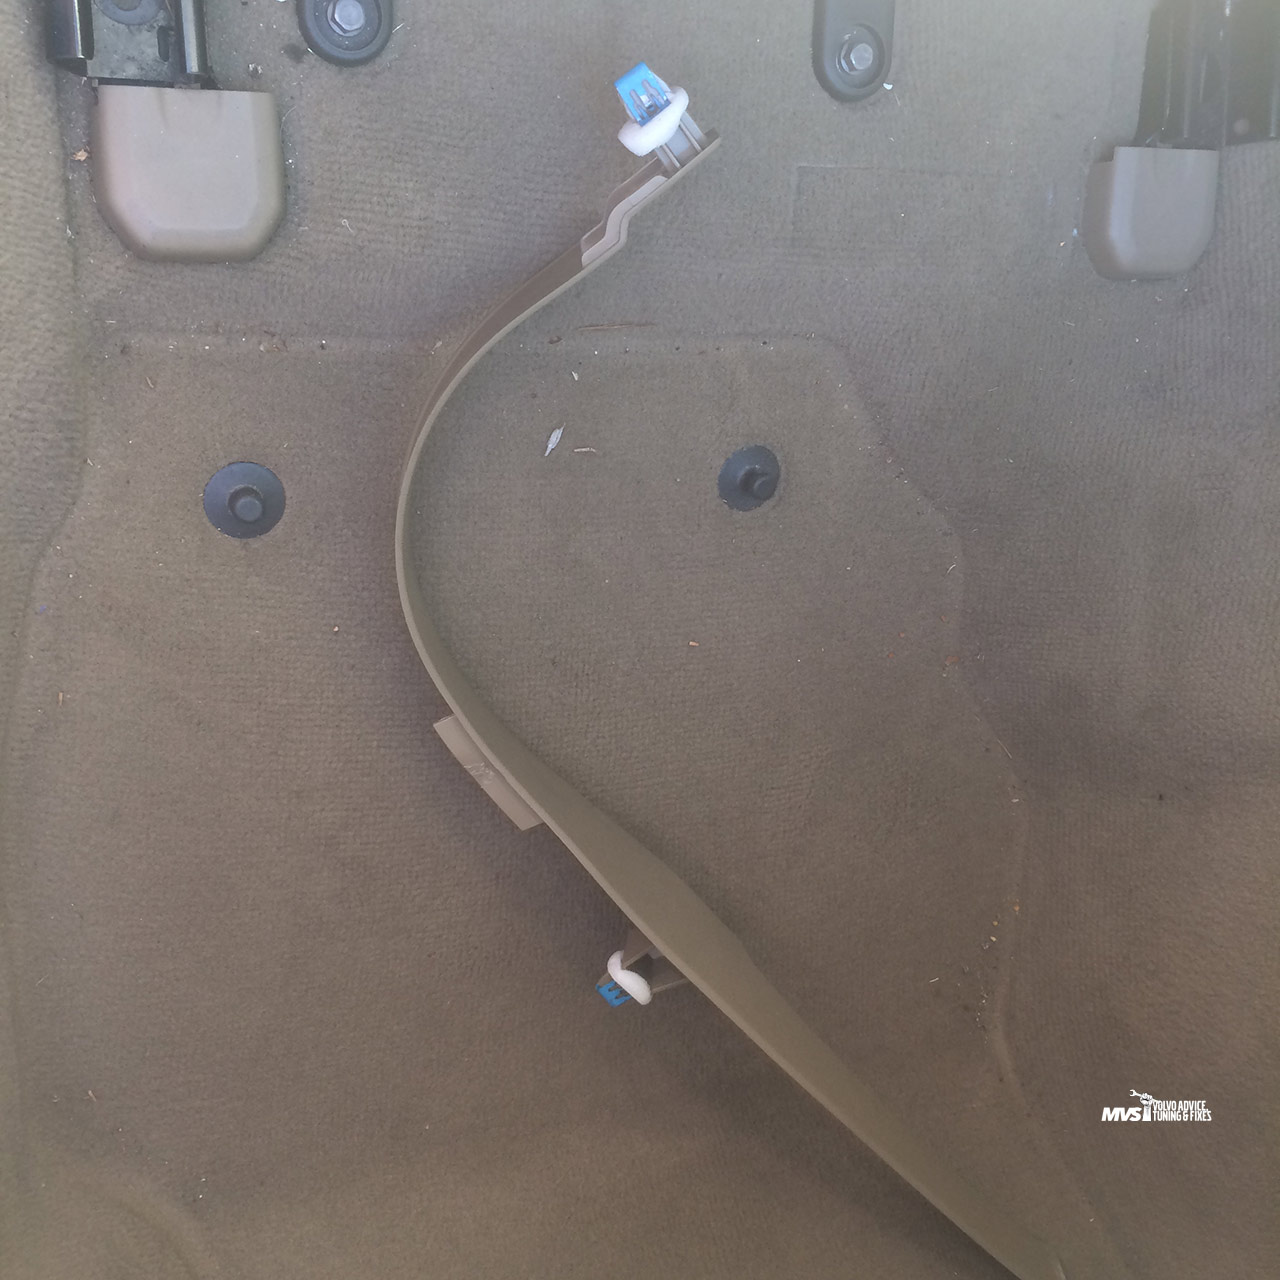
Step 14: Remove tunnel console trim by prying nearest the seat and working towards the front of the car
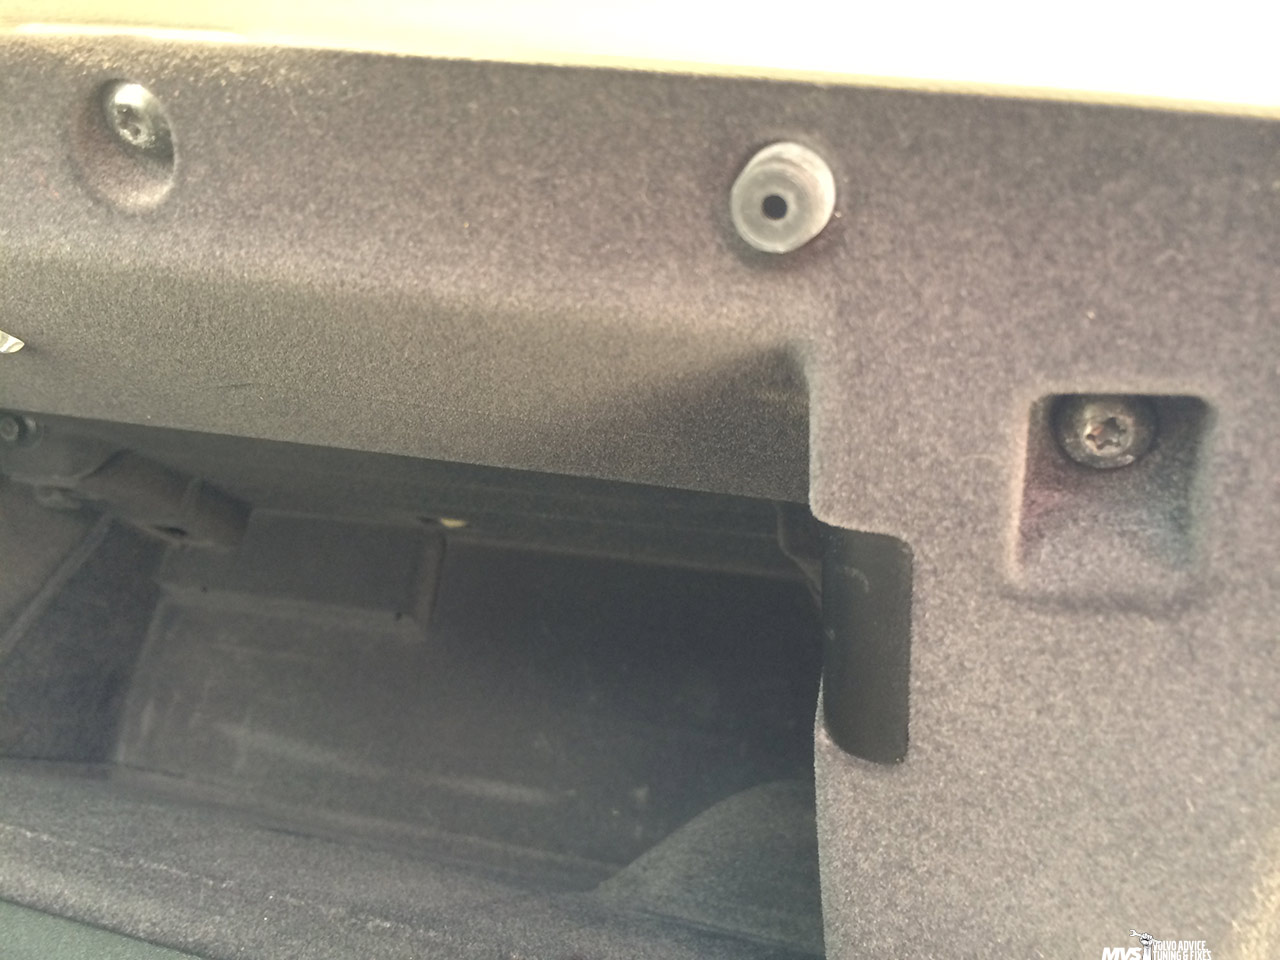
Step 15: Remove soundproofing (two T20 torx screws)
Step 16: Remove glove box fasteners (two 8mm bolts and four T20 torx screws inside; two 8mm bolts and two T20 torx screws underneath door)
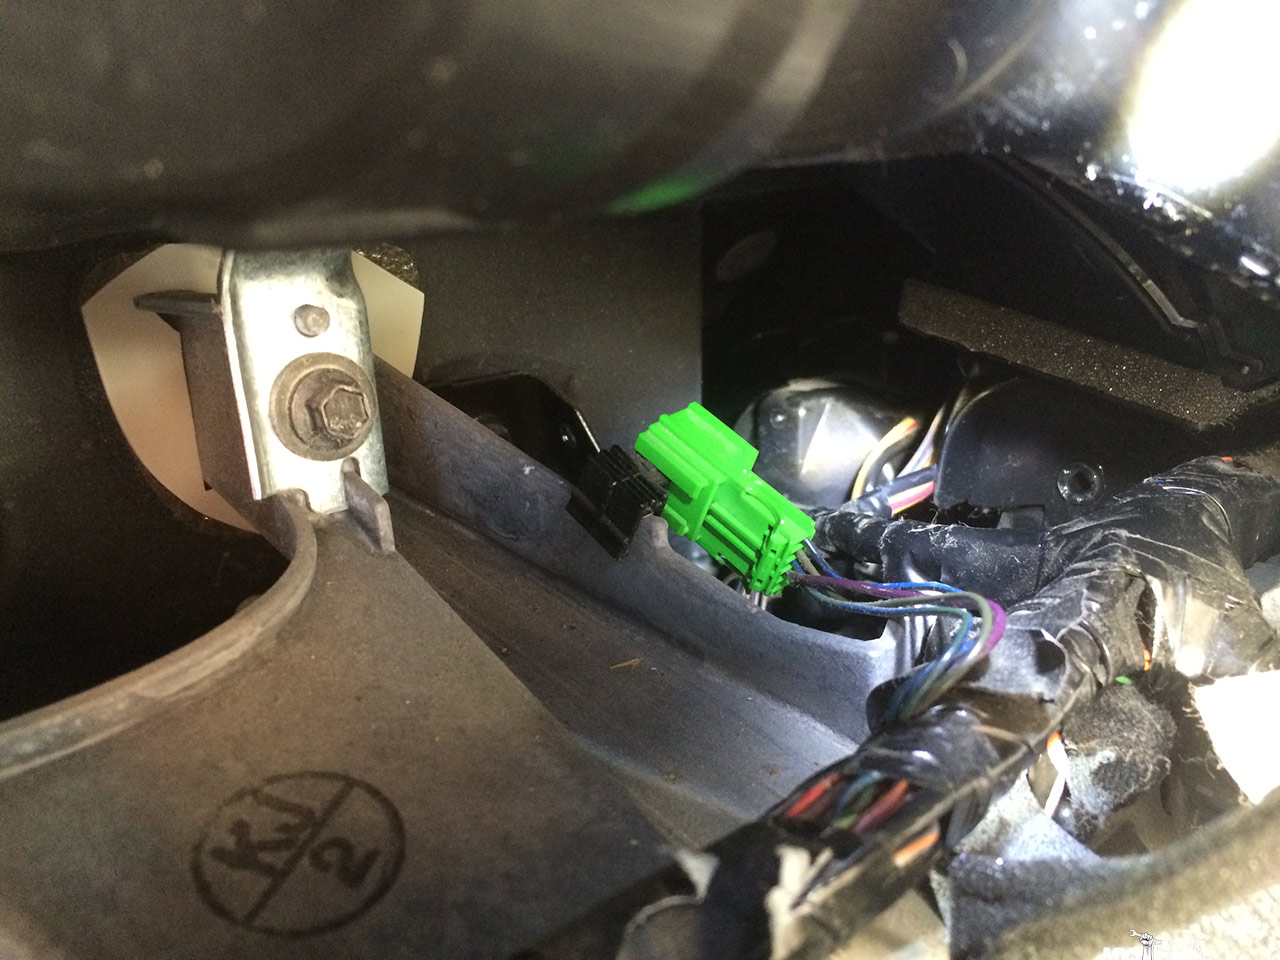
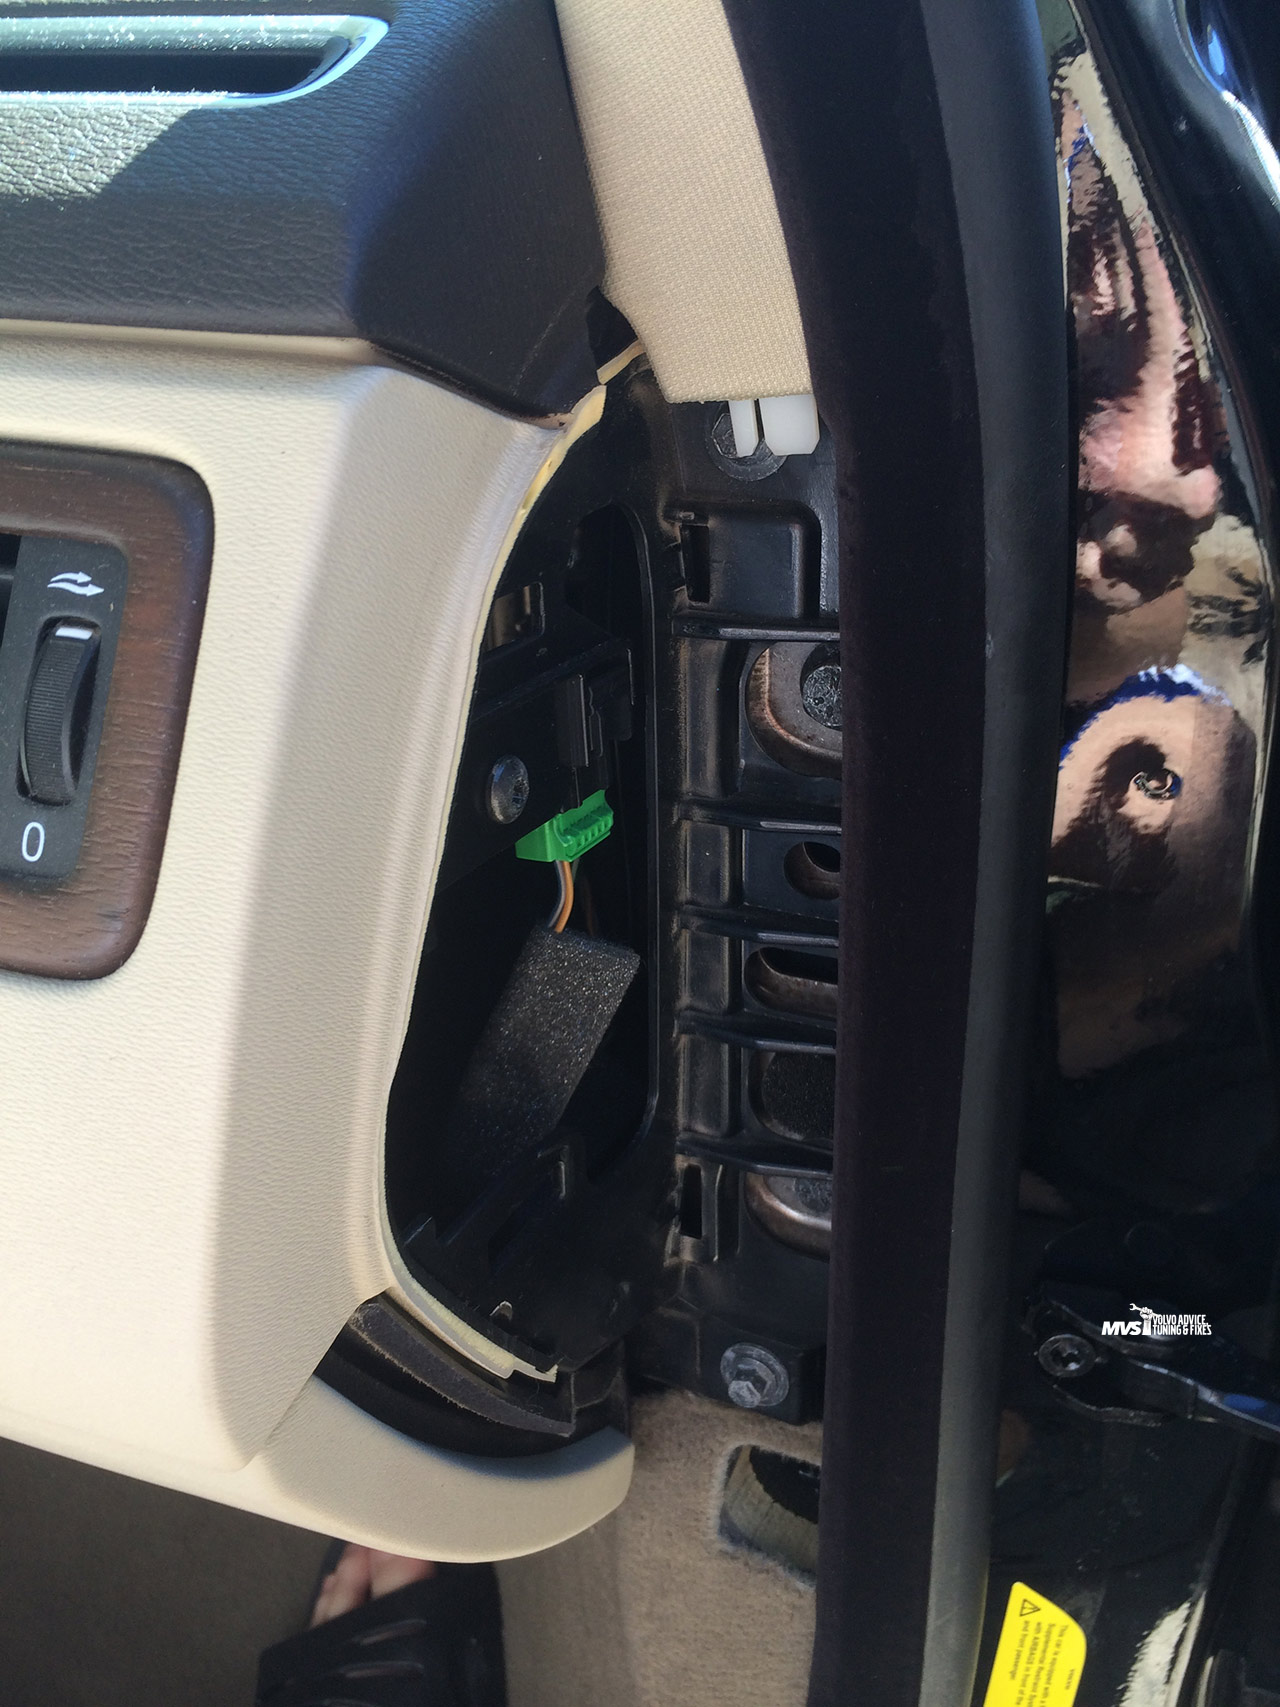
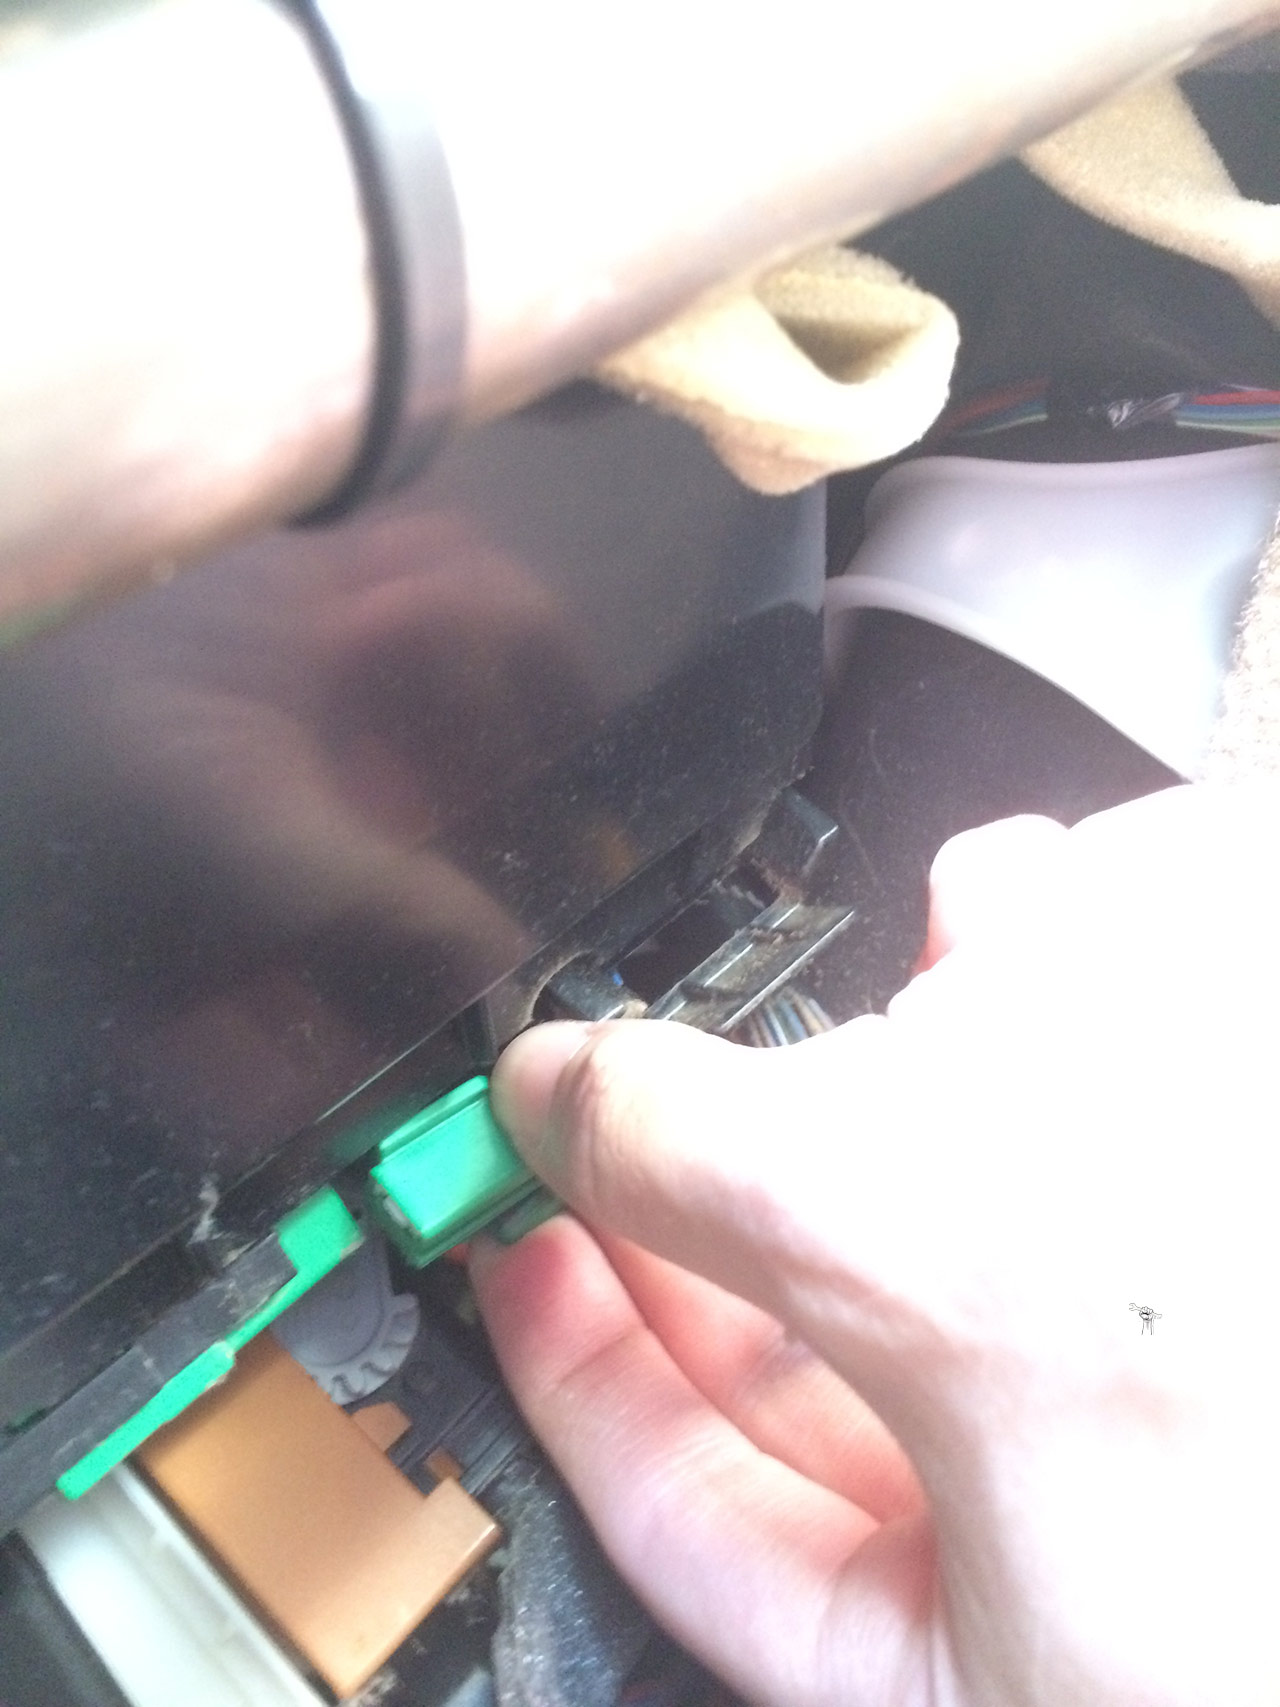
Step 17: Disconnect glove box light electrical connection at rear (green connector)
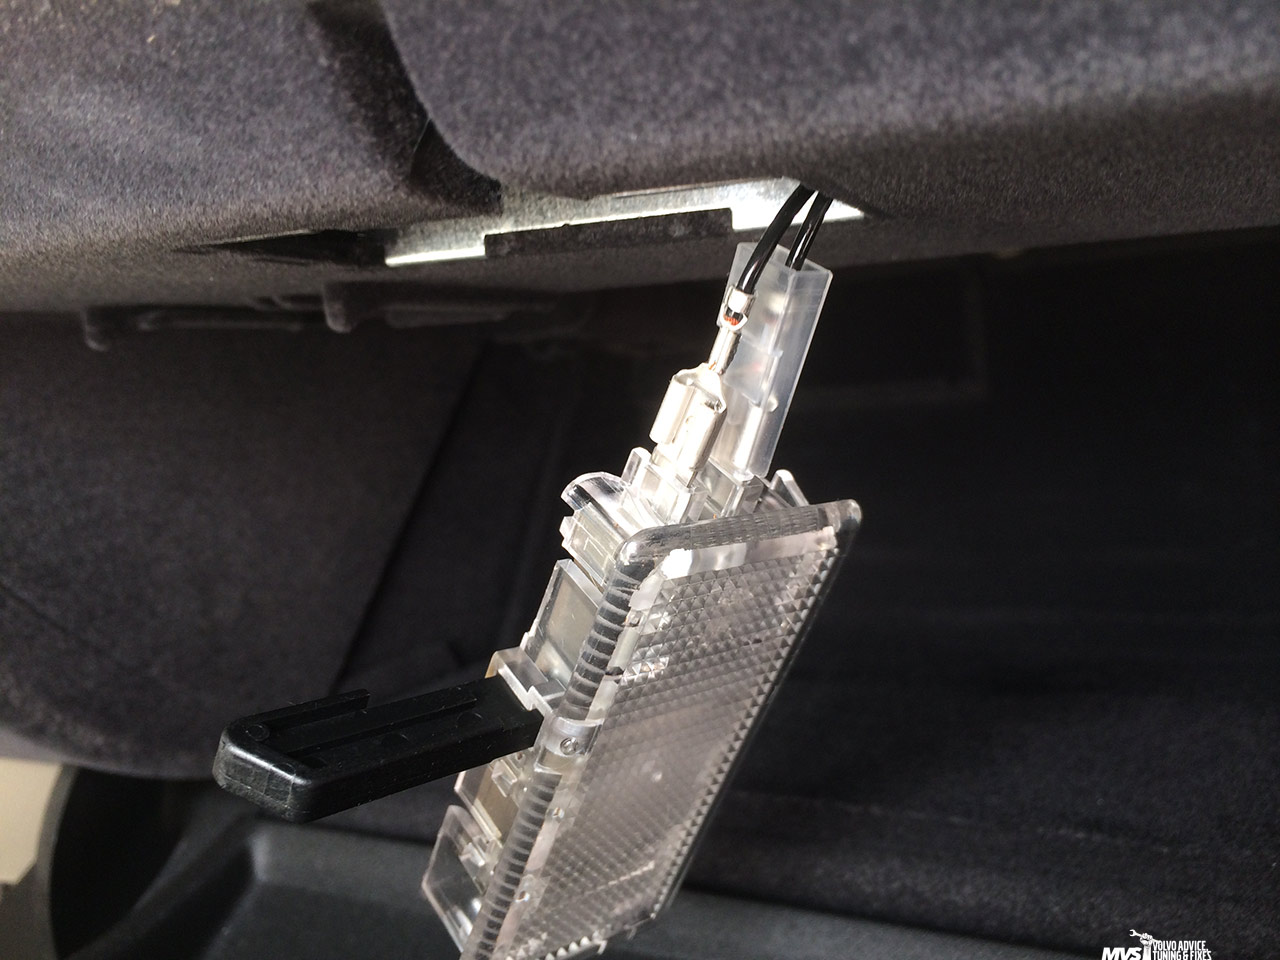
Step 18 [may not be required, depending on model year]: Remove glove box light by prying downwards, disconnecting the leads
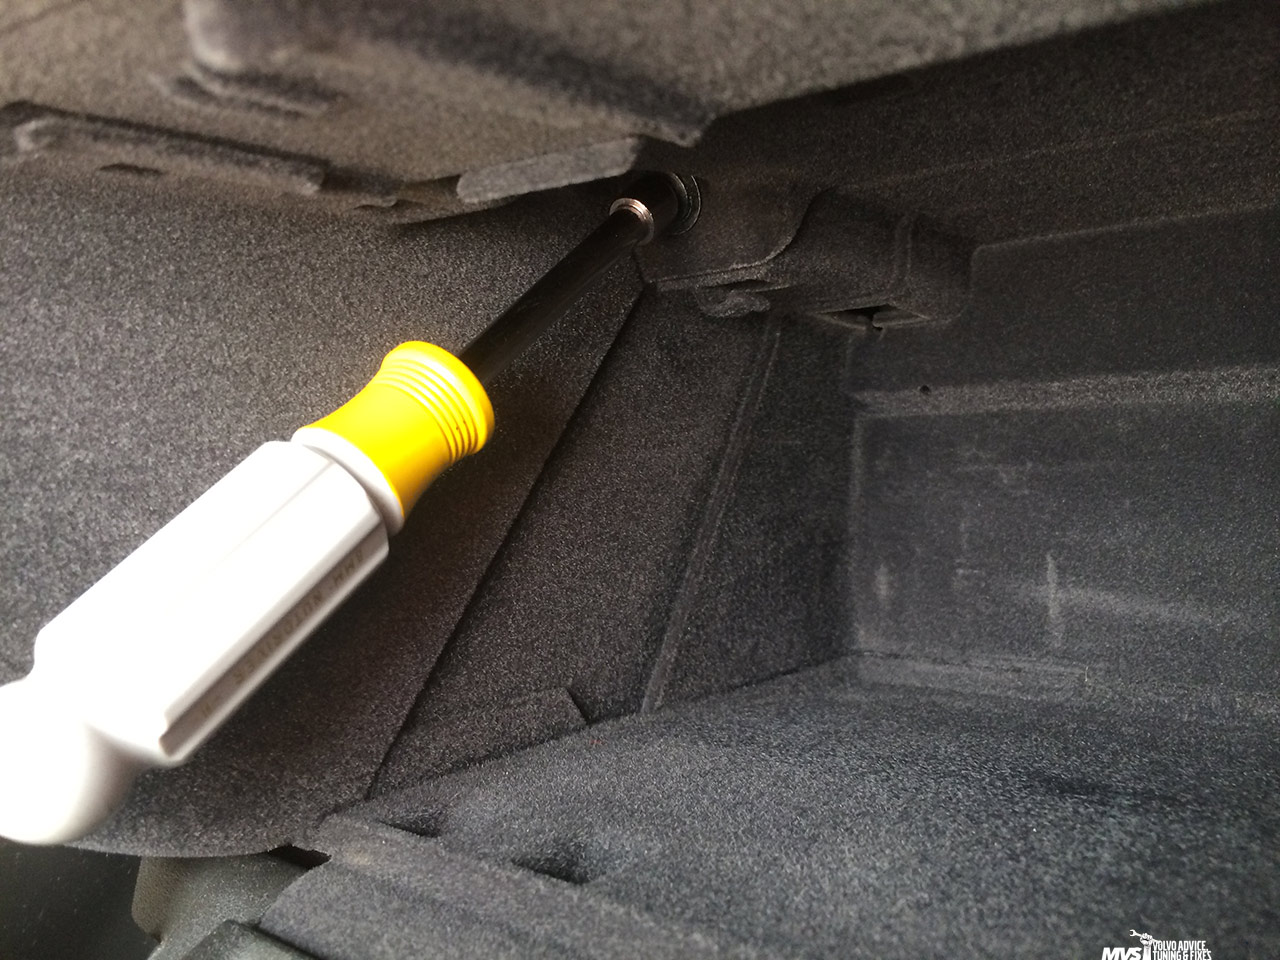
Step 19: Pull glovebox out, if resistance found, stop, crawl underneath and locate electrical harness zip-tied to right corner of glovebox and (blind), cut zip tie, then continue to pull glove box out until a grey electrical connector is found (valet lock), unplug and deroute wire feeding it by pulling forward on the female socket to disengage it from its mounting point.
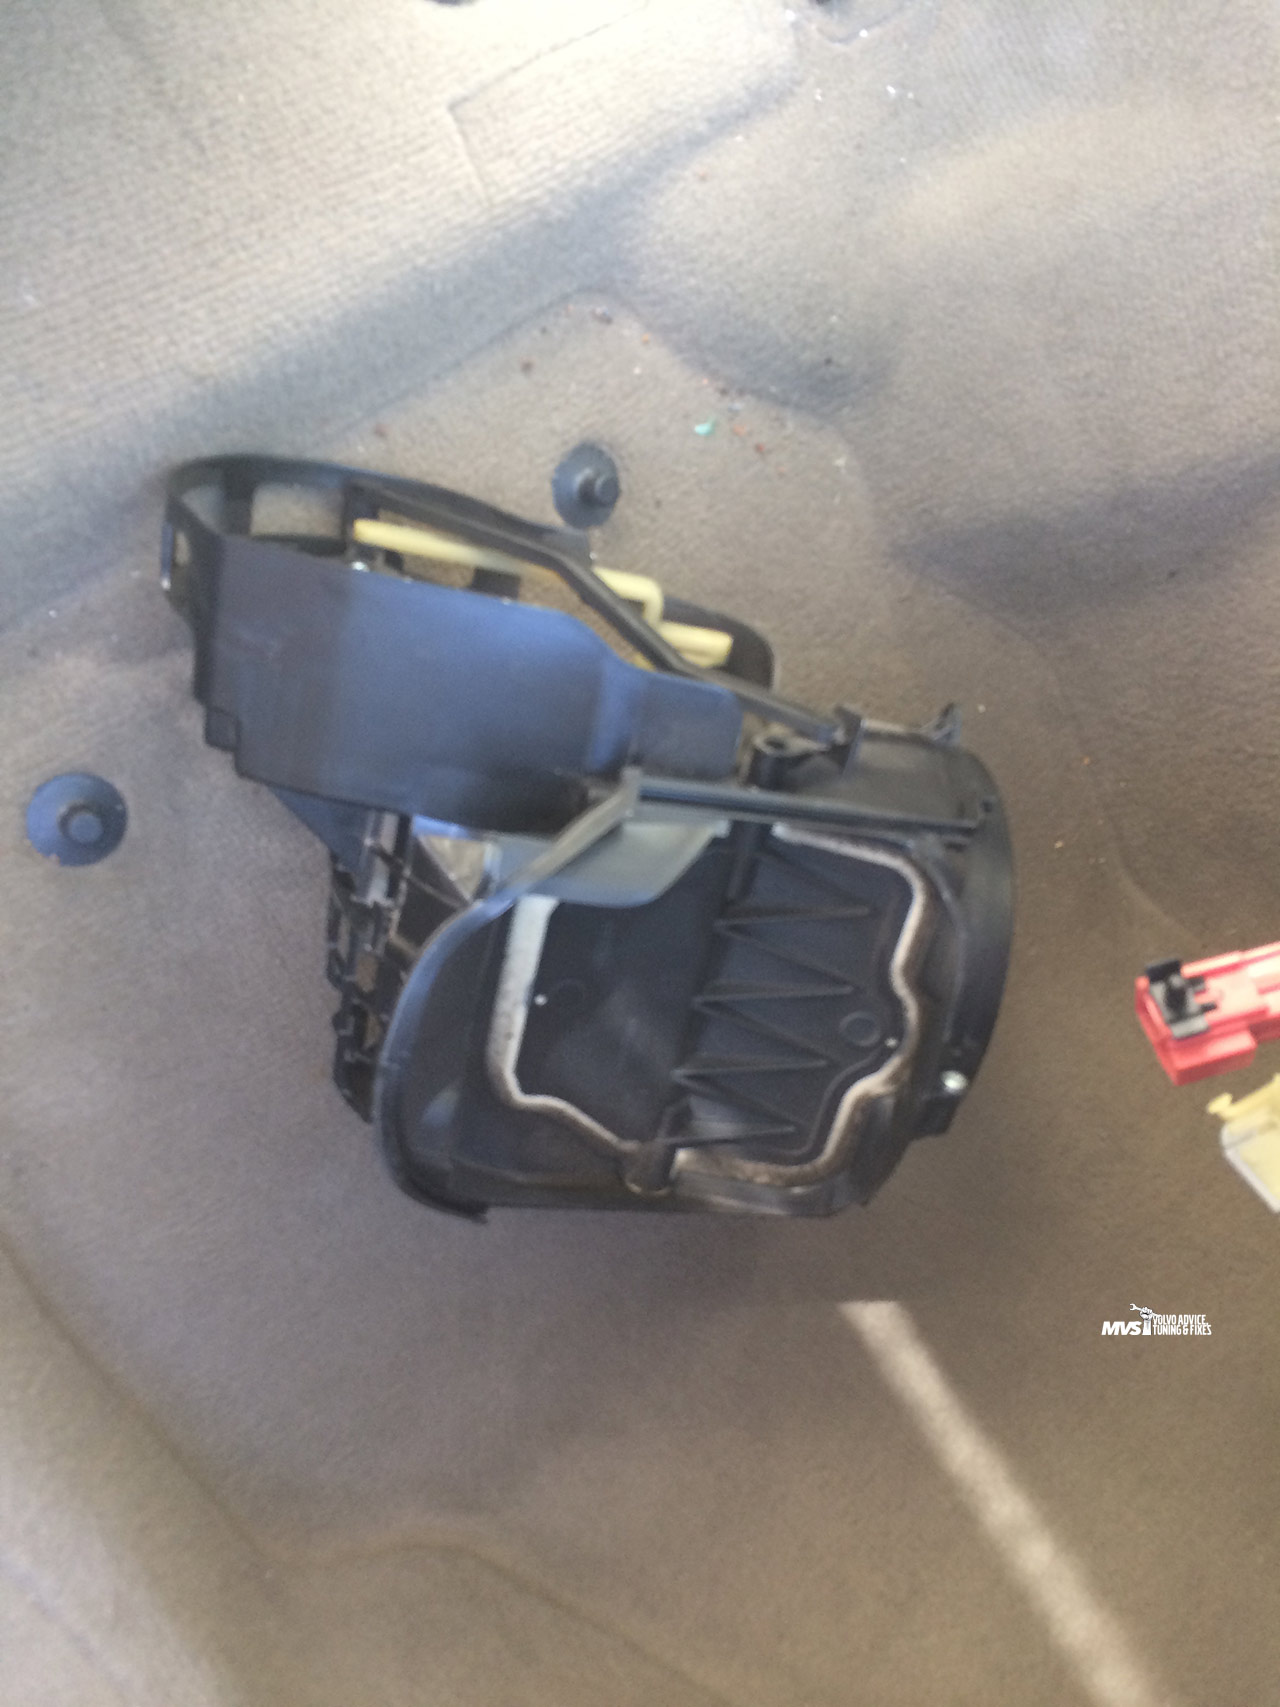
Step 20: Remove duct
For the next few steps, you’ll want to pull the carpet back towards passenger seat
NOTE: the bracket underneath the airbag is sharp, watch yourself!
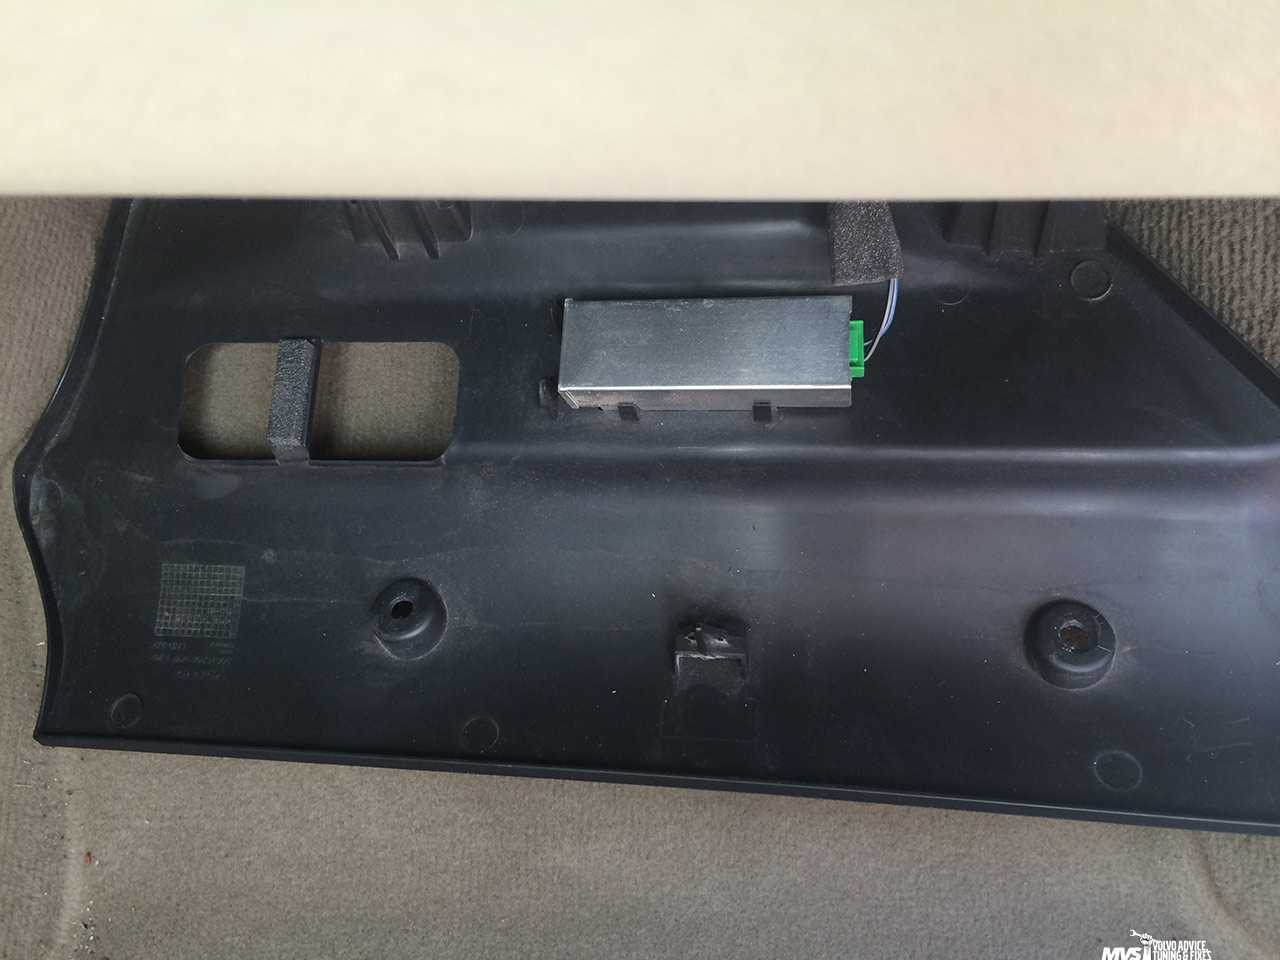
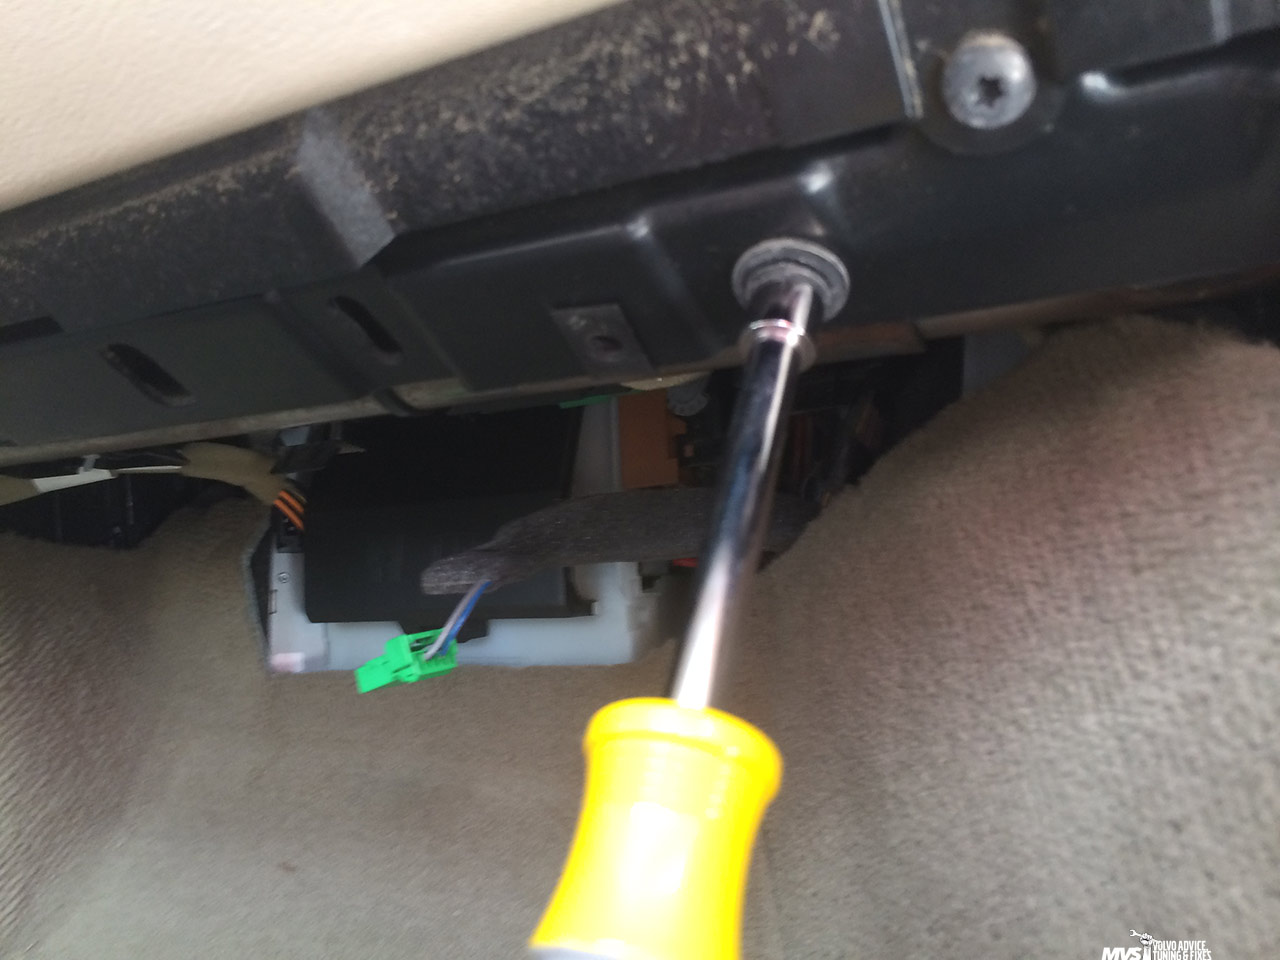
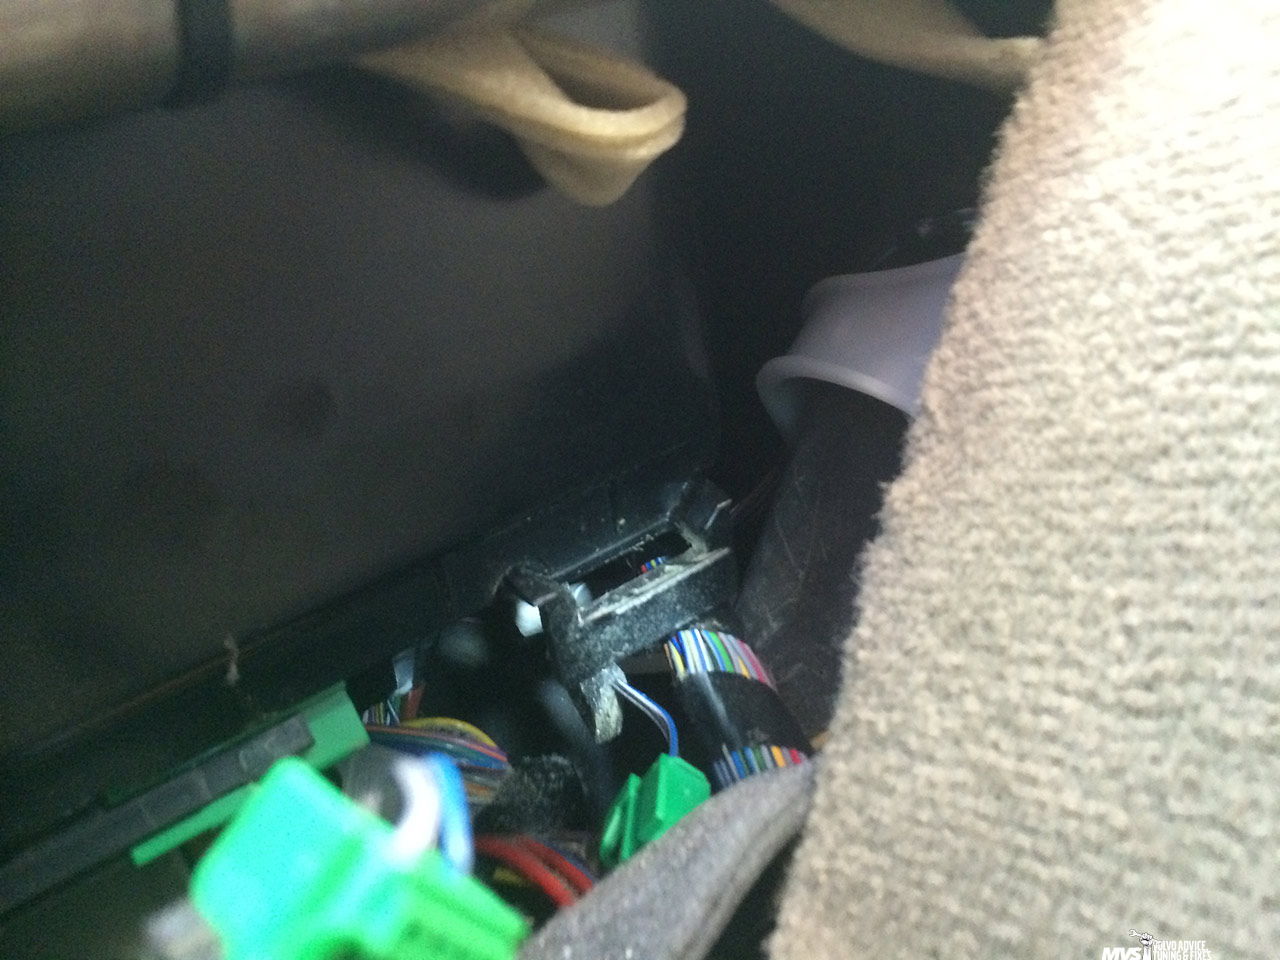
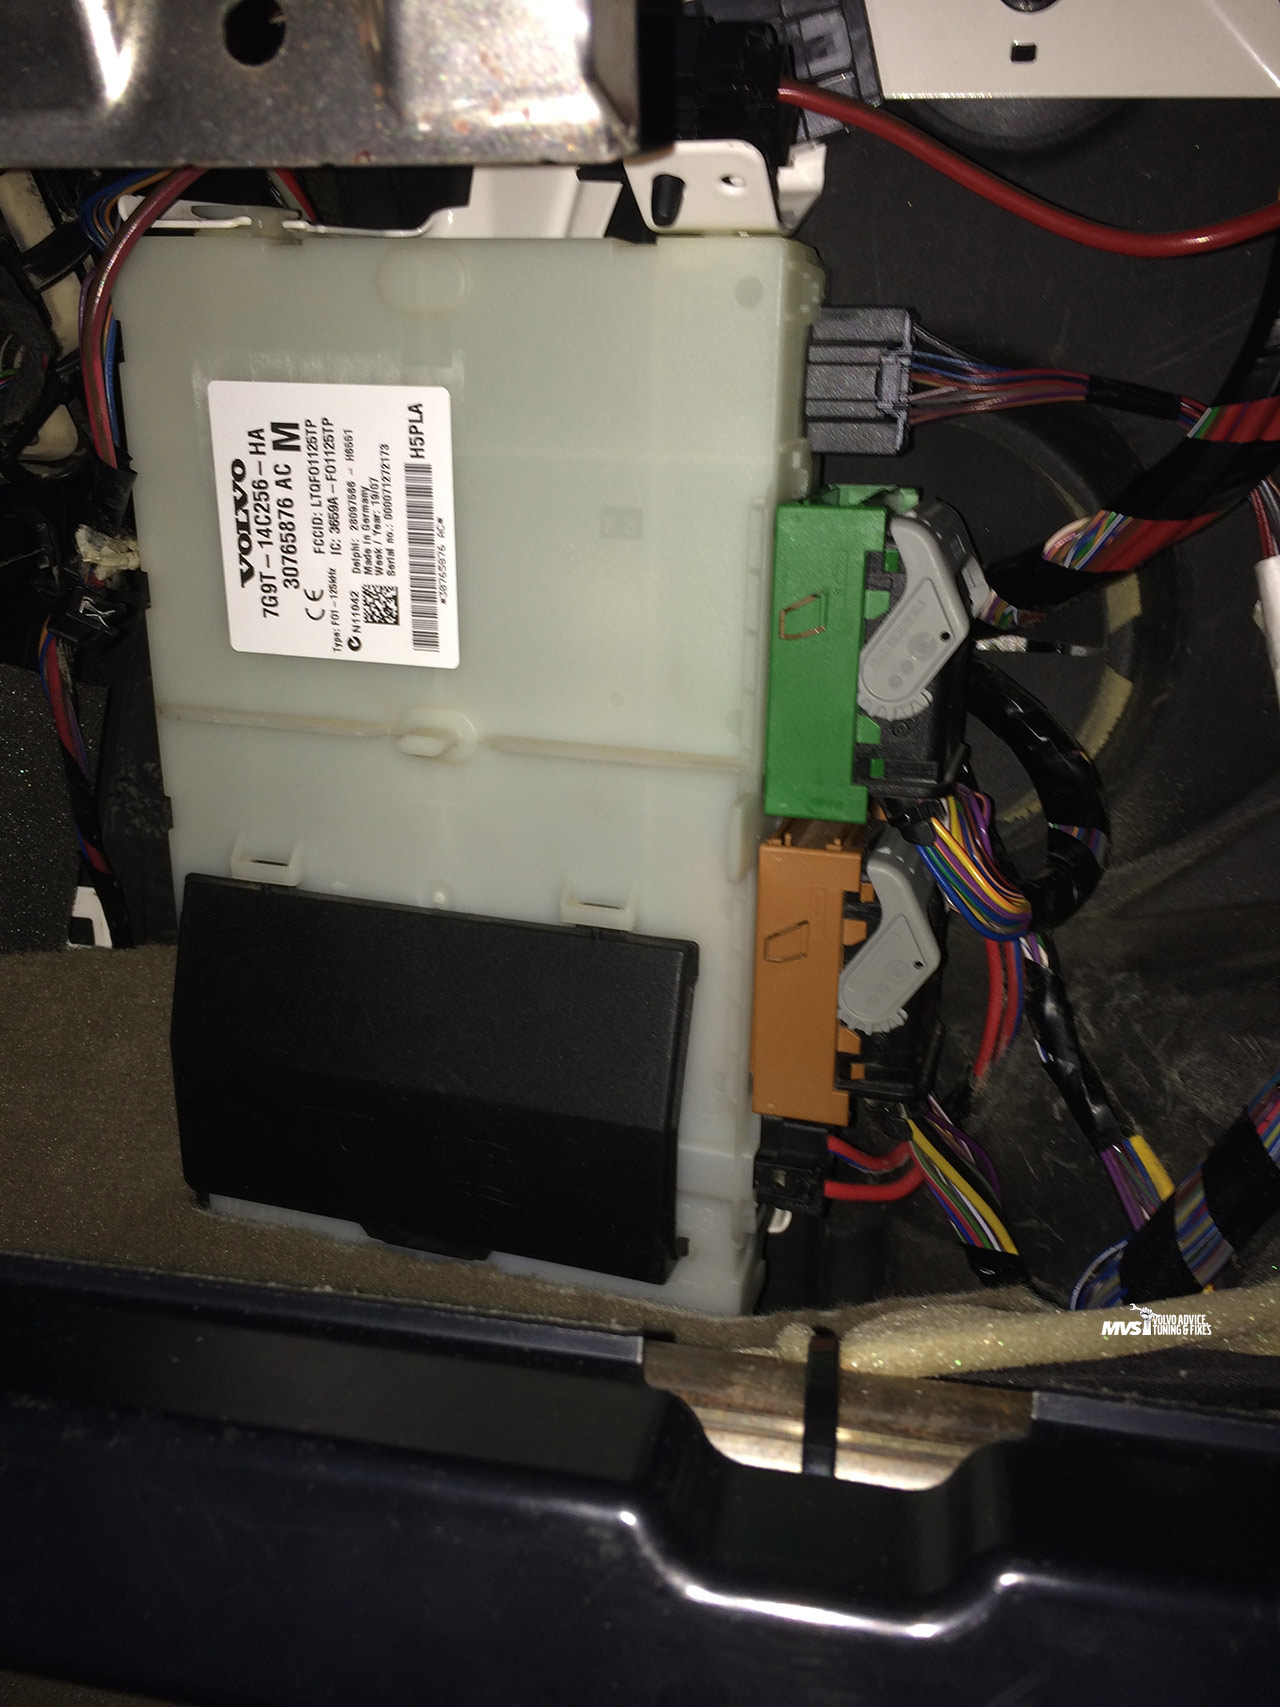
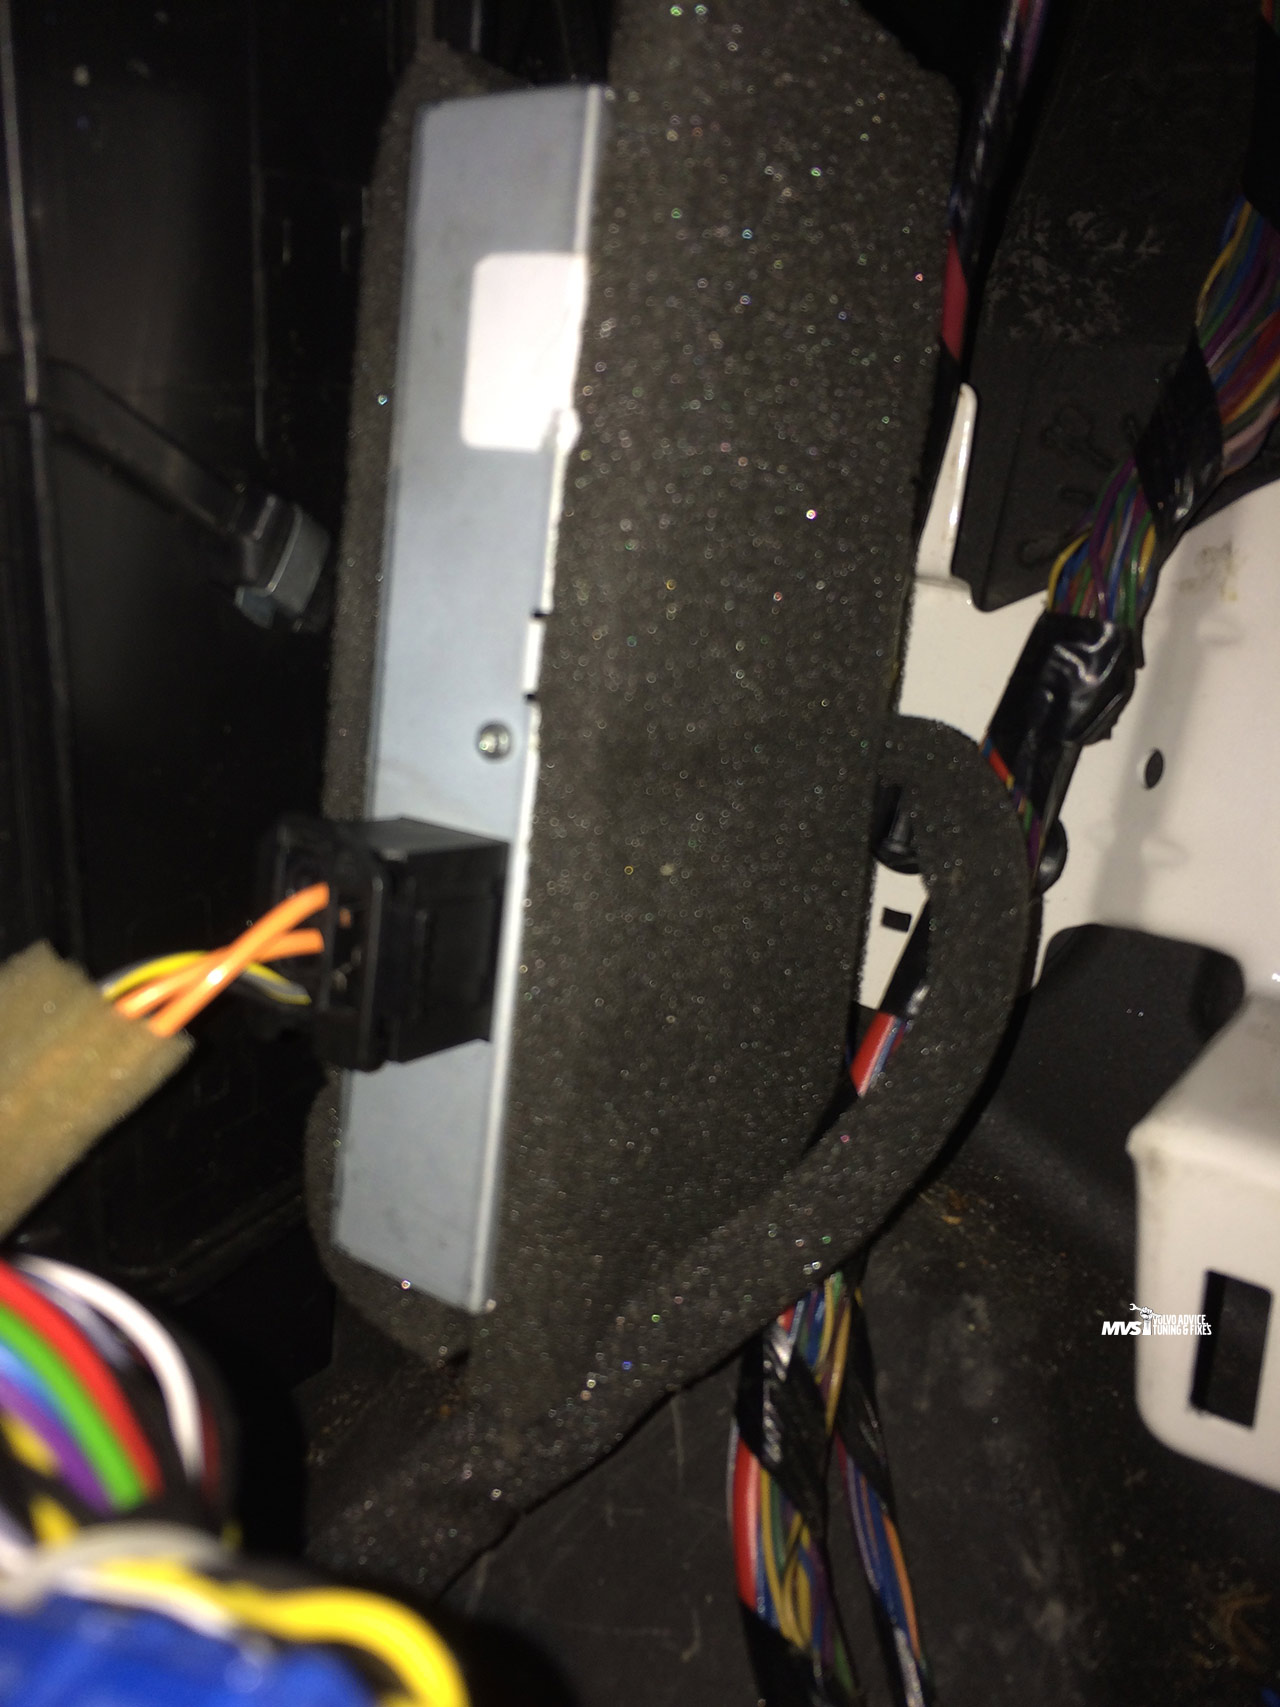
Step 21: Locate CEM and remove five connectors -- the three mass connectors are removed by pressing down on the center of the latch and rotating the lever away from the connector, which will unlock it, the other two connectors may be removed by pushing the latch and pulling connector body out
Step 22: Push up on rightmost latch on top of CEM and rotate CEM towards you to a 45-degree angle

Step 23: Remove CEM, set aside
[This step applies if your car has the iPod accessory module]
Step 23A: Locate and remove iPod module, unplug two connectors and set aside
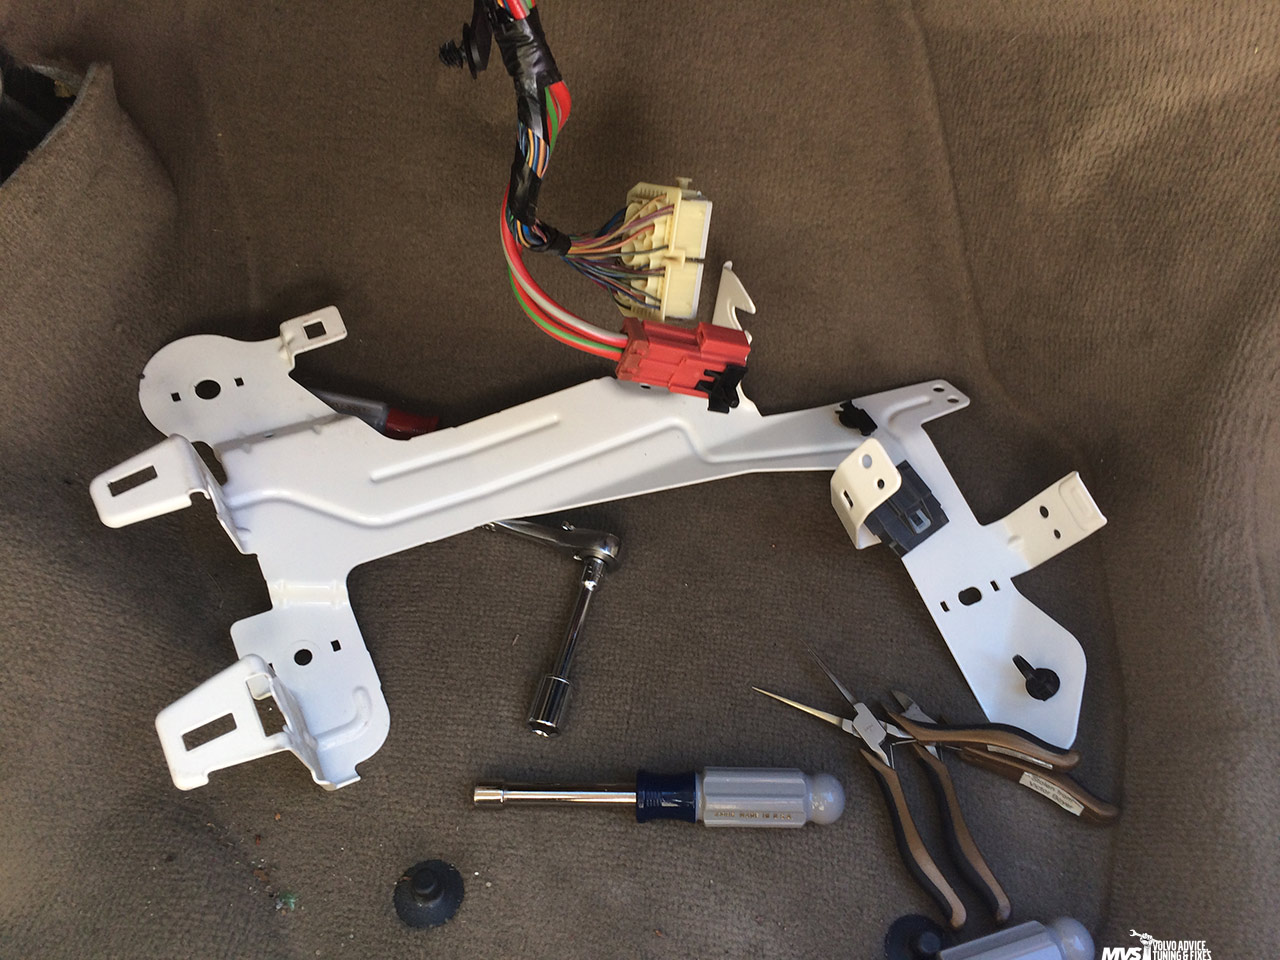
NOTE: you MUST use caution when unplugging the connection with the orange cables—these are fiber optic cables and you must not bend these cables tighter than a 2.5 inch radius
Step 24: Using weatherstrip removal tool or similar, remove all round cable clips from CEM bracket; the white/gray connector at the top must be demated using the lever provided, then slipped off its bracket by pushing down on the black clip holding it in and sliding it to the left. Demate the two power cable connectors on top of the bracket, then remove them by squeezing the tabs that hold the connector to the mounting hole.
Step 25: Remove CEM bracket, 3x 13mm nuts (torque to 24Nm upon reinstallation)
NOTE: you may find it helpful to put the carpet back down if it was not removed fully from vehicle at this time.
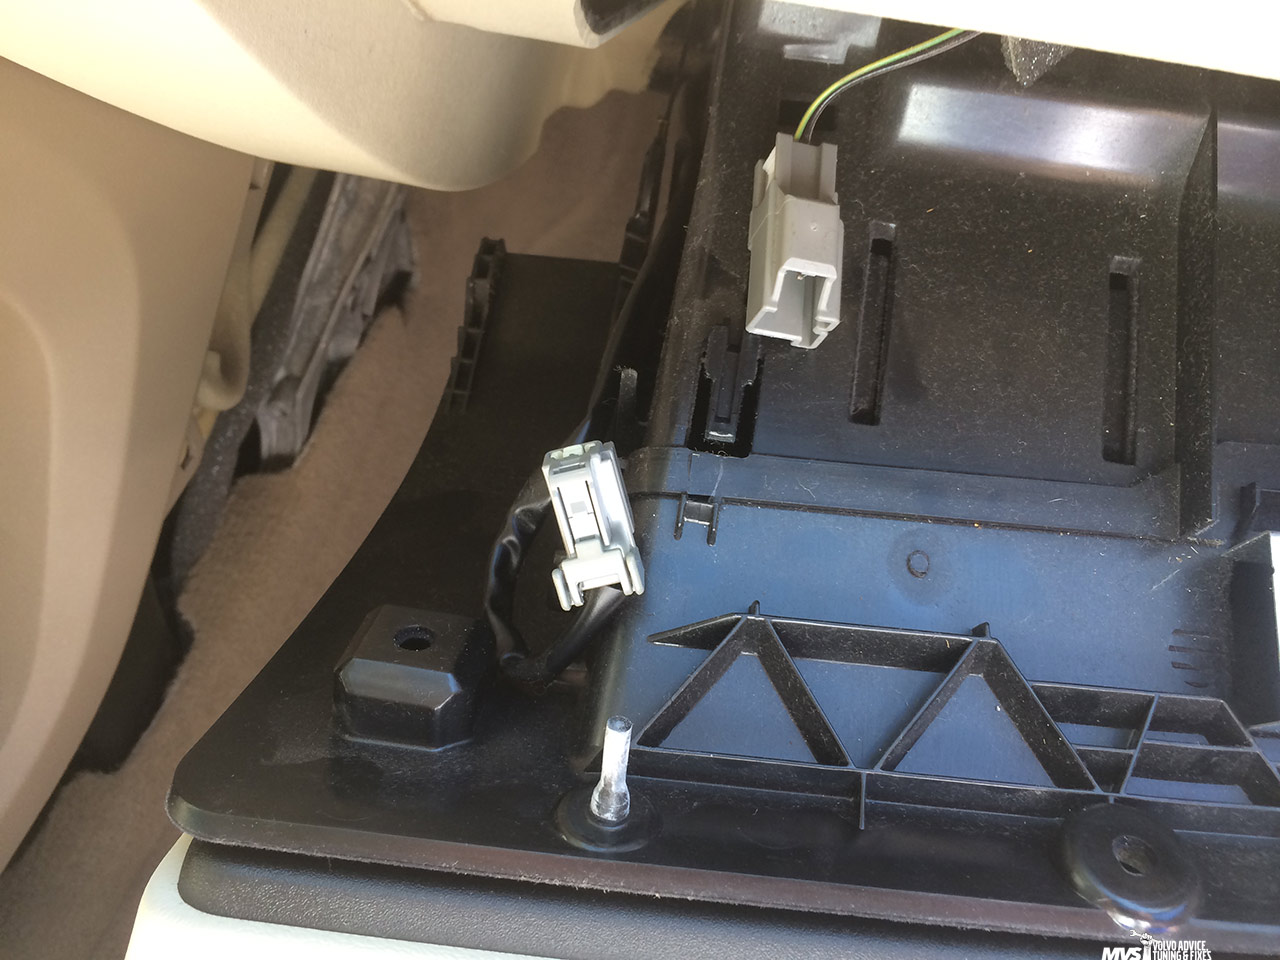
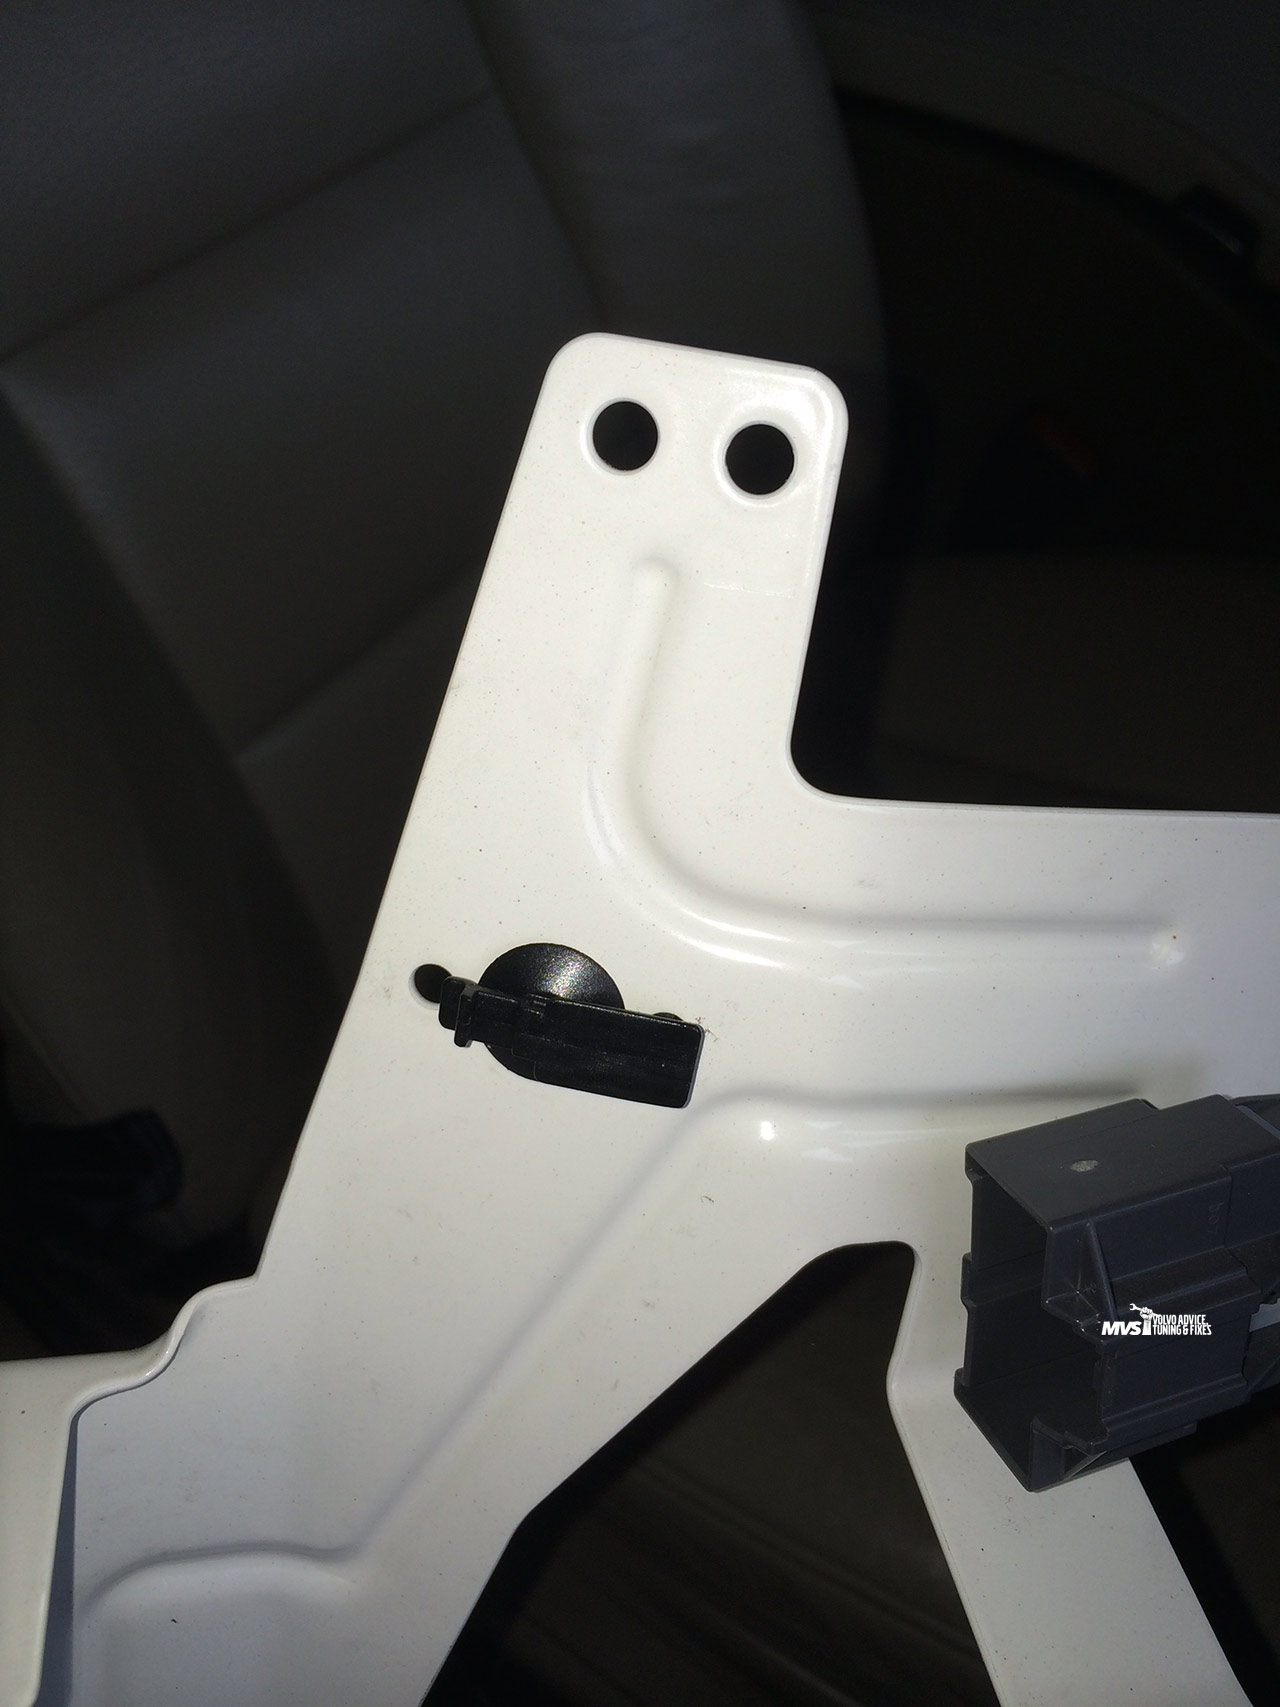
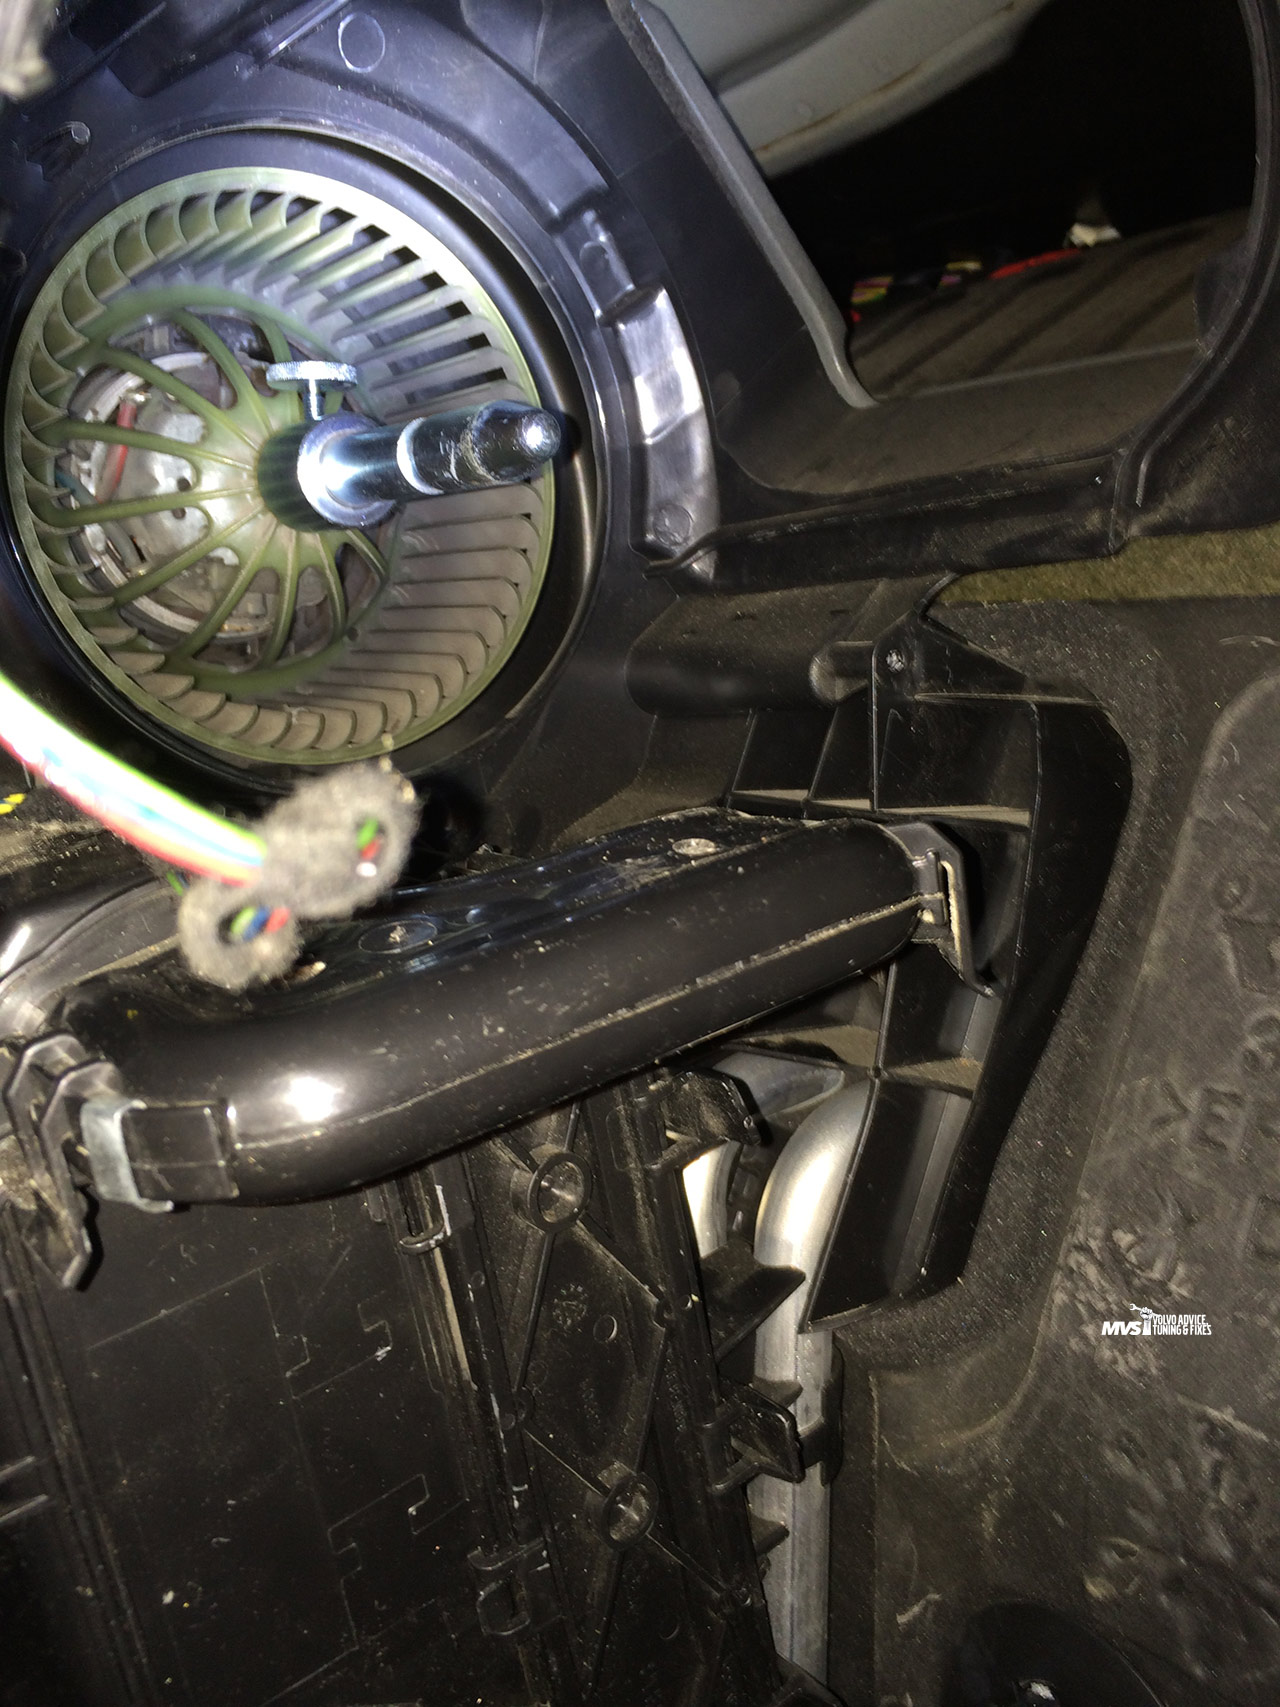
Step 26: Look upwards toward the top of the dash, and remove Air Quality Sensor (if vehicle is equipped) by unplugging it, rotating it anticlockwise, and removing; then unplug and deroute 3-wire recirculation damper motor cable.
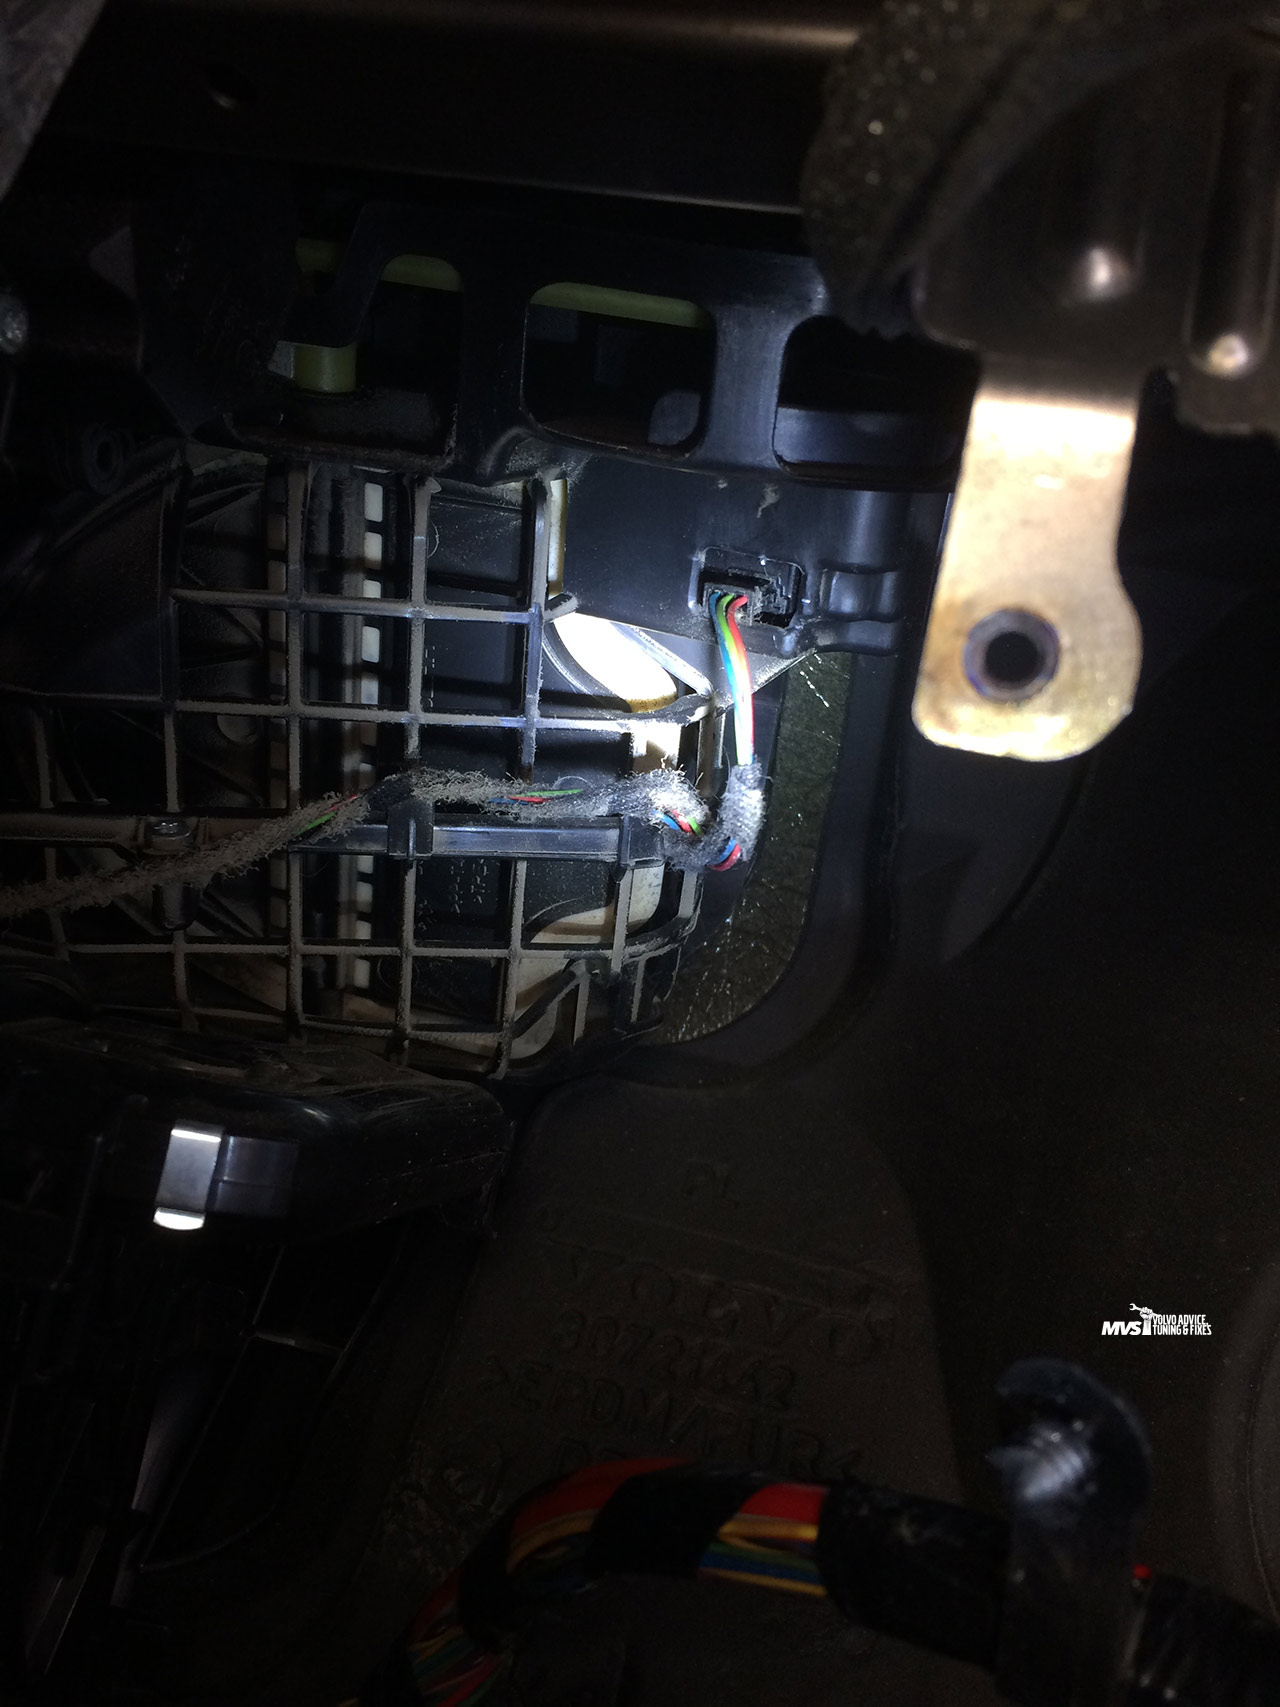
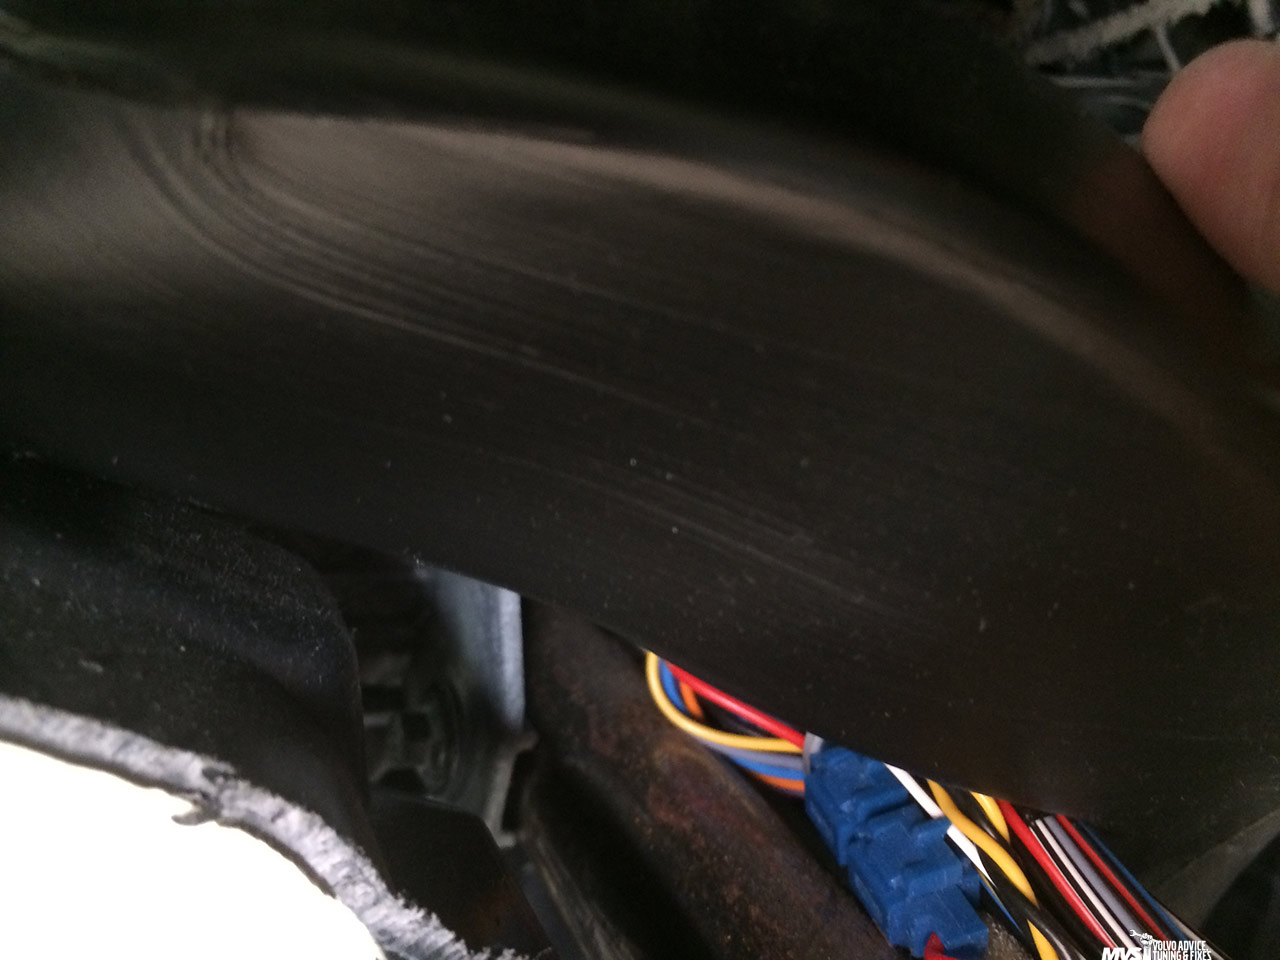
Step 27: (Now it gets memorable, take your gloves off, you’ll want manual dexterity for this). Remove 3 Torx T20 screws holding the recirculation damper unit. You will be unable to see the one nearest you, remove it first…the other two are closer to you but behind the unit. Remove damper unit by twisting it slightly anticlockwise while coaxing it out. You may wish to have a trouble light and a mirror to see what’s going on if you can’t do it by feel.
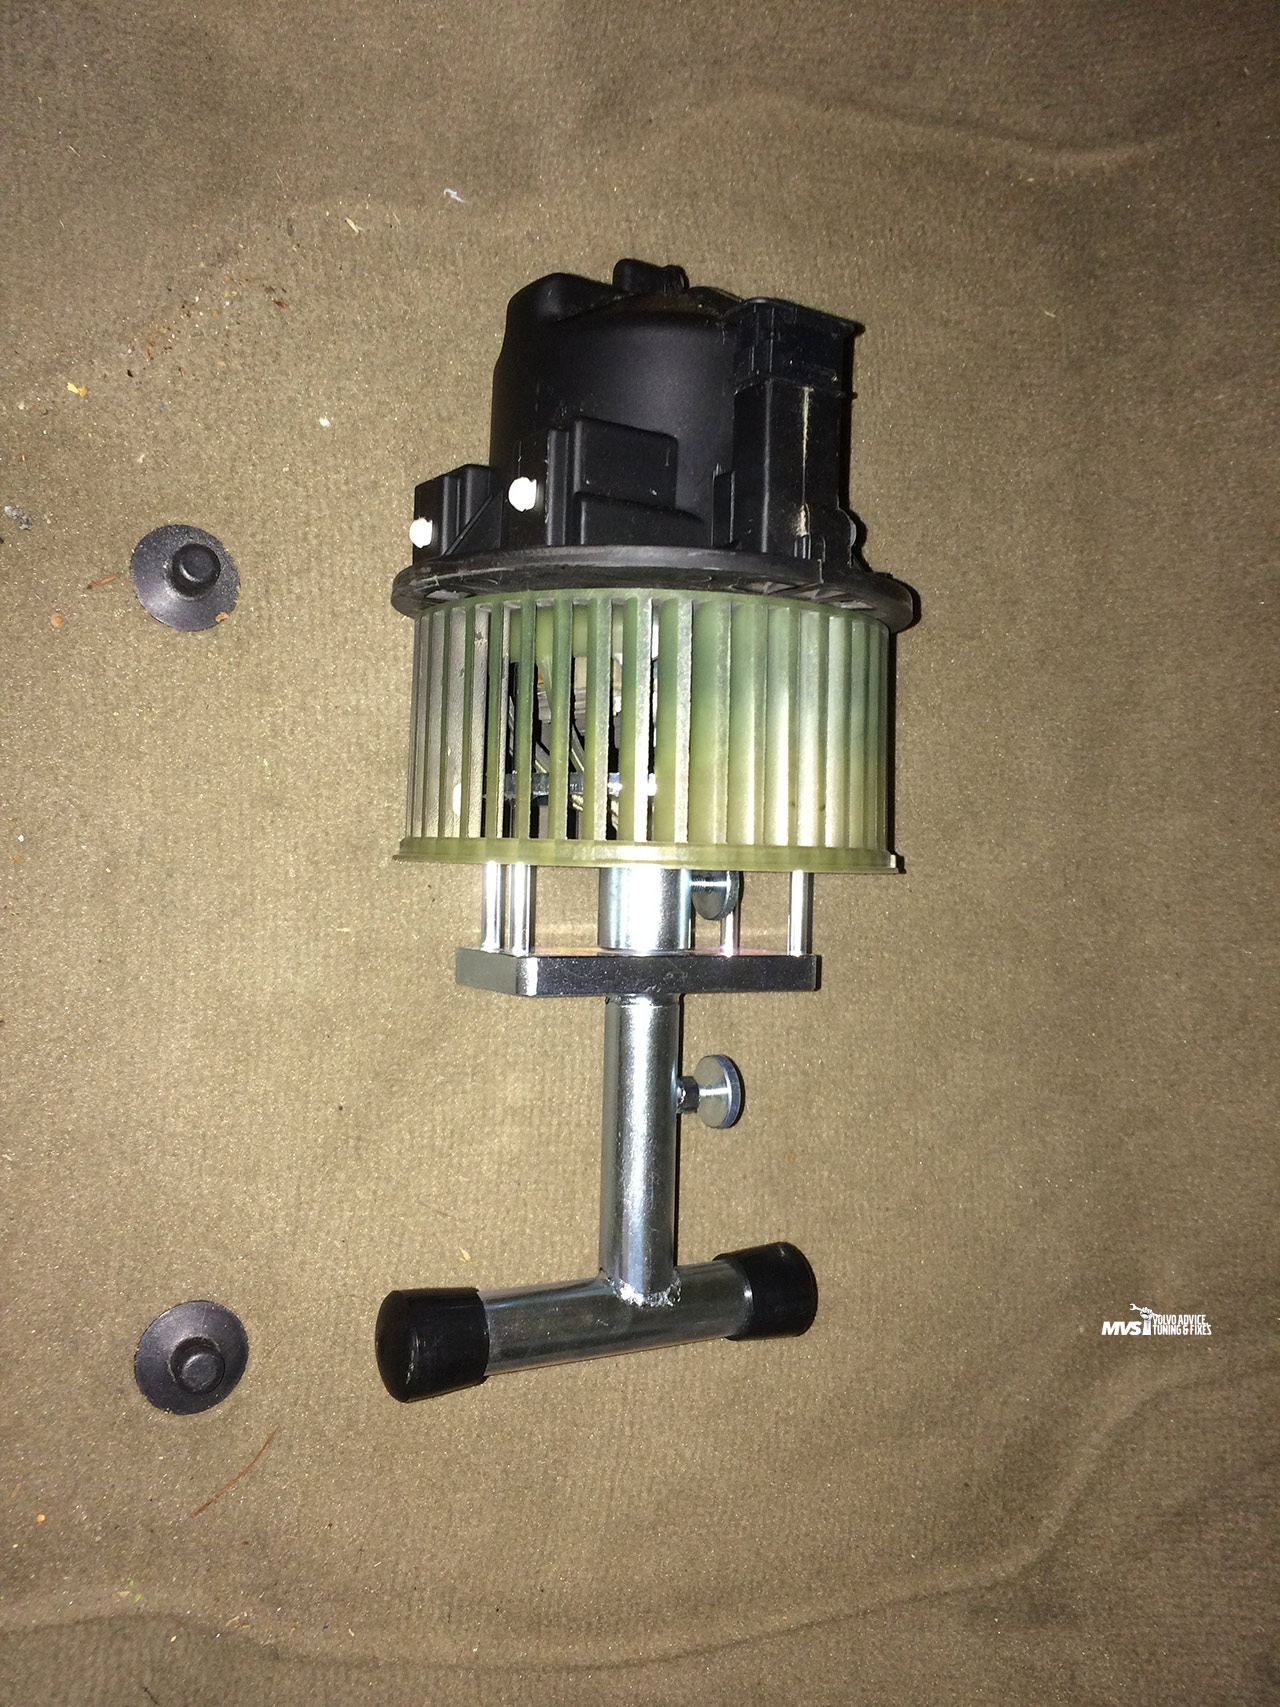
Step 28: Mount inner part of tool 7284 (alignment pin) on fan hub and tighten thumbscrew
Step 29: Holding tool 7284 straight up and down, place tool over alignment pin and seat tool fully in fan, tighten thumbscrew.

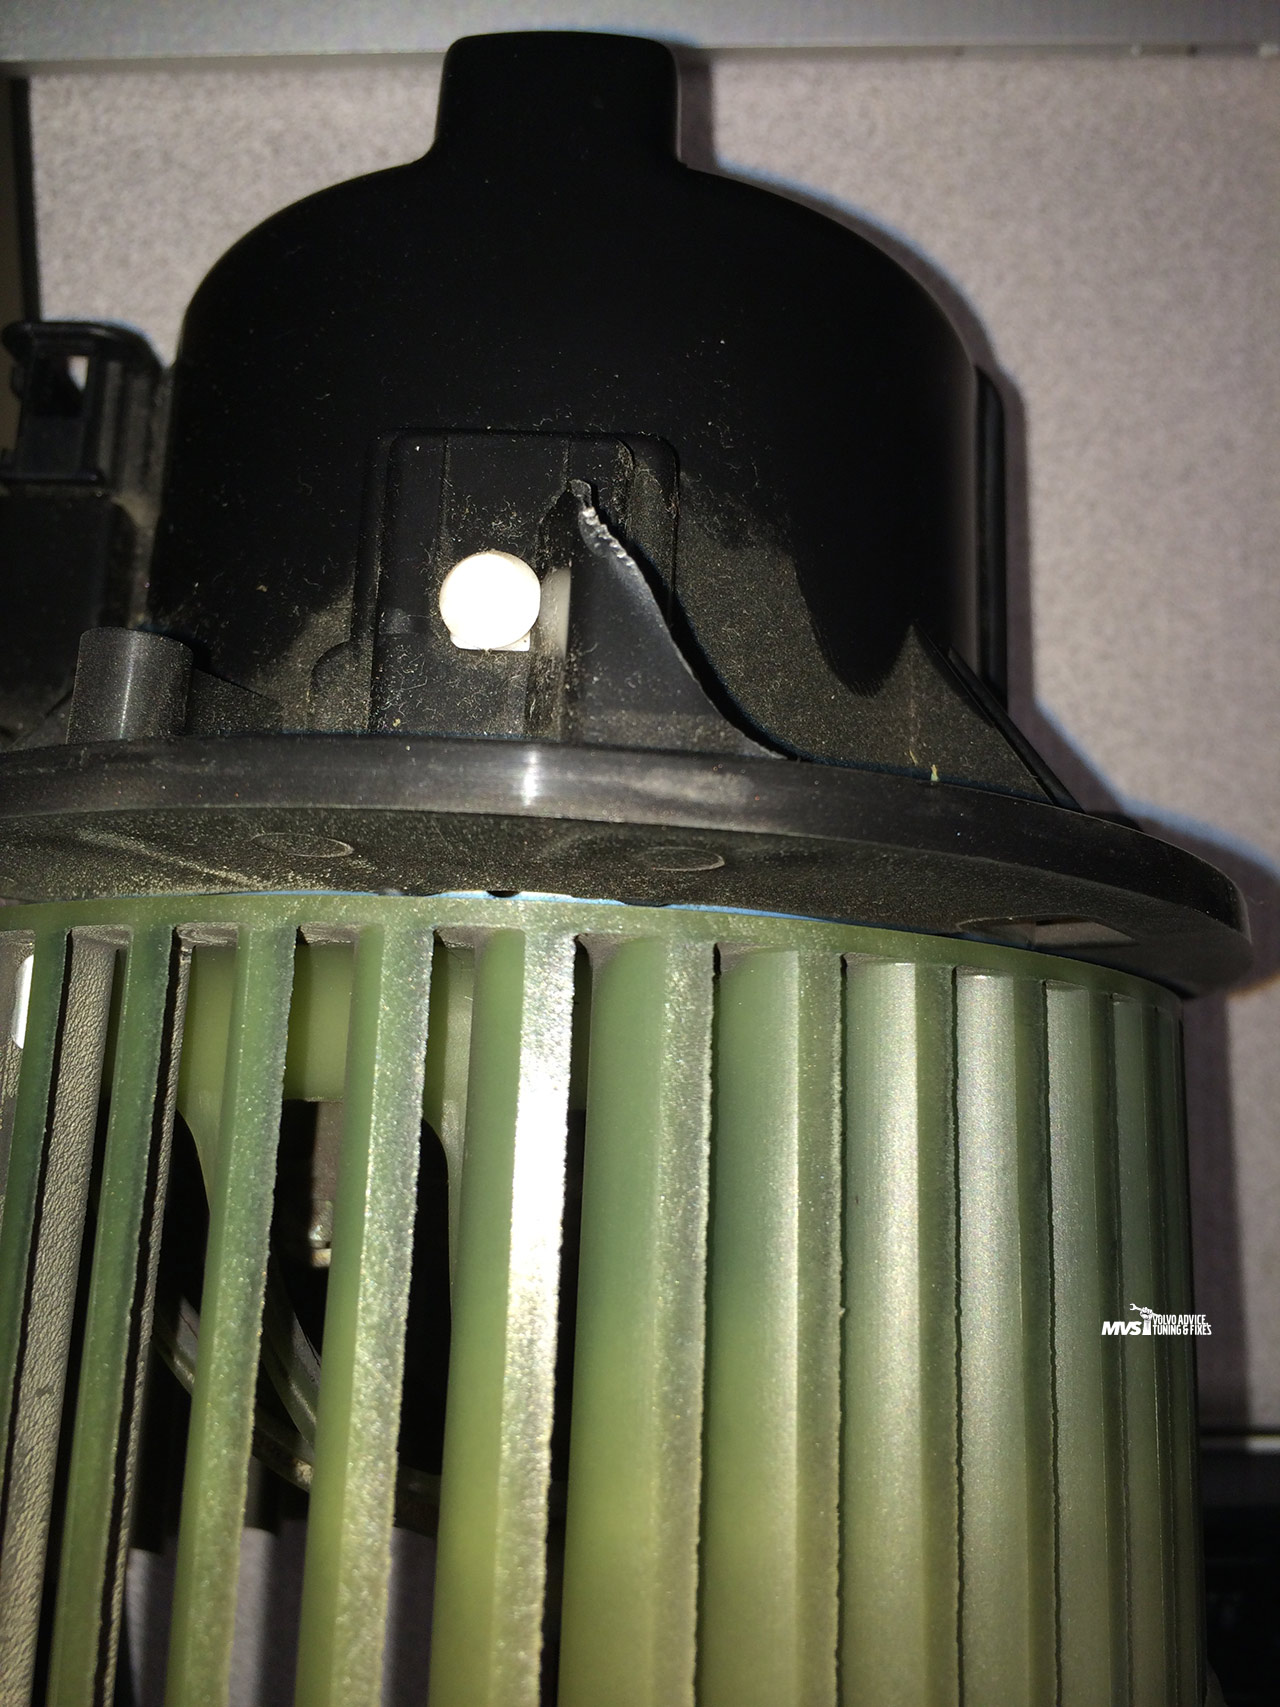
Step 30: Either get an assistant to push down on locking tab while pushing in and turning tool 15-degrees anticlockwise or, using needle-nose pliers, break mounting tab on fan by pulling up on it (I used this method)
Step 31: Remove tool from fan. Mount tool on new blower as in steps 28 and 29.
Step 32: Replace blower, holding it at approximately 15-degrees anticlockwise from straight up and down, then turn clockwise so tool is straight up and down. Attempt to pull blower straight away from mounting point to check that all four locking lugs have engaged.
Step 33: Remove tool by undoing outer thumbscrew, then inner thumbscrew.
“Assembly is the reverse of disassembly” with the following caveats:
- The 3x T20 screws on the recirc damper are non-magnetic, so use either tape or a gripping screwdriver to replace them
- When re-powering the car, connect the negative battery cable, insert key, then press and hold start/stop until all lights come on (putting the key in II essentially). DO NOT be in the car when doing this just in case an airbag chooses to deploy at random…do not enter car until SRS light has turned off (approximately 30 seconds) or stayed on for more than 5 minutes (meaning there’s a fault). It’s normal for the CEL to flash.
- If you have a DiCE and VIDA, complete the job by running CEM procedure “Checking communication and control module” under Vehicle Communication -> CEM
