MVS Volvo Forums member jreed talks us through drilling out a sheared-off brake guide pin:
Thanks to all the good info here on the site the job went pretty well, until near the very end I overtightened one of the guide pins that attaches the rotor to the hub, shearing it off.
jreed » I recently replaced the rotors, calipers and pads at the front on my ’97 855 GLT at about 176K miles. Thanks to all the good info here on the site the job went pretty well, until near the very end I overtightened one of the guide pins that attaches the rotor to the hub, shearing it off.
I was using a torque wrench set to the 6 ft-lb specification, but I used a 3/8″ drive 5-80 ft-lb wrench, which is right at the lower end of its range — probably not accurate… I probably should have been using my 1/4″ drive 20-200 in-pound (1.6 – 16 ft-lb) wrench instead. Lesson learned.Sheared guide pin
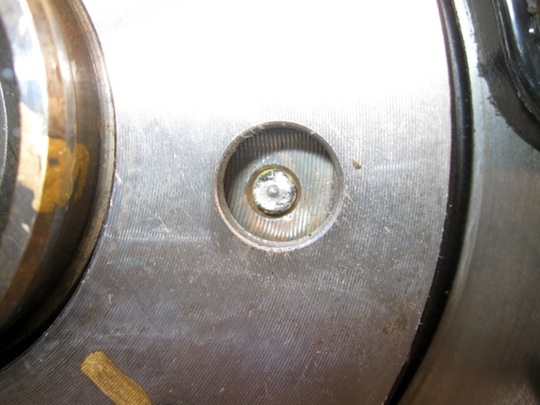
The sheared surface was pretty flat, which helps when getting it out. Note, I rotated the rotor to position one of the larger lug nut holes over the guide pin so that I could get better access for drilling and tapping:Close up of sheared surface — pretty flat, which is helpful
To fix it, I got to get some new tools, which is always a good thing, including left hand drill bits, extractors, and a tap and die set. I’ve always been wanting an excuse to get some left hand bits and a tap and die set — this was my chance!
How I fixed it:
Step 1: Strike a divot.Strike a divot in the exact center (as close as you can get)
Divot
Step 2: Use left handed drill bits to drill a hole through the bolt (be sure the drill is set to reverse). I used left handed bits because there is a chance that the bolt will turn out and come free while you’re drilling. I used a couple of sizes of bits, starting with a small one to make a pilot hole, until the hole was wide enough to fit the extractor.Use left handed drill bit to drill hole through sheared bolt
Step 3: Try the extractor (gently). If the bolt doesn’t start spinning out freely with moderate pressure, don’t force the extractor because if it breaks then potentially you would have a bigger problem than you started with. In my case, the extractor didn’t budge the bolt. One problem with fluted left-hand extractors in general is that they are going to put pressure on the inside of the sheared bolt, pressing the remnants against the hole, which doesn’t help when you’re trying to turn it free. I guess they could work but in this case it didn’t and I decided to switch to a tap instead.Extractor
Step 4: If the extractor doesn’t work, retap the hole. In this case, the hole was originally tapped M6 1.0mm pitch, so I used my new M6 1.0mm carbon steel tap. Be sure to start perpendicular to the surface. I used some WD-40 as lube. Go slow and gentle with a tap, applying lube periodically and only turning 1/8 to 1/4 of a turn forwards before reversing to make clean threads.M6 1.0mm tap
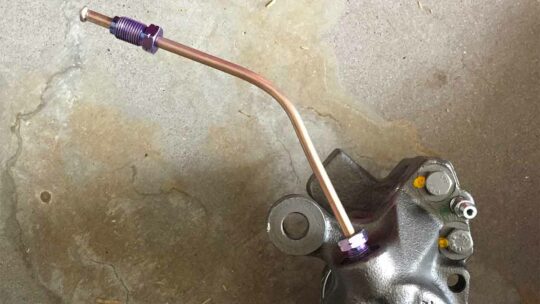
Step 5: Clean up all the oil, shavings and swarf. I used a magnet, a rag and a good bit of brake cleaner spray to make sure all the shavings were cleaned out between the rotor and the hub, the lug bolt and guide pin holes, and that the brake disc was clean. Install guide pin in the newly tapped hole:Install guide pin.
Step 6: Reinstall wheel… this is what the brake job should have looked like the first time, and now it does:Guide pin installed, wheel on.
All’s well that ends well. ![]()