The flimsy metal bar that goes from strut tower to strut tower can be be modified to make a true strut brace that will help your car’s road holding performance, especially when cornering.
vegasjetskier » The stock “strut bar” on the S80 (and maybe some other models) is not really a strut bar at all, but part of a complicated engine mount system. It’s very flexible in order to reduce the transmission of engine vibrations to the passenger area of the car. But it can be converted into a real strut bar which will reduce the movement of the tops of the McPherson strut towers in hard cornering, which should make your car’s handling a little tighter.
Here’s how to solidify your engine mount into an effective strut brace for almost no cash. Total cost $2.28.
Tools
- 17mm end wrench.
- 18mm end wrench.
- 14mm socket and ratchet.
- Hammer.
- Utility knife.
- Vise (optional).
Hardware
4 – 3/4″ (I.D.) washers (Lowe’s part #61702, $0.48 each).
2 – 1/2″ (I.D.) washers (Lowe’s part # 63309, $0.18 each).
Procedure
Open the hood of the car.
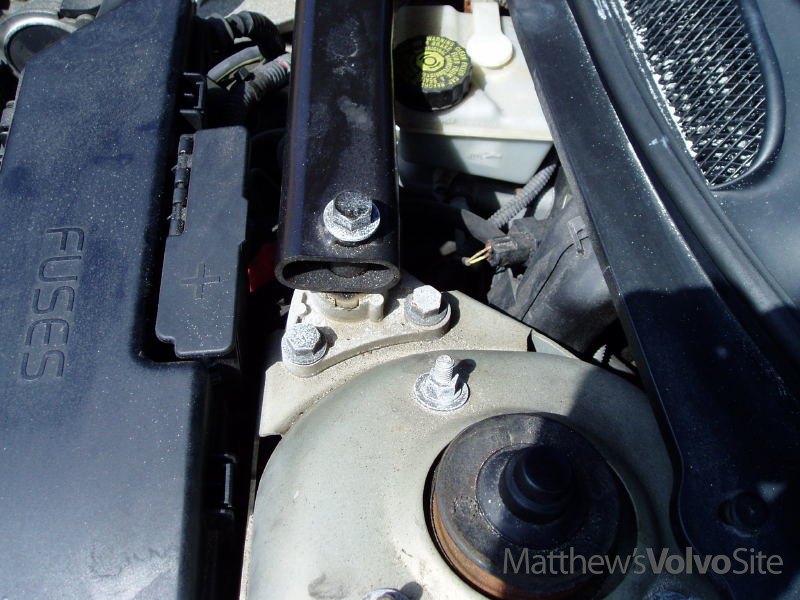
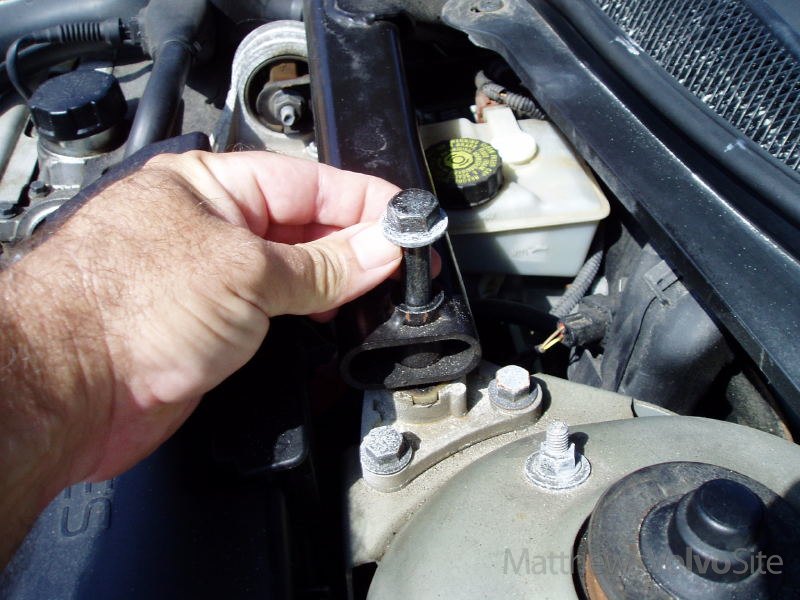
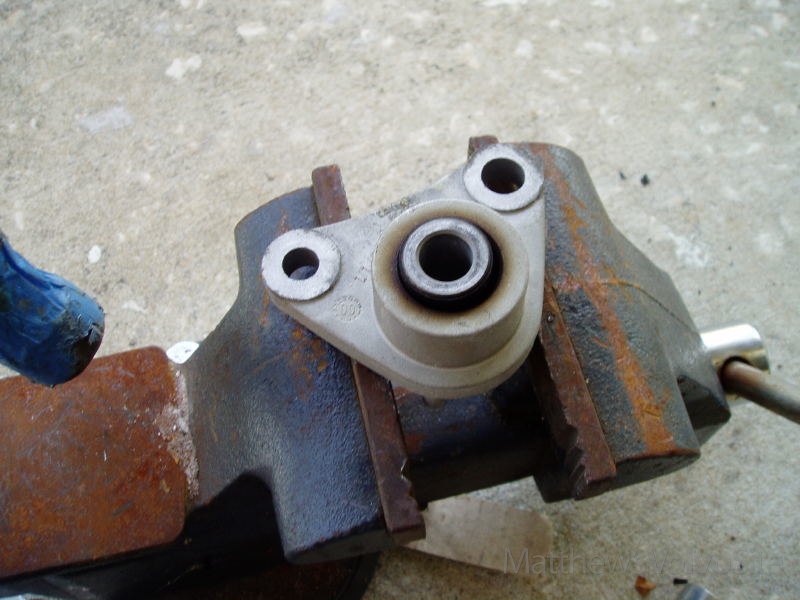
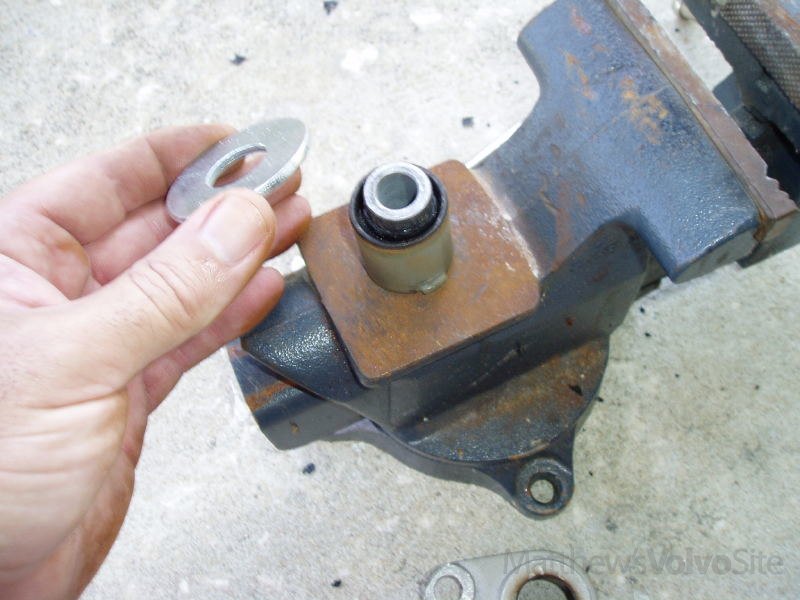
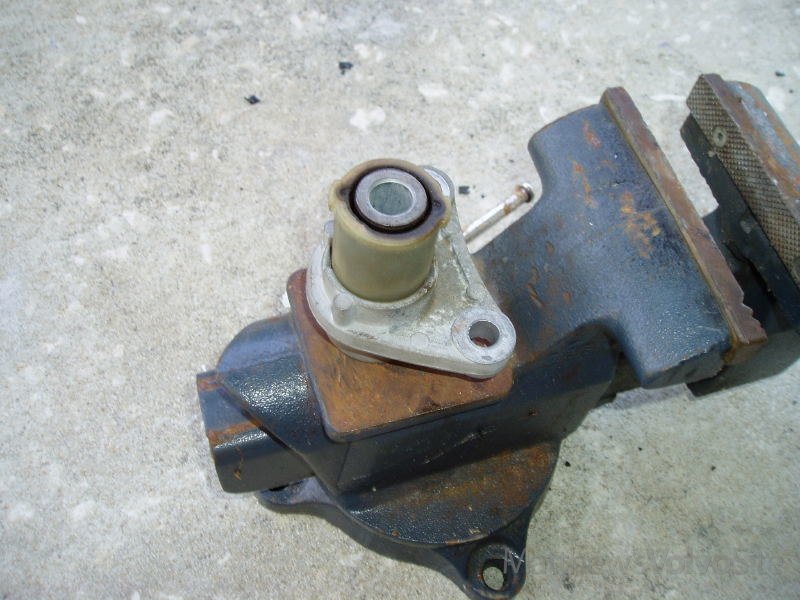
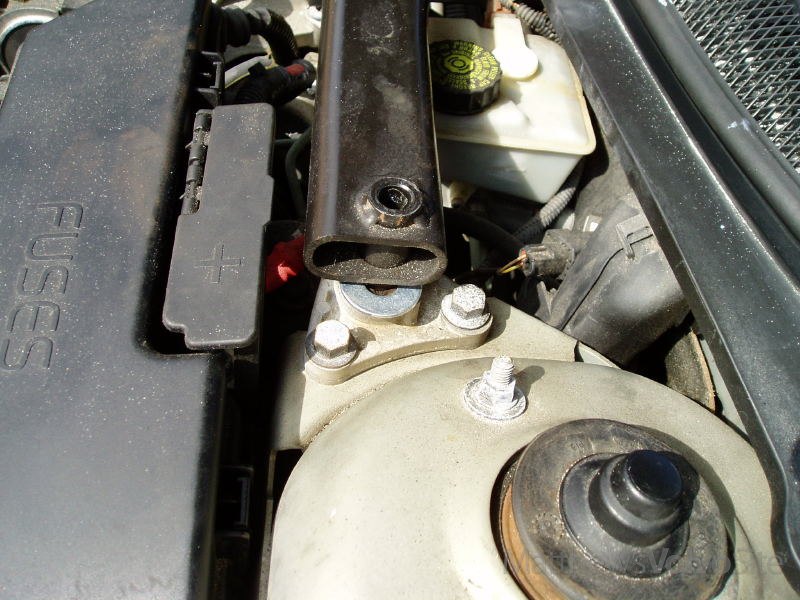
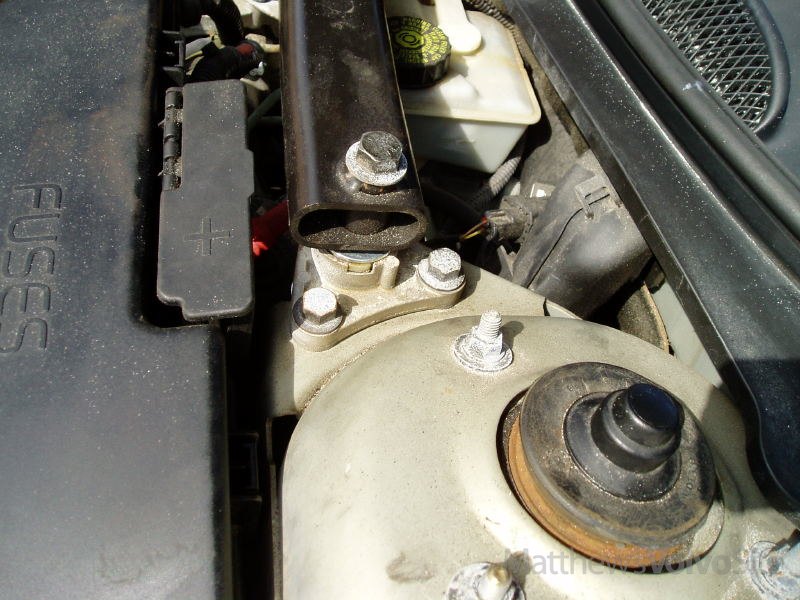
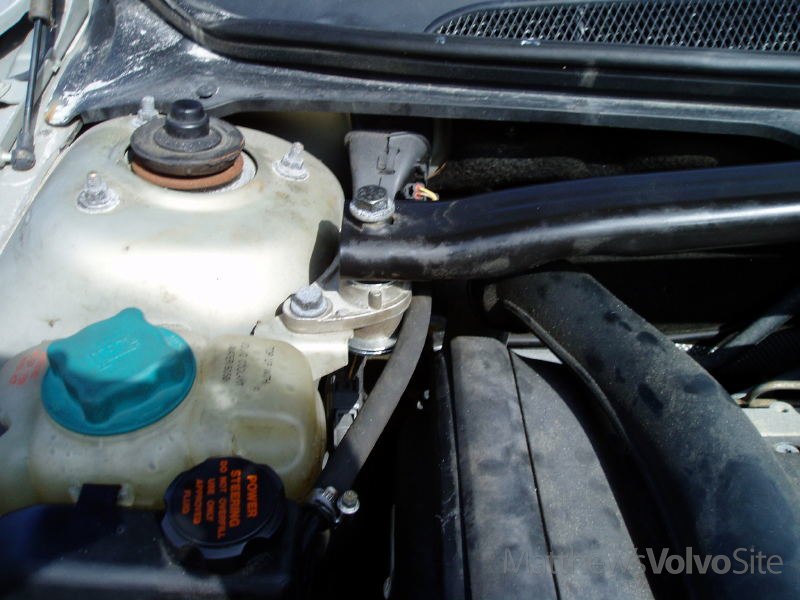
Here’s what you’ll be working on (there’s a mirror image of it on the other side of the car):
Start by undoing the long bolt holding the bar to the rubber mount. You’ll need a 17mm wrench for the bolt.
If the nut on the bottom starts spinning, use an 18mm wrench to hold it. Once the nut is loose, hold the nut and unscrew the bolt all the way, then withdraw it:
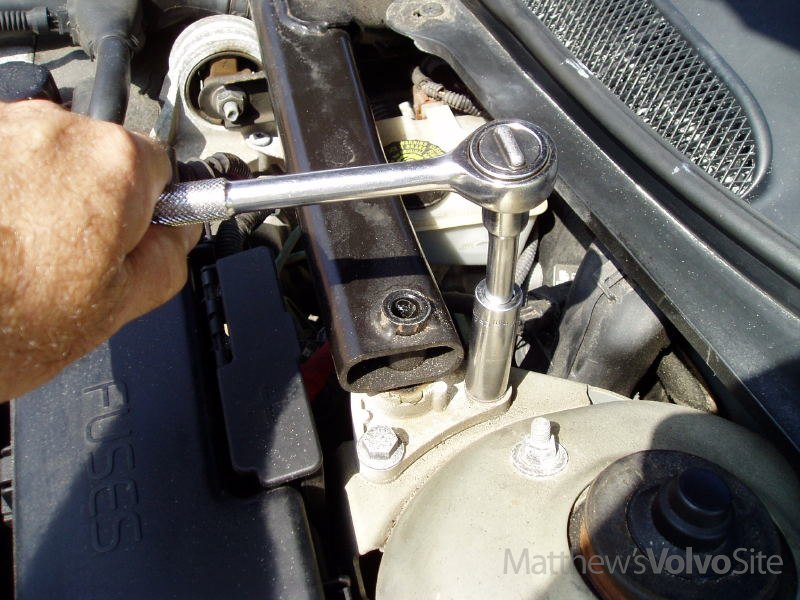
Now use the 14mm socket to remove the first mount bolt:
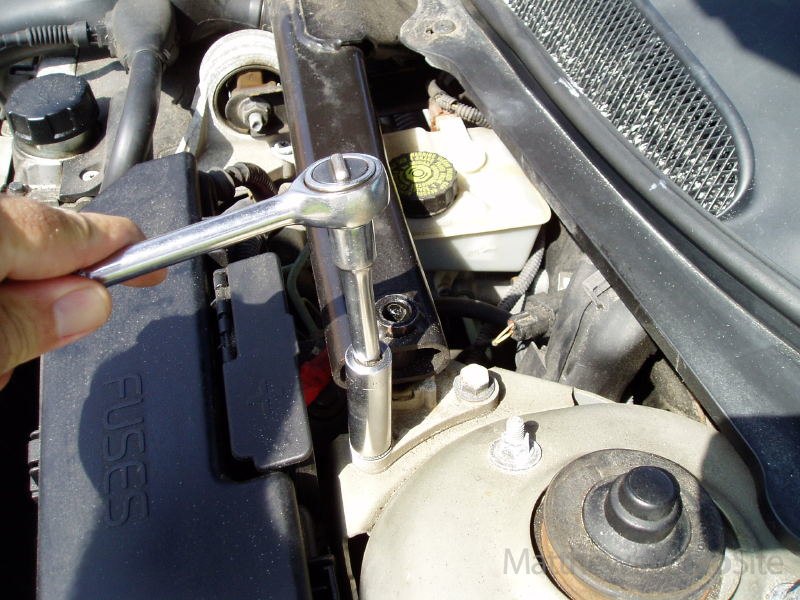
And then the second:
Then remove the mount from the car:

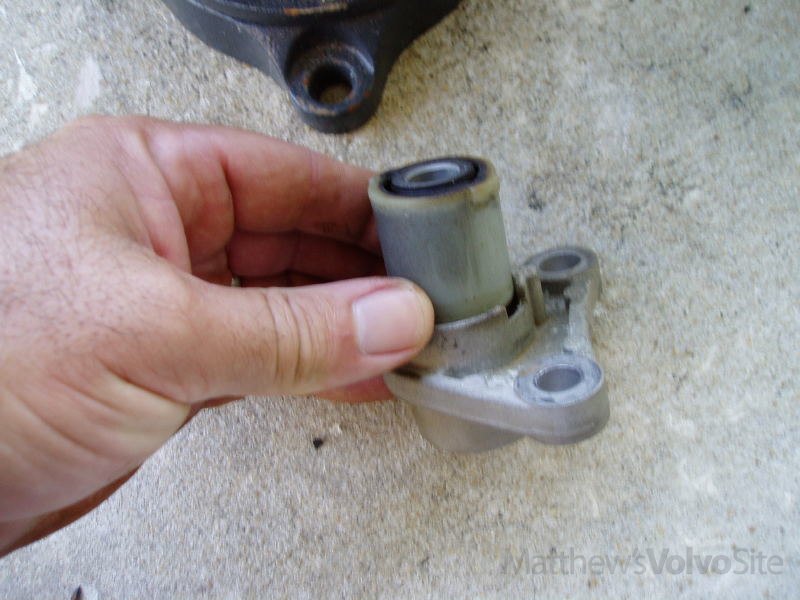
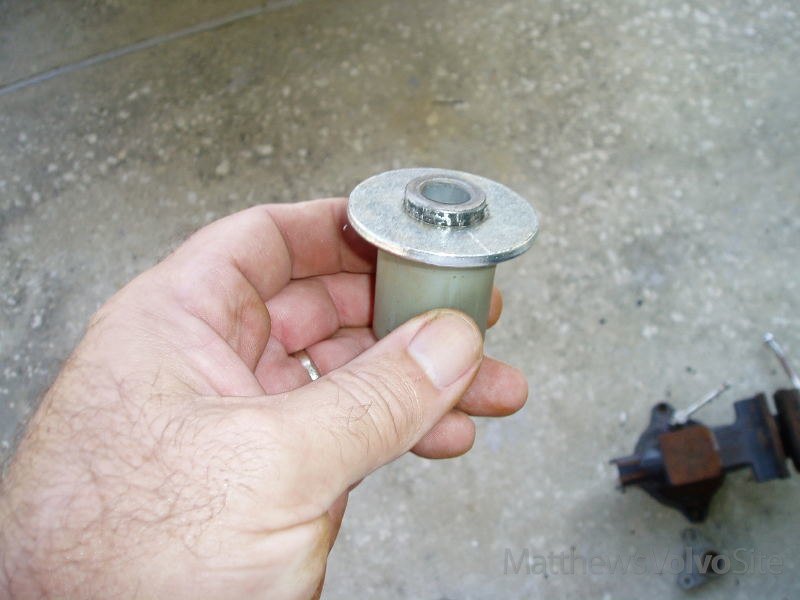
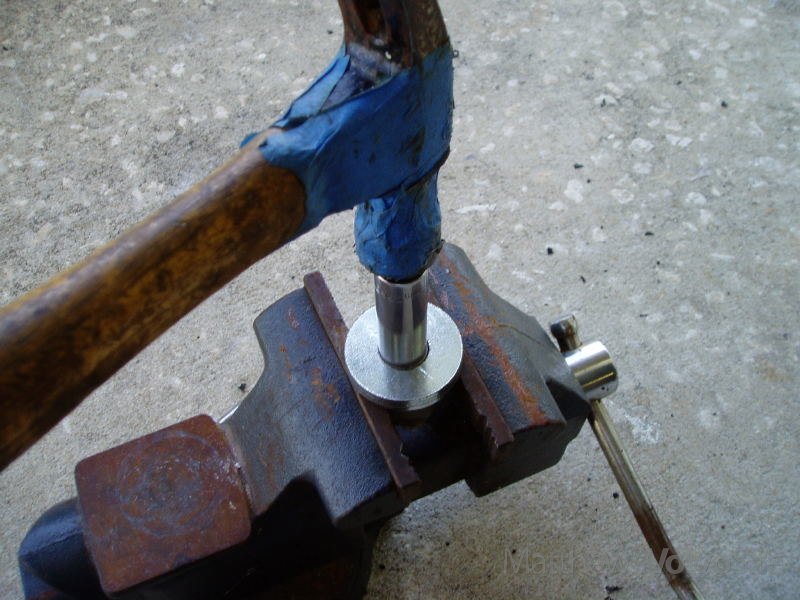
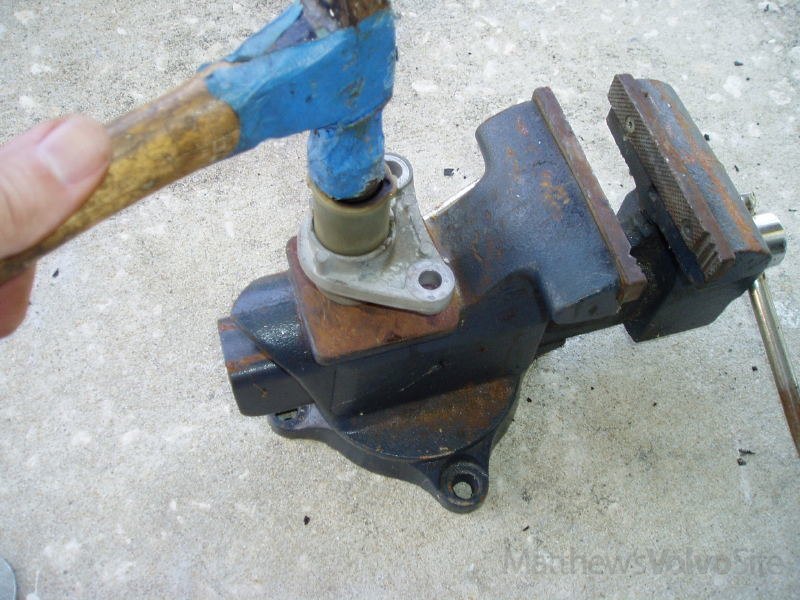
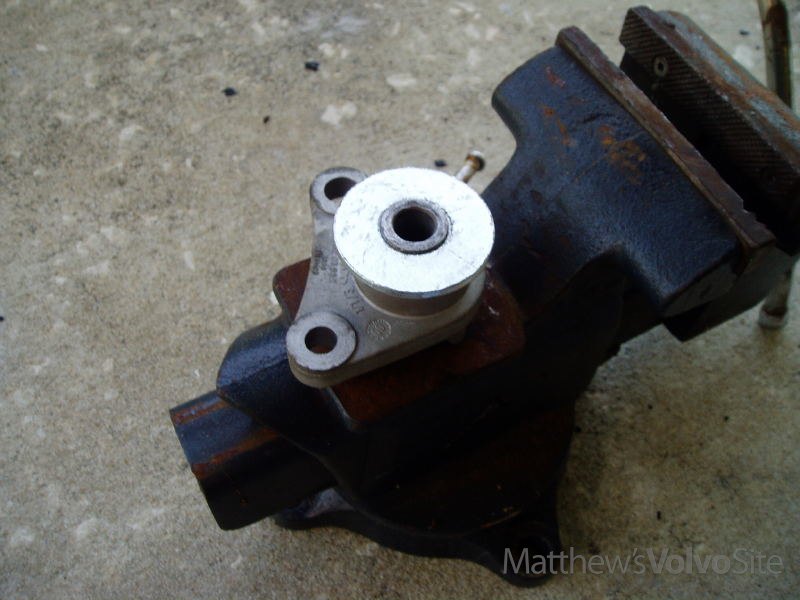
Now start to drive the center section out of the mount housing (this part is optional. You don’t have to drive the center part out, but it makes it easier to remove the rubber coating on the center metal spacer, which you’ll do later. If you don’t have a vise, skip forward to the section with the utility knife). Place the mount upside down in the open jaws of the vice to give the center section somewhere to go and hit it with your hammer:
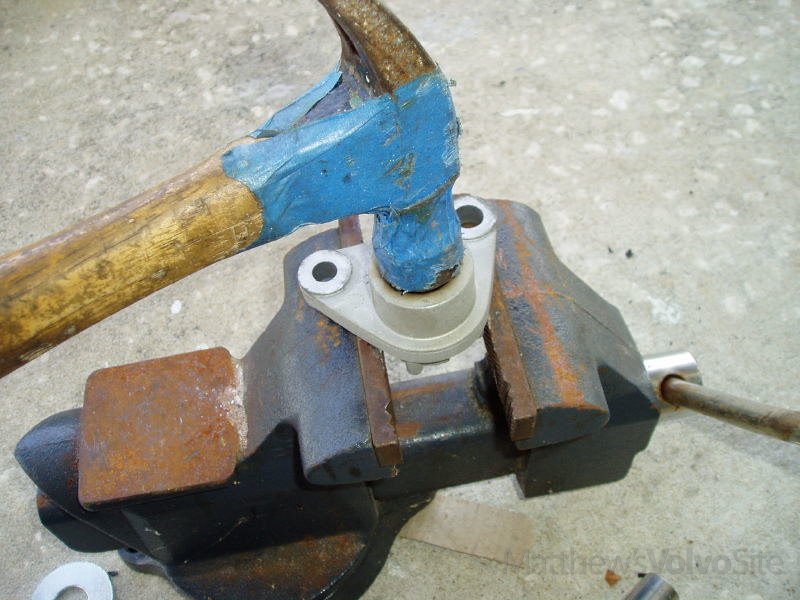
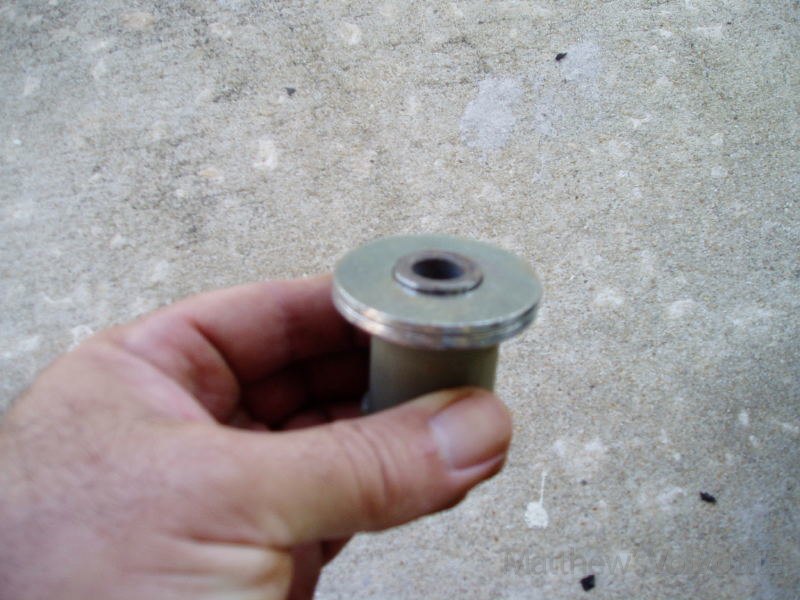
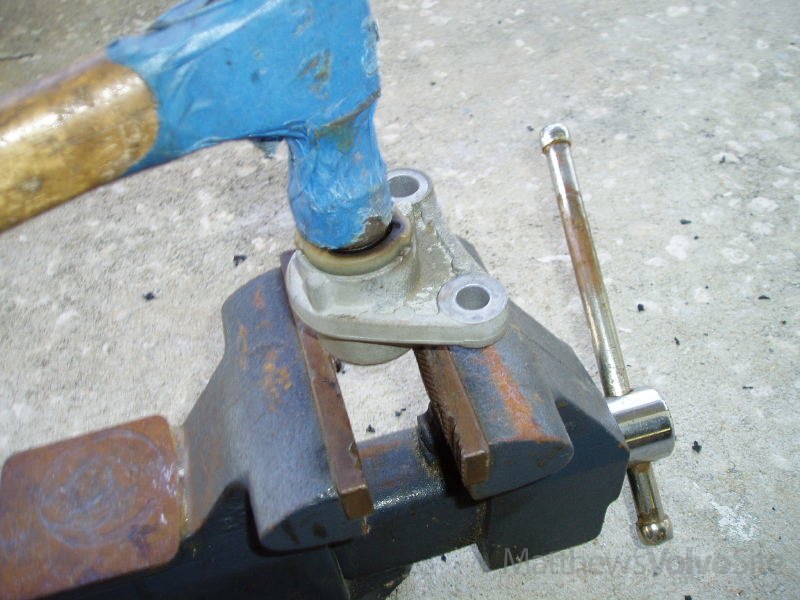
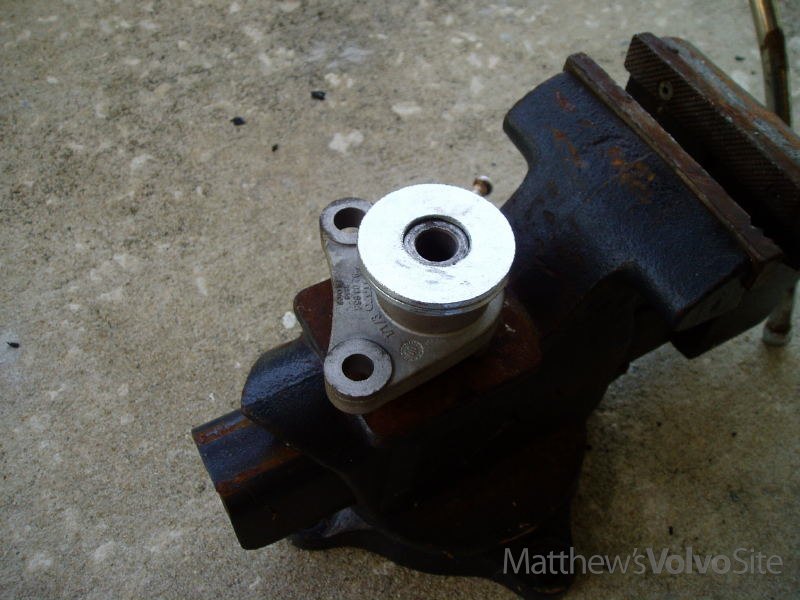
. . . until the center is flush with the top:
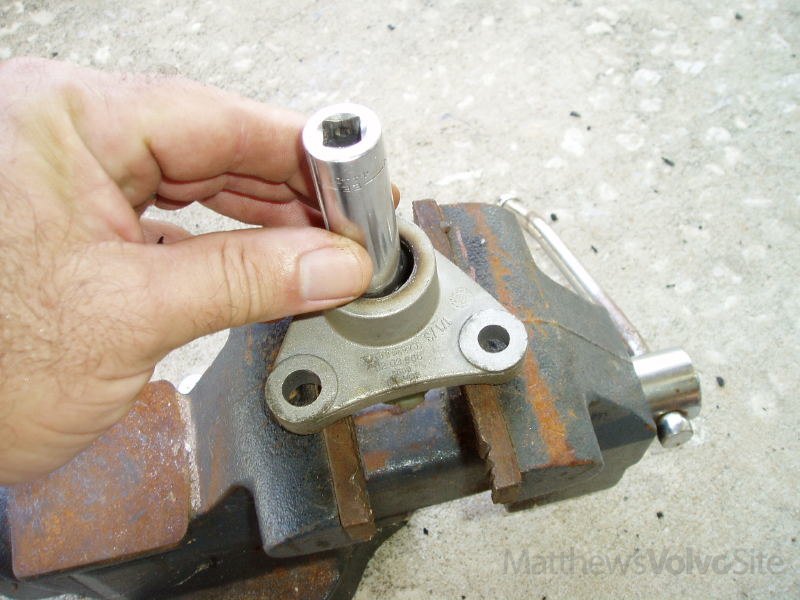
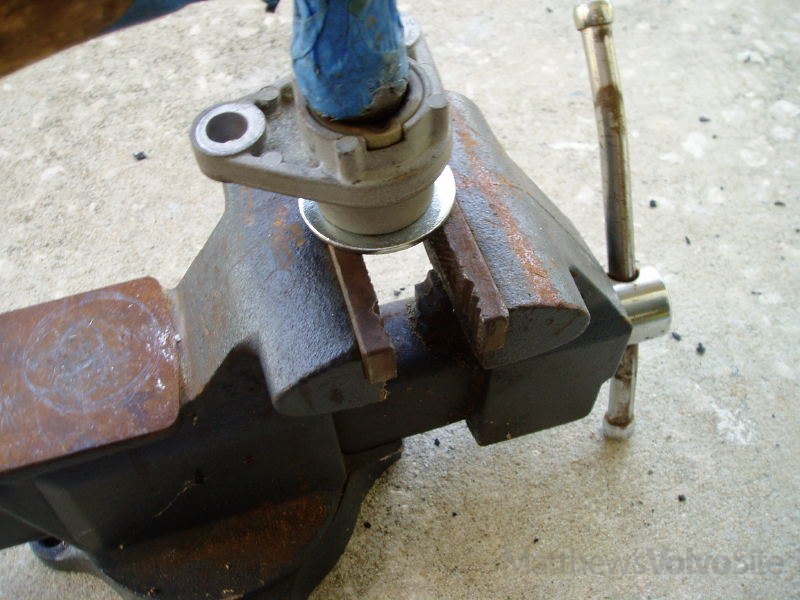
Now use a socket placed on top of the center section to drive it the rest of the way through:
Now run the utility knife around the core of the center section, scoring the rubber down to the metal all the way around:
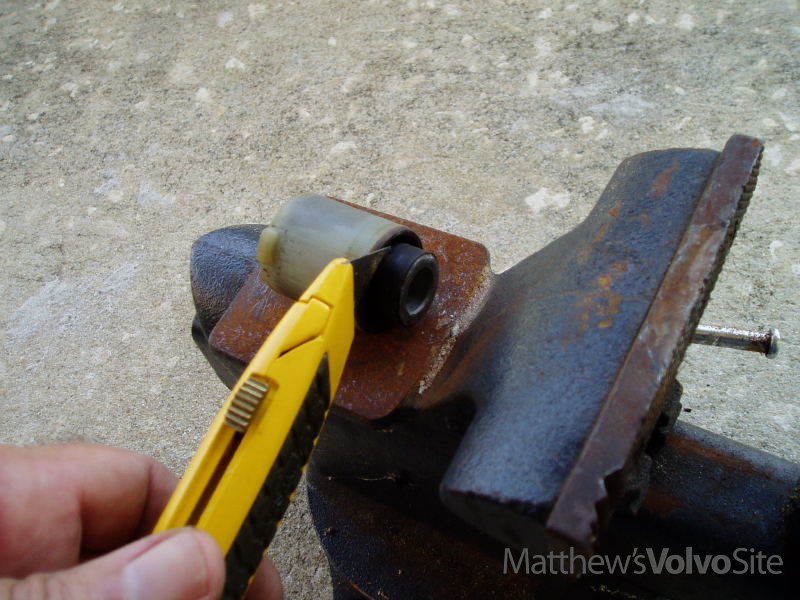
Then cut the rubber lengthwise to the end in several places:

Now scrape the rubber off the metal all the way around:
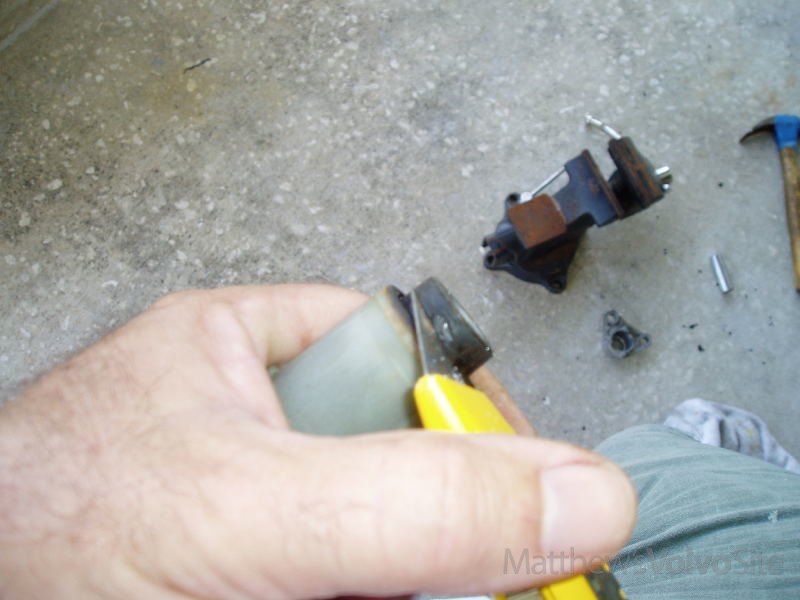
You might have to scrape down vertically to help get the rubber off:
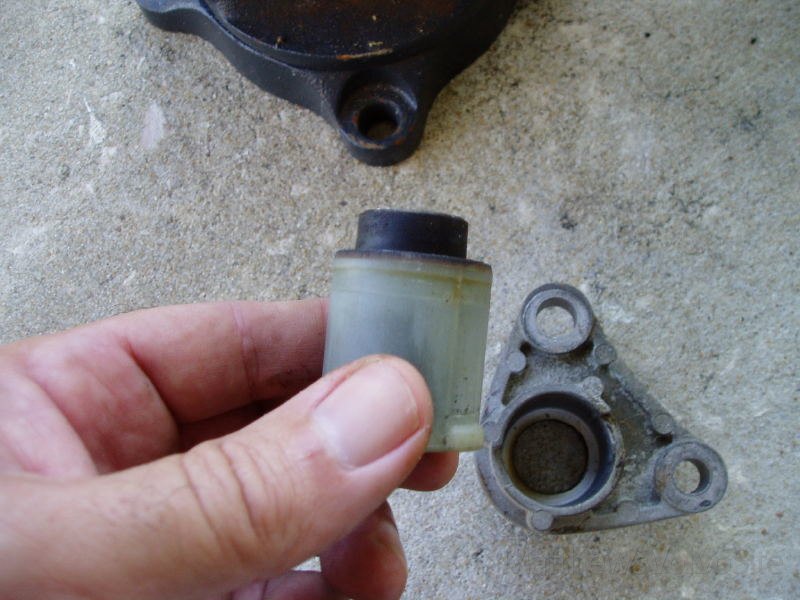
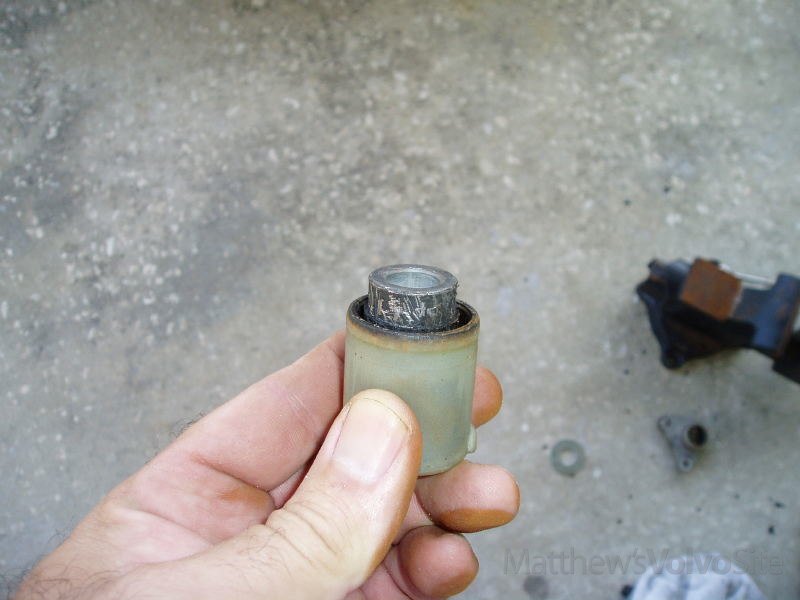
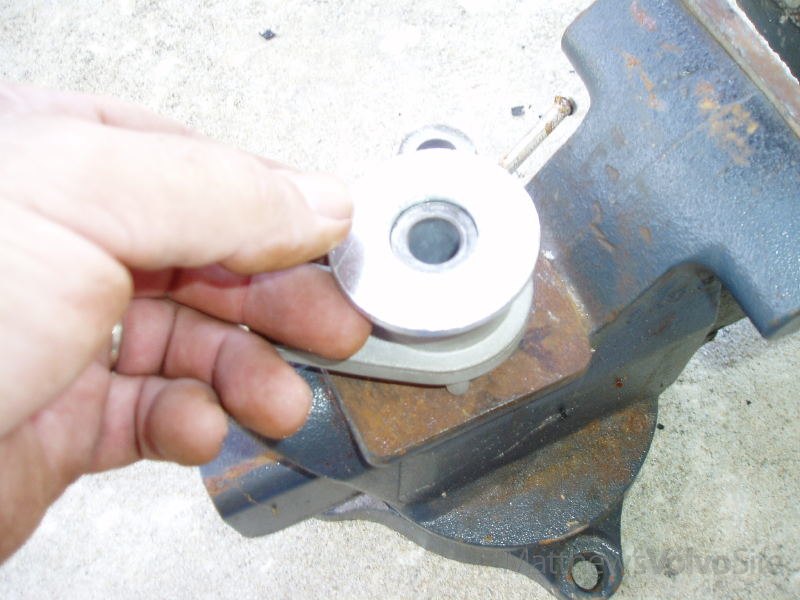
You don’t need to get all the rubber off, just try to remove most of it. When you get done it should look something like this:
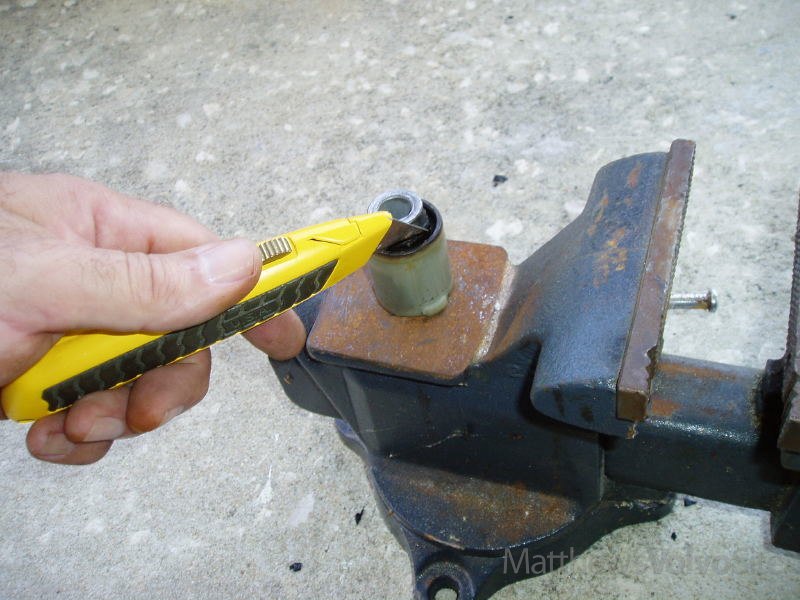
NOTE: If you don’t have a vise, just cut the rubber away with the center section still in the mount.
Now take one of the 3/4″ washers and hammer it down over the center section where you just removed the rubber. It will probably be an interference fit, so start it gently by tapping all the way around:
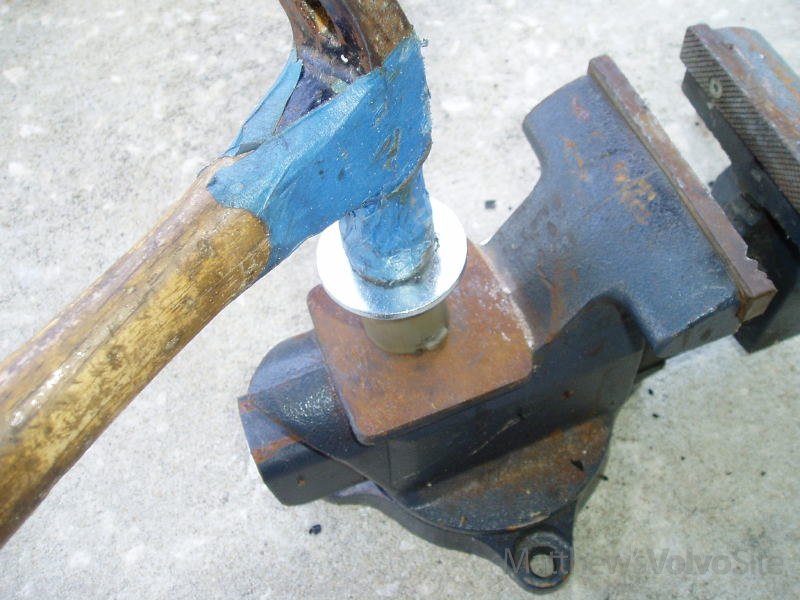
Once you get the washer started on the center section, flip the mount over onto the open section of the vice and hit the back end of the center section to drive it into the washer all the way. NOTE: If you don’t have a vise, you can use a large socket to drive the washer onto the center section.
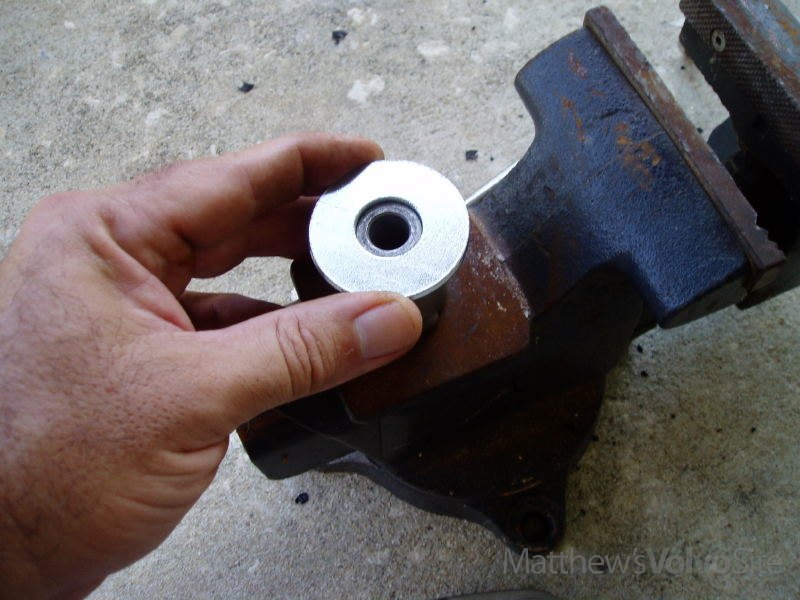
When you’re done it should look like this:
Now repeat the procedure so you have a second washer on top of the first:
Now use a socket and the vise to drive the center section out of the washers:
Drive the rubber mount back into the housing. Be sure to keep the plastic tabs on the rubber mount aligned with the slots in the metal housing:
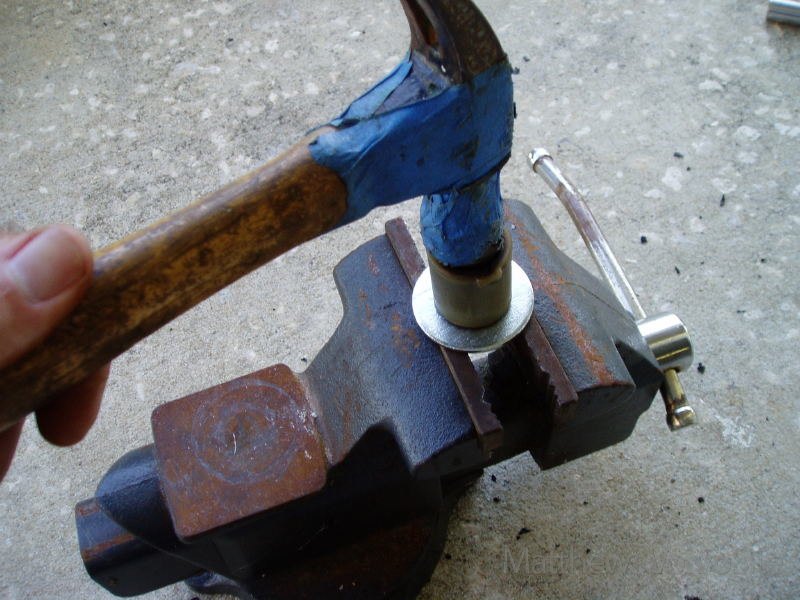
Now drive the washers back over the center section:
When you get the second washer on, make sure that surface of the washer is above the top of the center section:
The modification works by squeezing the mount housing between the washers above and below it. If necessary, add a third washer to bring them up above the center section.
Now bolt the mount back on the strut tower. Place the 1/2″ washer between the strut bar and the top of the mount:
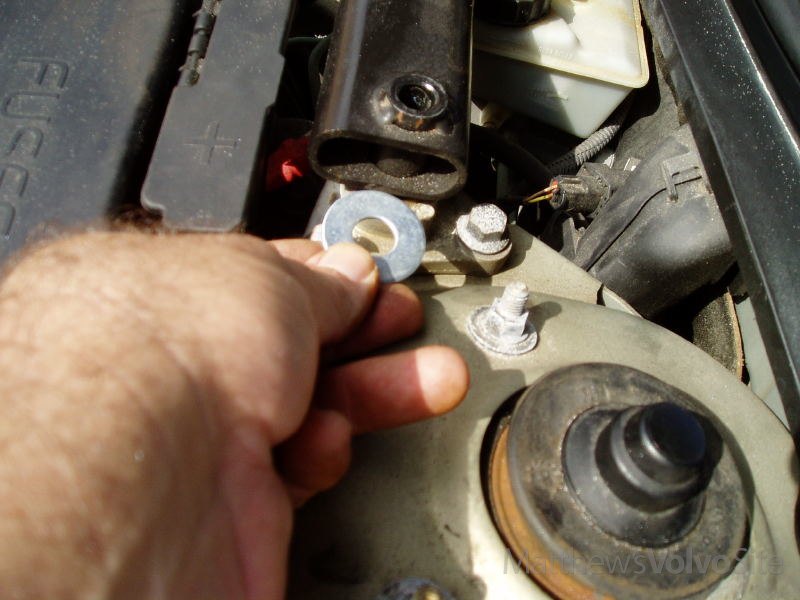
Put a dab of Locktite on the end of the bolt and insert it through the strut bar, the 1/2″ washer, and the mount:
Make sure you have all the washers on the bottom of the mount, then install the nut and tighten it down. As you do so, the bolt will squeeze the strut mount between the washers on both sides, making a solid connection.
Repeat the above for the mount on the other side of the car.
Here’s what mine looked like when I was done.
Passenger’s side:
Driver’s side:

My bar feels rock solid now. This may not be as strong as some of the aftermarket parts that are available, but it’s way better than the stock mount. I don’t think it looks too bad, but then nobody ever looks under my hood but me anyway. So far I haven’t noticed any additional vibration in the interior of the car.