phat78ta » Hello all, and welcome to the fix you all have been waiting for!!
I Have been fed up with my faded/chalky headlights for some time now, and have been working on a solution for this annoying problem. I found a post somewhere(can’t for the life of me remember where) about lens renewal. it was for headlights, but sounded feasible for tail lights as well. I figured it would be worth a shot, as I wasn’t ready and willing to shell out $75-$100 on each “new to me” used lens on Ebay, nor the $275 i saw for an aftermarket kit. What was the worst I could do? Ruin the almost unusable lights?
You will need the following(dependent on how bad your lights are):
- A D/A sander or electric random orbit sander
- Various grits of sandpaper
- 120(if needed)
- 330
- 400
- 800
- 1000(if needed)
- 2000(if needed)
- Lots of time and patience
Tail light De-Clouding Procedure
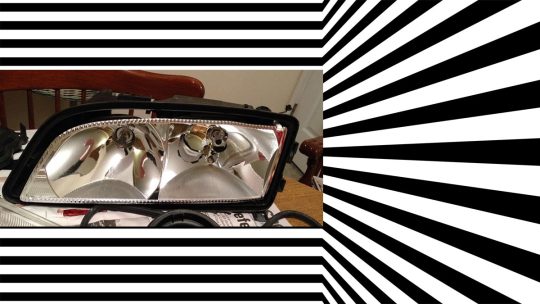
I started by removing the lights and getting them to a sturdy work place. I ended up making a jig of sorts to hold the lenses out of a 2×4. The important part is that you need to be able sand to the edges of the lens with ease.
I starting with the 120 grit( my lenses were really bad- see pics) I used my sander to get the bad chalking off. This took many pieces of paper, as the plastic is extremely hard and eats the grit quickly.
Once I got through the heavy chalking, crazing and pitting, I switched to the 330 grit paper to take out most of the sanding scratches.These were fairly light, but the smoother the better. I used the factory embossing and mold marks as a guide, once I got those removed the lens was fairly free of pits and crazing. Then on to the 400 grit, and then the 800. At each paper sheet change, I wiped the lenses off with a damp rag to clean them a bit, and also to see progress.
I cannot tell you how long to sand, how many sheets it will take and how much time this will take, as all lenses will be different. However, I did the lower light in around an hour of constant sanding. The key is to keep the sander moving to prevent heat build up, and be careful around the edges as the lenses will chip an edge easily if you catch the sander on them.
I did this all with dry paper, but you can use wet/dry paper as well. I just found it less messy to do it dry.
If you take your time and are careful, you will see great results. my next step is to take the lenses and have them clear coated to prevent the UV damage again.
Hope this helps someone save some money on new lenses. Cheers!!!
Before:
After:
Just a little more eye candy- I do so love these bricks…
850 / S70 wagon tail light redux!!
Wagon Tail Light Polishing