


Looking to access ECM & TCM on a P80 Volvo? Those are 1993-2000 cars.
How to remove ECU and TCU Modules
MVS Forum member gchelidze tells us in text and (24!) photos how to access your ECU and TCU modules from under your Volvo 850, S70, V70, XC70, C70’s hood. He writes:
“WARNING: I have done this procedure twice – once with battery lines connected and once with negative line disconnted. I didn’t see any difference. However I would disconnect it if I have to do it again just in case. Do at your own risk! If you decide to disconnect a negative line from a battery, make sure you have a your audio system unlock code. You will be prompted for it after you connect a battery back again.”
TCM step by step removal how to Volvo S70, 1999, 2.4 non-turbo
WARNING: I have done this procedure twice – once with battery lines connected and once with negative line disconnted. I didn’t see any difference. However I would disconnect it if I have to do it again just in case. Do it with your own risk! If you decide to disconnect a negative line from a battery, make sure you have a your audio system unlock code. You will be prompted for it after you connect a battery back again.
Procedure
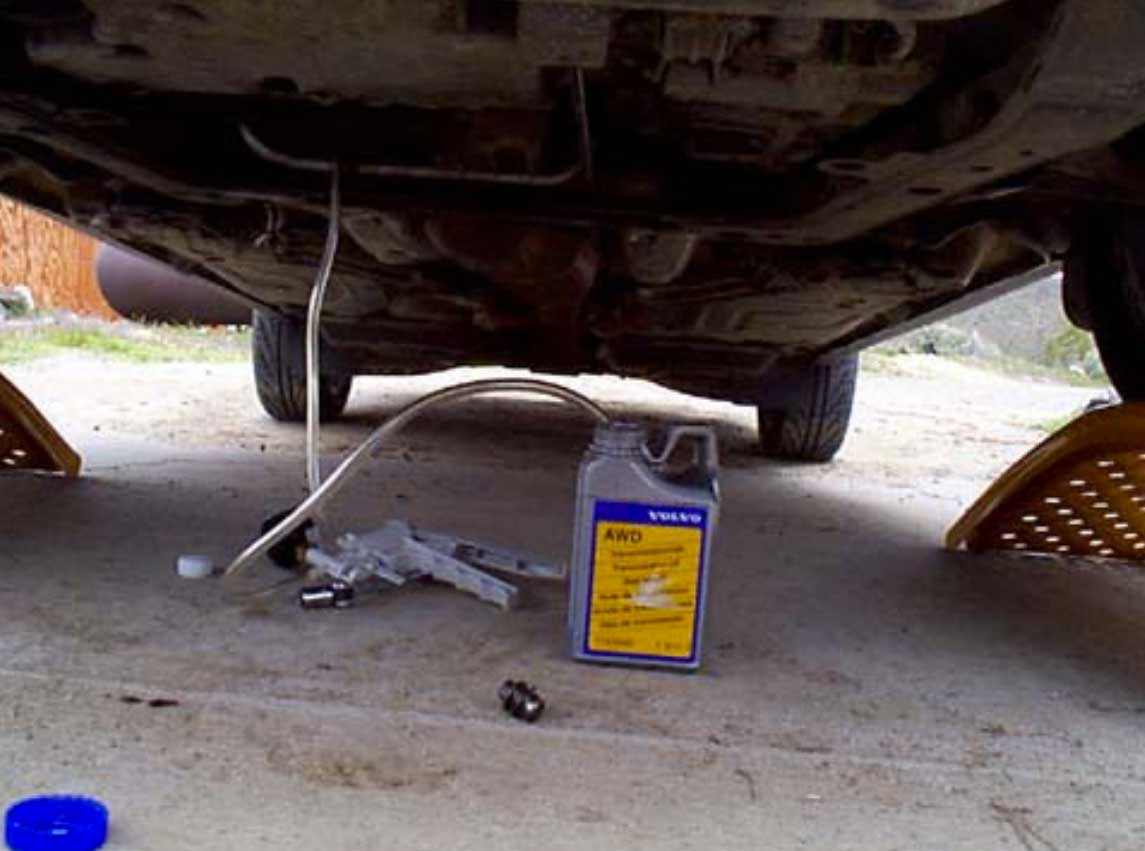
1. Tools you’ll need: hex socket M10, screwdriver, thin metal stick (pic 00.jpg)
2. Location: TCM is located in a black rectangular box at front right side with yellow sticker on it (pic 01.jpg)
3. Unplug two tubes from the front (pic 02.jpg)
4. A cover is locked from the left and right sides with two locks. Unlock them with a screwdriver and take off the cover (pic 04.jpg)
5. Inside a black box you can see a ECM and TCM from left to right (pic 05.jpg)
6. Locate a screw in the front and unscrew it (pic 03.jpg, pic 06.jpg)
7. A black box is locked from the front, right and back sides using three locks. Unlock them with a screwdriver and slide it up (pic 07.jpg)
8. Now you have a better view of both control modules (pic 09.jpg)
9. Look behind the control modules and you will see four pink plastic locks, two for each control module (pic 10.jpg)
10. Now you have to unlock the TCM. This is the most trickiest part. Before you start, please take a look at pic 12.jpg to get a better idea about locks. Press pink plastic locks with a thin metal stick from back to front in turn. Don’t press them too firmly or you will break something. Do it step by step (left, right, left, right, so on). You will need 4-5 tries before it’s fully unlocked. When you are done, you can pull the TCM out from it’s socket (pic 11.jpg)
11. Next two pictures clarify why you need to press pink plastic locks in turn (pic 13, pic 14)
12. That’s it. If you reached this point, you have done the job.
I’d like to mention a couple of things to easily put everything back:
13. If you look under the white socket you’ll notice two pink plastic locks which you already pressed from back to front. You have to press them in opposite direction to lock the TCM (pic 17.jpg)
14. After you have locked your TCM, you need to place a black box back. Pay attention to slides (pic 19.jpg, pic 20.jpg)
15. Make sure that an air flow tube is sitting correctly at the back side (pic 21.jpg)
16. lock all three locks on a black box, put a screw back (pic 22.jpg)
17. Final steps: put a cover back and lock it, plug plastic tubes and you are done.
18. Start your engine and make sure you do not have a check engine light nor flashing arrow on your dashboard (pic 23.jpg)
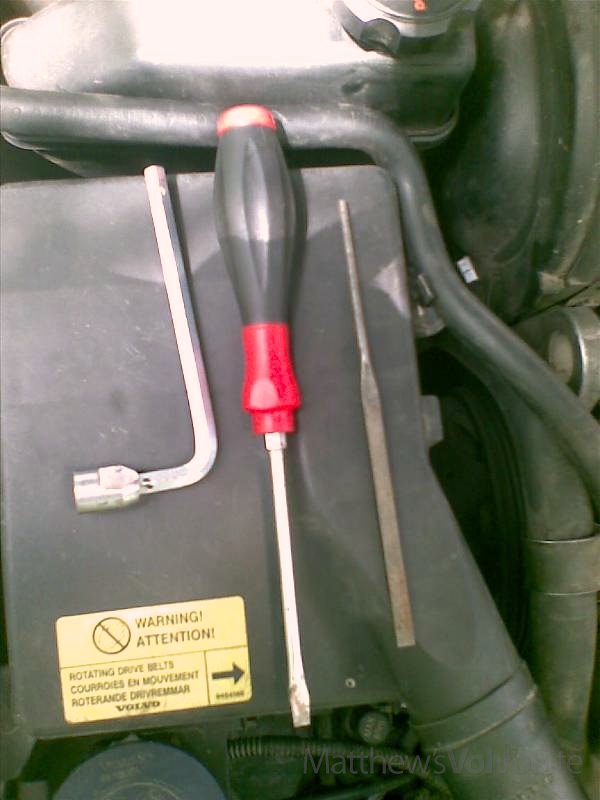
Photo 00.
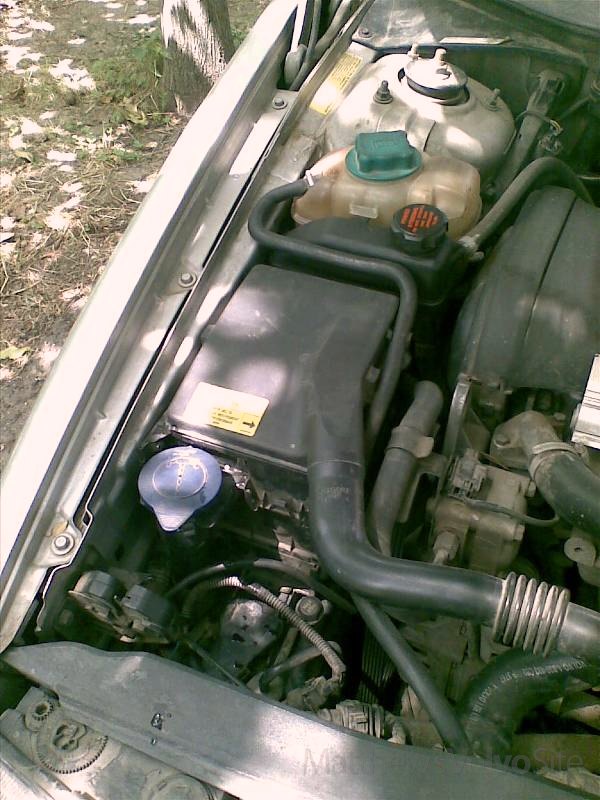
Photo 01.
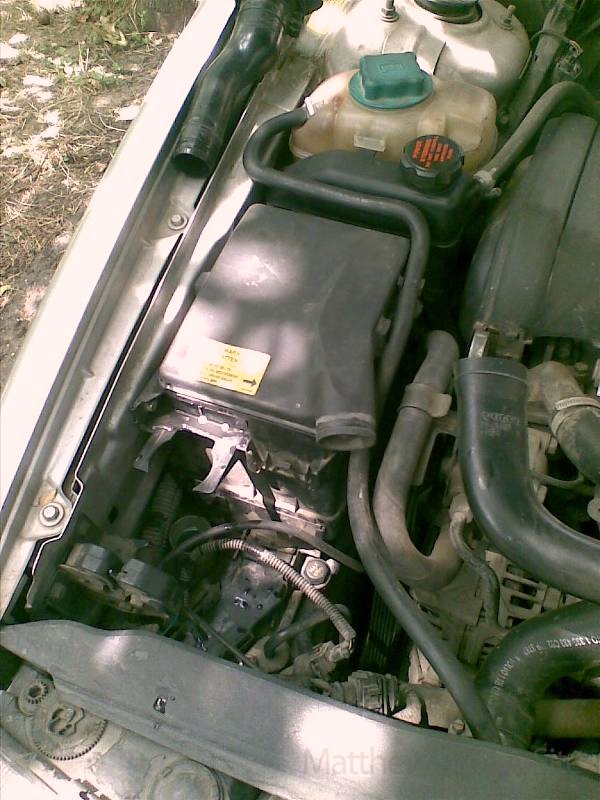
Photo 02.
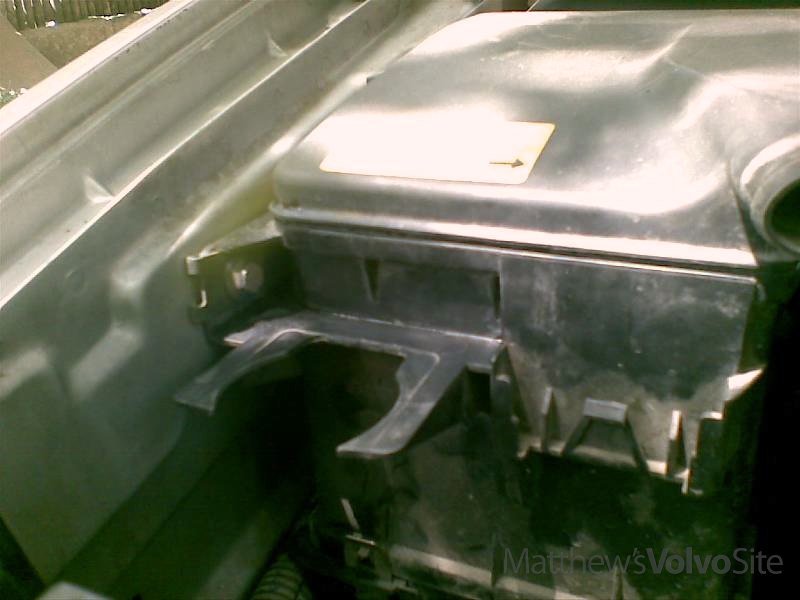
Photo 03.
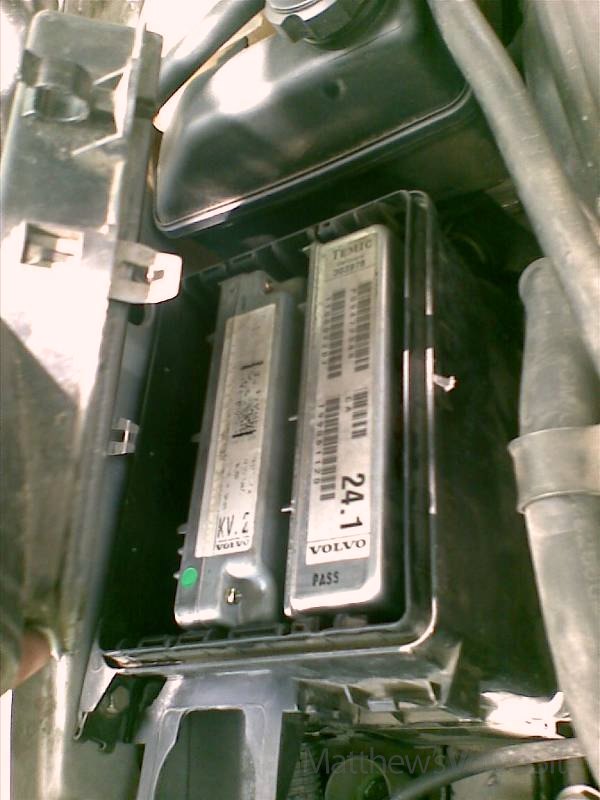
Photo 04.
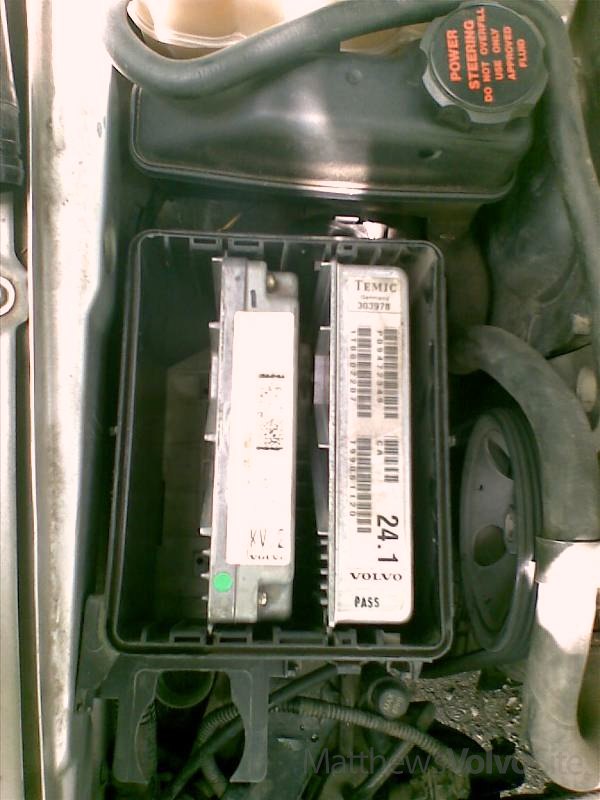
Photo 05.
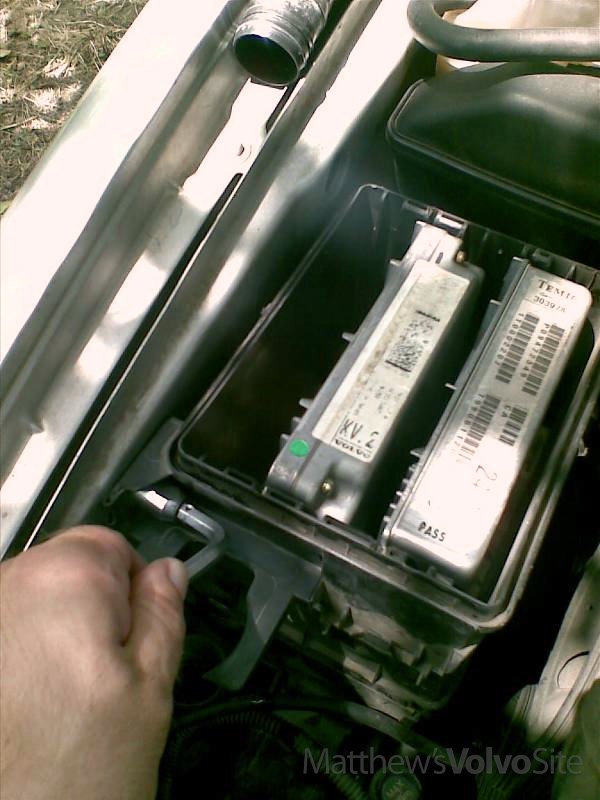
Photo 06.
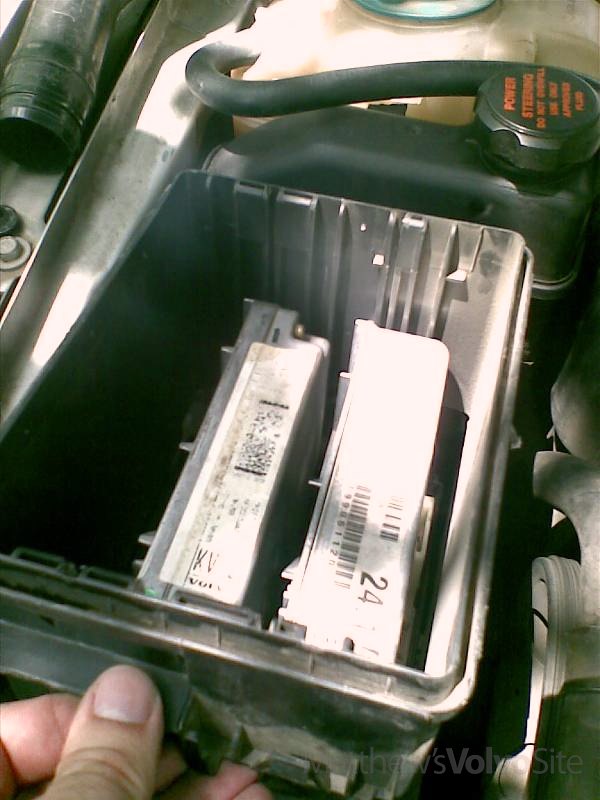
Photo 07.
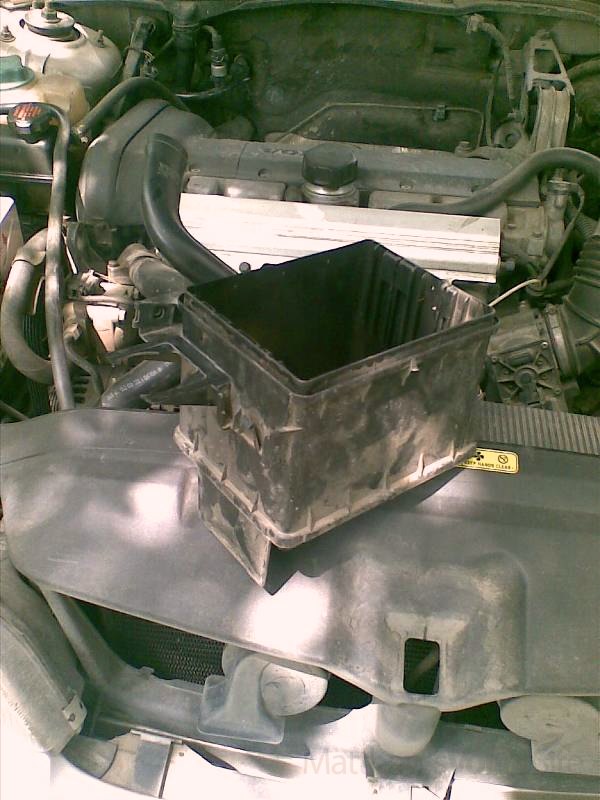
Photo 08.
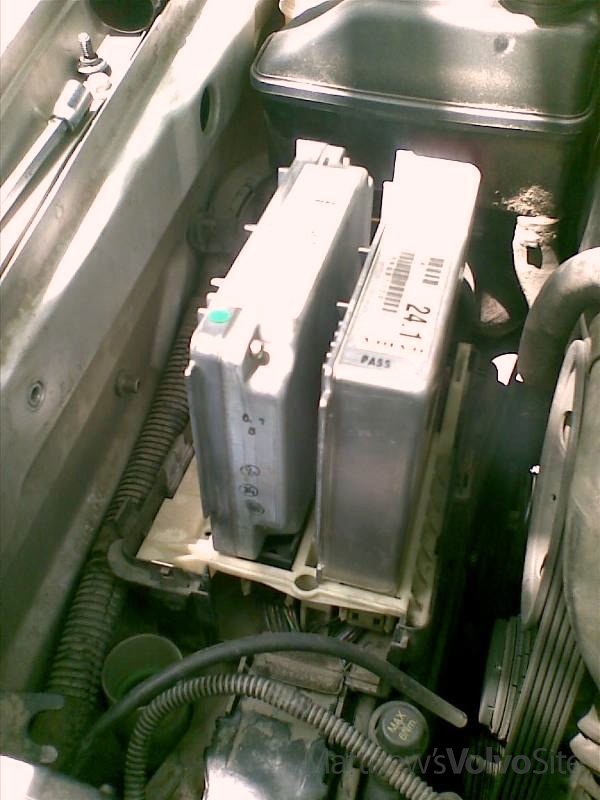
Photo 09.
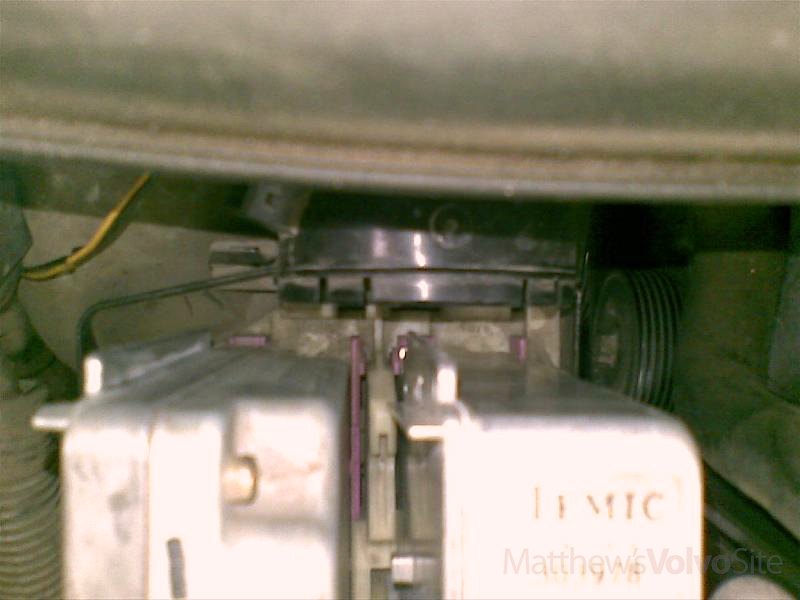
Photo 10.
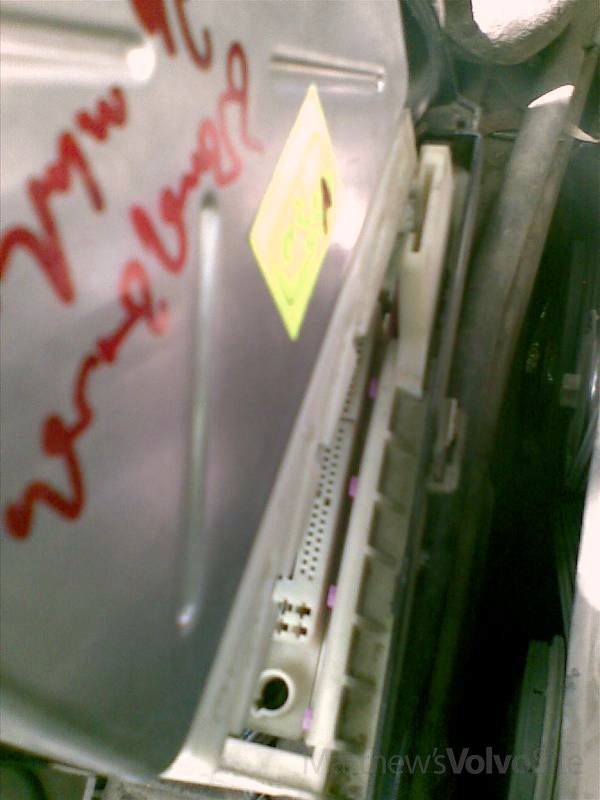
Photo 11.
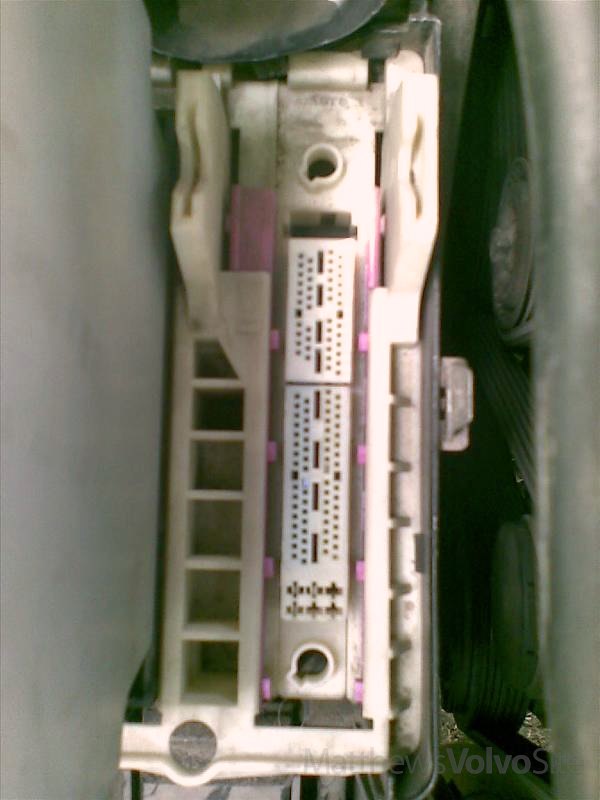
Photo 12.
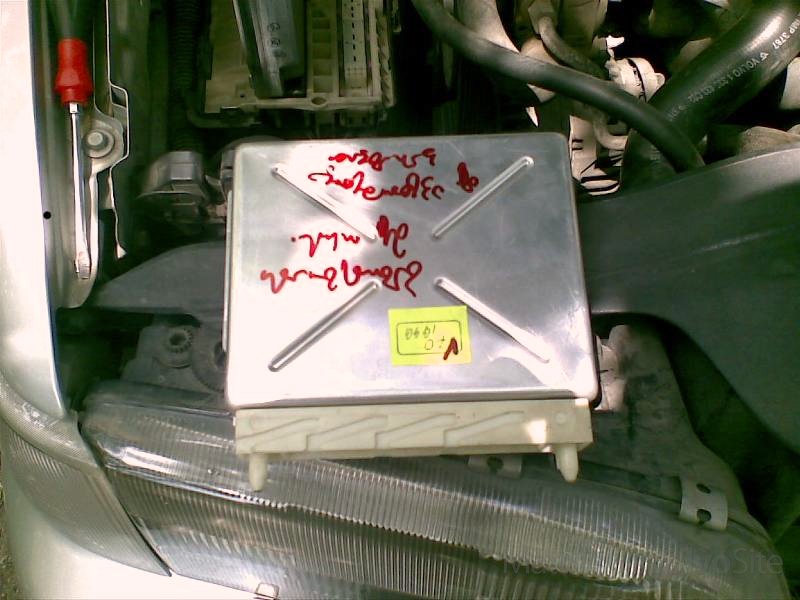
Photo 13.
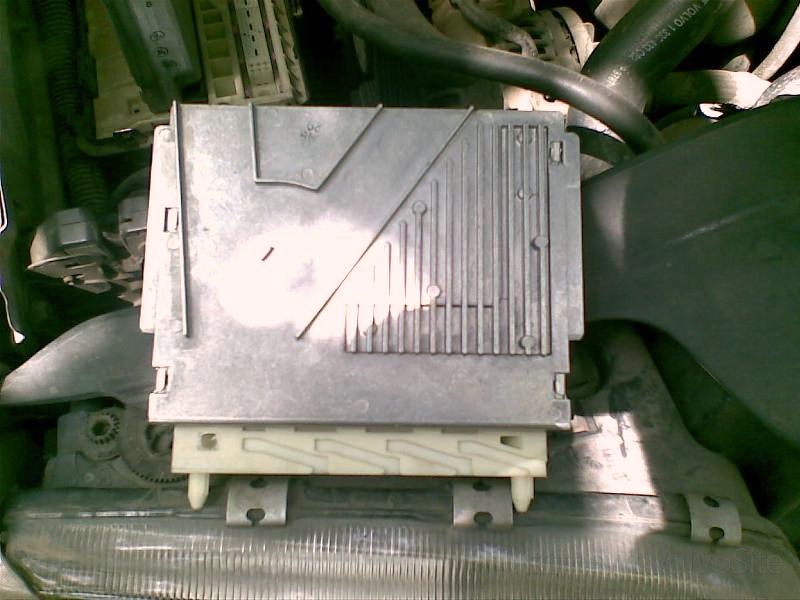
Photo 14.
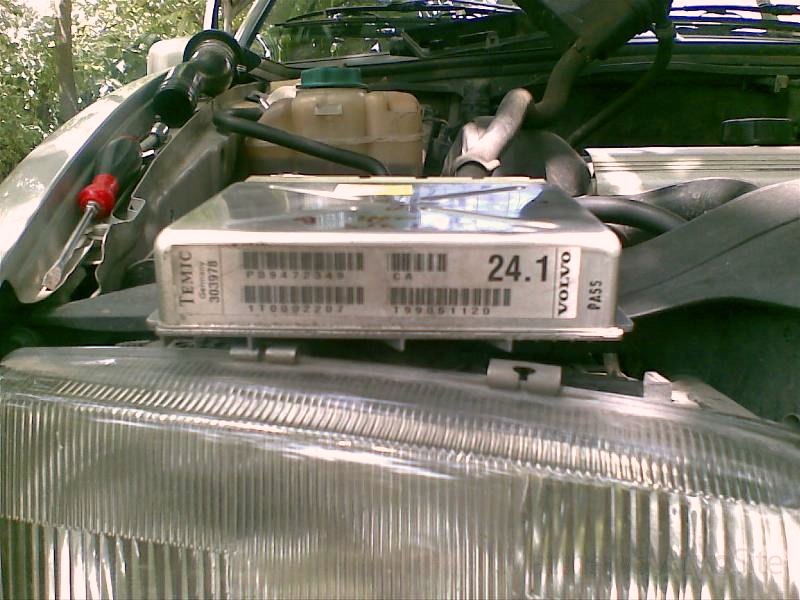
Photo 15.
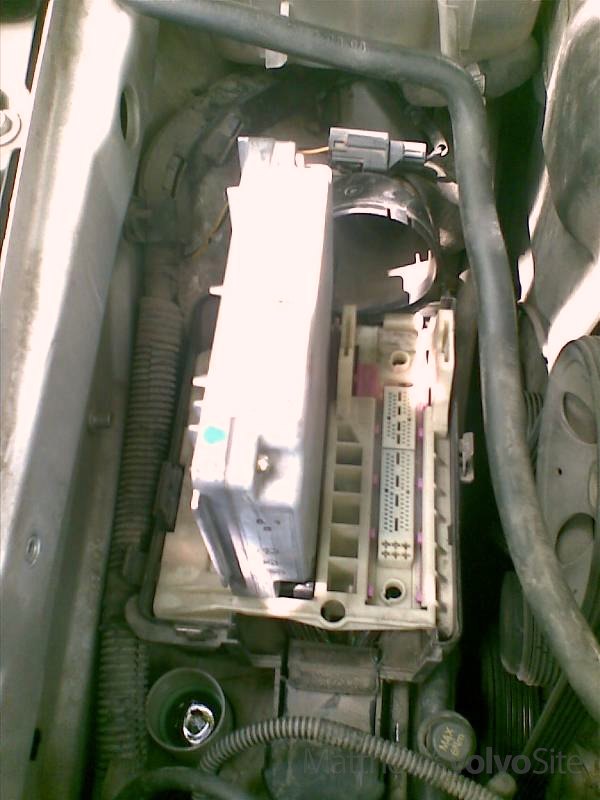
Photo 16.
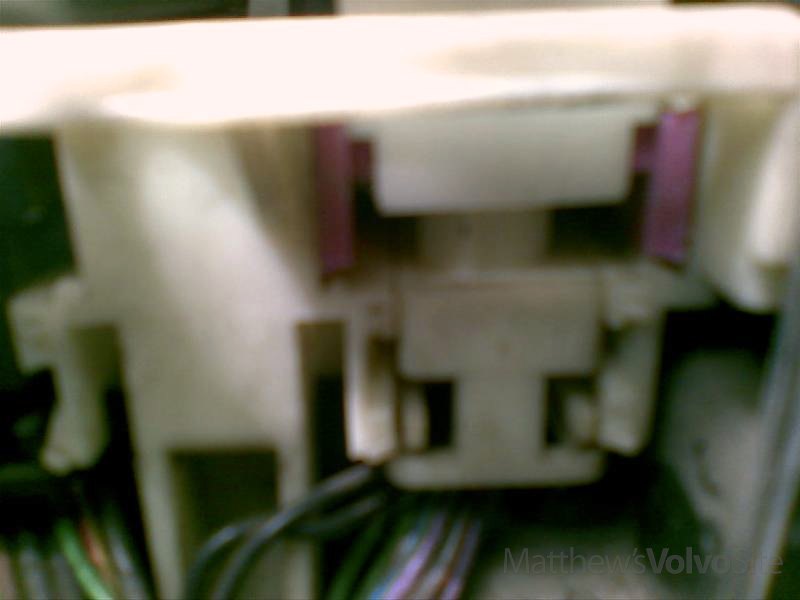
Photo 17.
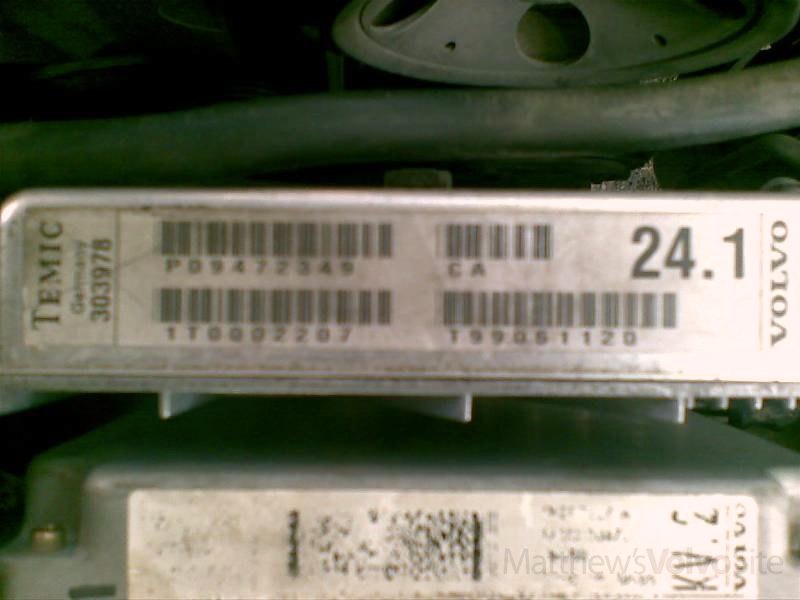
Photo 18.
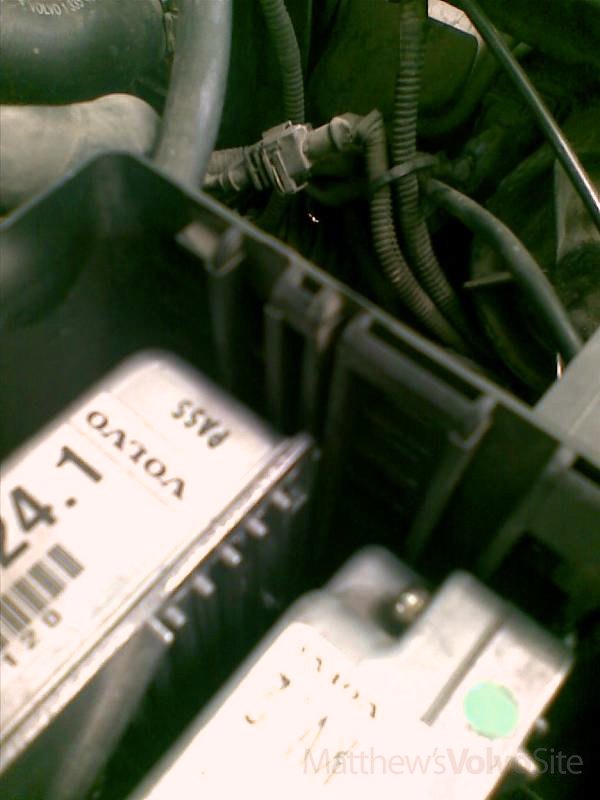
Photo 19.
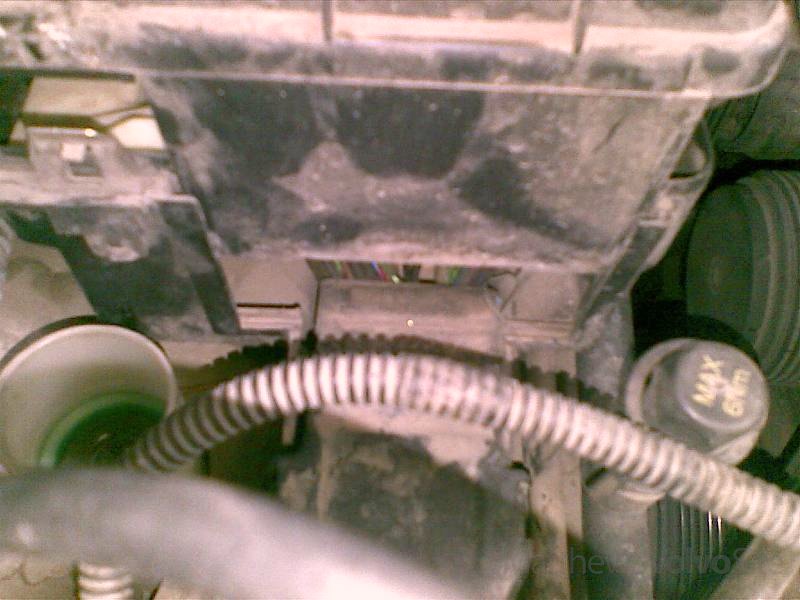
Photo 20.
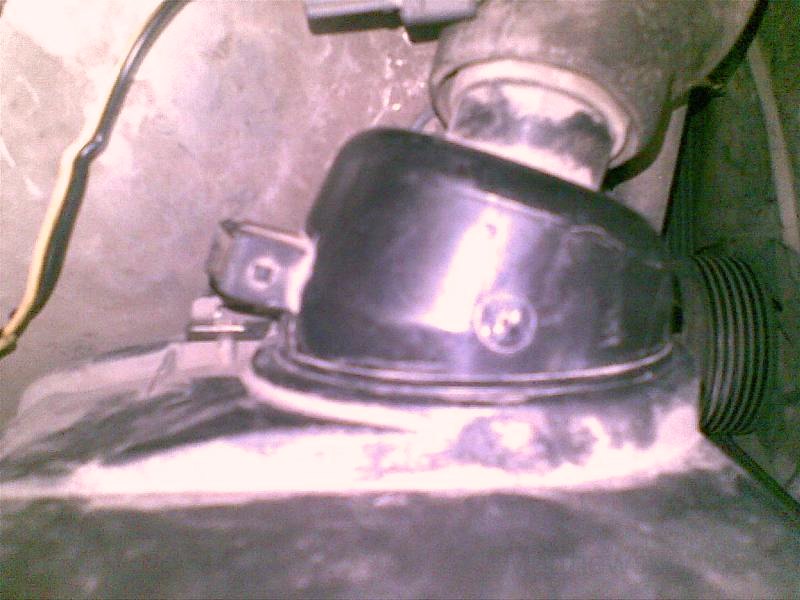
Photo 21.
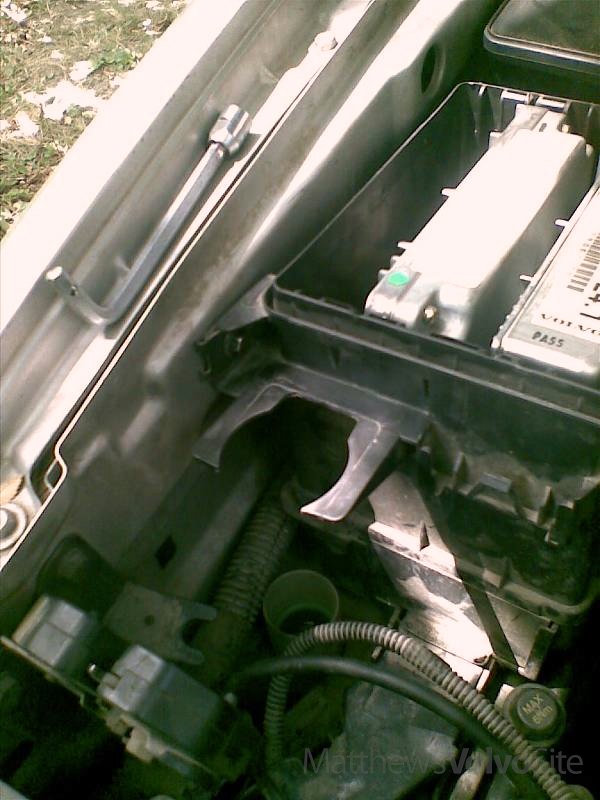
Photo 22.
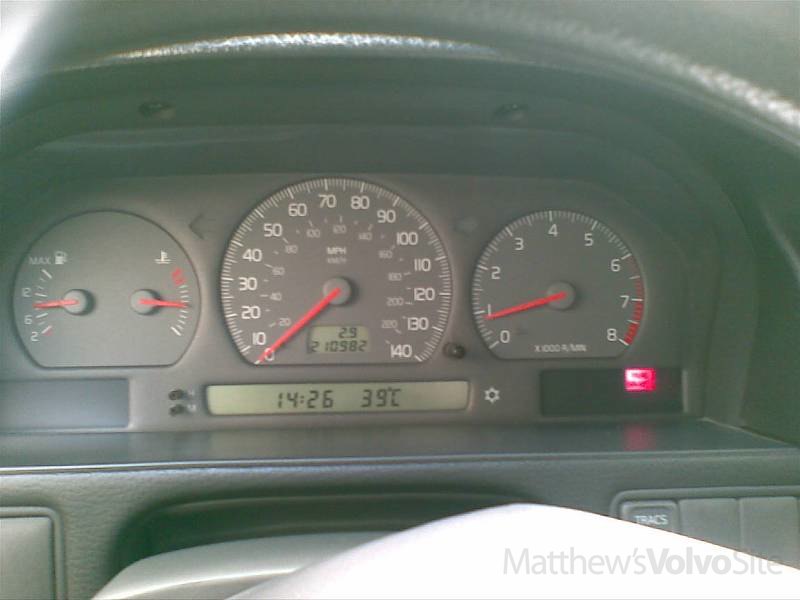
Photo 23.
DIY access/remove ECM & TCM on 850, S70, V70, XC70, C70 Looking to access ECM & TCM?
Welcome to Matthews Volvo Site! Your one stop shop for all Volvo news, help and DIY fixes. We feature the Volvo Repair Database, the best Volvo Forum, and an awesome monthly Volvo newsletter. Joining is always free!
Subscribe to the MVS Newsletter
The MVS Volvo Newsletter is a once-a-month email delivered to your email. It’s simple to unsubscribe at any time if you change your mind.


7 Comments
My 2001 xc70 the blower fan will not turn off or change speed even with the key off and out. The air conditioner won’t come on ether, but I know that it dose work. This all happen all at the same time. What do you think about this problem. Thanks Woody
I own a 2001 volvo s40 and i really need to know where the transmissin control module located people keep sayin its on theright side of the car buti never see a black boxplese tell where it is
I would like to no how to go at a problem I’m having after a mechanic replaced my radiator . It is now leaking transmission fluid and if your standing infront of the car facing the windshield it appears to be leaking from the bottom left side my guess is the mechanic didnt use new clips and o rings could this be the problem? This is our first volvo and yes I am new to this . However , i am mechanically inclined not a pro but can listen and learn alot from you guys. It a[[ears that its leaking from the bottom front rolling down sligthly and dripping off the bumper on the drivers side . i checked the top and its not there but the bottom is really saturated does transmission fluid pass into the radiator through the bottom hose? I have a 2004 v70 2,5 T Thank you for any help Stressed out in Southcarolina
I have followed your instructions for removal and although I can feel the ECM is looose after sliding the pink holders back as far as they will go, I cannot pull the ECM out. I am afraid if I pull any harder something will break. Any suggestions?
VIN decoder http://new.volvocars.com/ownersdocs/1997/1997_VIN-VIC/vin1997.html
I just moved to Oregon from Nevada, my 97 850 T5 is acting up. I found a 97 T5 wagon being parted out here in Oregon. I cannot remember what VIN #’s tell me that it is a T5. My manual is packed in storage. Can anyone tell me what #’s to verify it is a T5?
I didnt think opening up and removing the ECM and TCU needed a 24 photo DIY. But hey, I guess everybody has to start somewhere and we were all newbies at one time.
Very in-depth this can be an example of a thorough contribution. Thanks. This should be a DIY on a DIY.