Boost Gauge Mounted
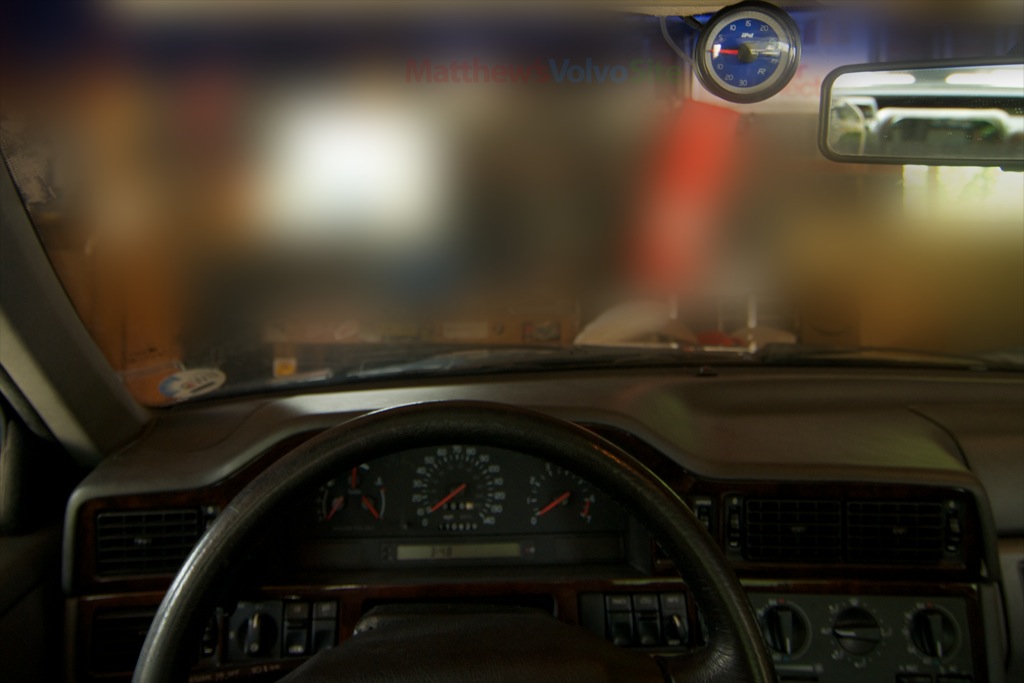
To put it simply, it was the best place for me. I tried A-Pillar, lower-left dash, and instrument cluster, but found that headliner/rearview mirror was best. I’m tall so my eyesight is up there anyway.
The end result is a nice-looking, nice-functioning boost gauge that dims with the rest of my 1997 850’s instrument gauges. Because it’s mounted up high it’s unobtrusive, and far less likely to be seen by street racers, cops or thieves. It’s there when I need to know boost, and invisible to me all other times. It’s slightly nearer to my field of vision than any of the other mounting positions I tried, so my eyes are on the road more.
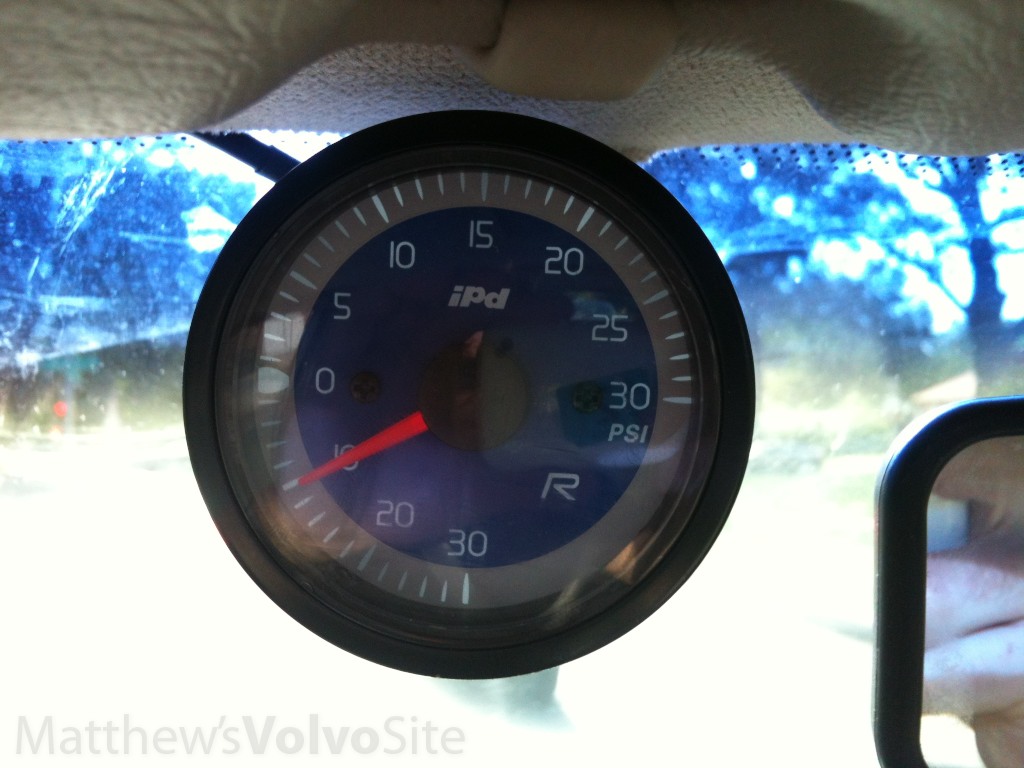
- You need a boost gauge, either lit or unlit. If you choose an unlit one, you don’t have to do any electrical wiring, but it won’t be illuminated at night. I chose the iPD R Boost Gauge (link to kit).
- Assuming you’re going to do the headliner install like mine, you’ll need a bracket or some random piece of metal to mount and keep the gauge where you want it.
- You need wiring. I think mine was 18 gauge. Also: misc. electrical bits like those cap connectors. I don’t even know if that’s the correct term.
- You need a coat hanger to route the vacuum line and wiring up through the dash and into the A-pillar, and finally across the headliner.
Mount Boost Gauge Up High – Tutorial
Subscribe to the MVS Newsletter
The MVS Volvo Newsletter is a once-a-month email delivered to your email. It’s simple to unsubscribe at any time if you change your mind.
Last Updated on September 6, 2025