https://www.matthewsvolvosite.com/forums … =1&t=58347
Ozark Lee:
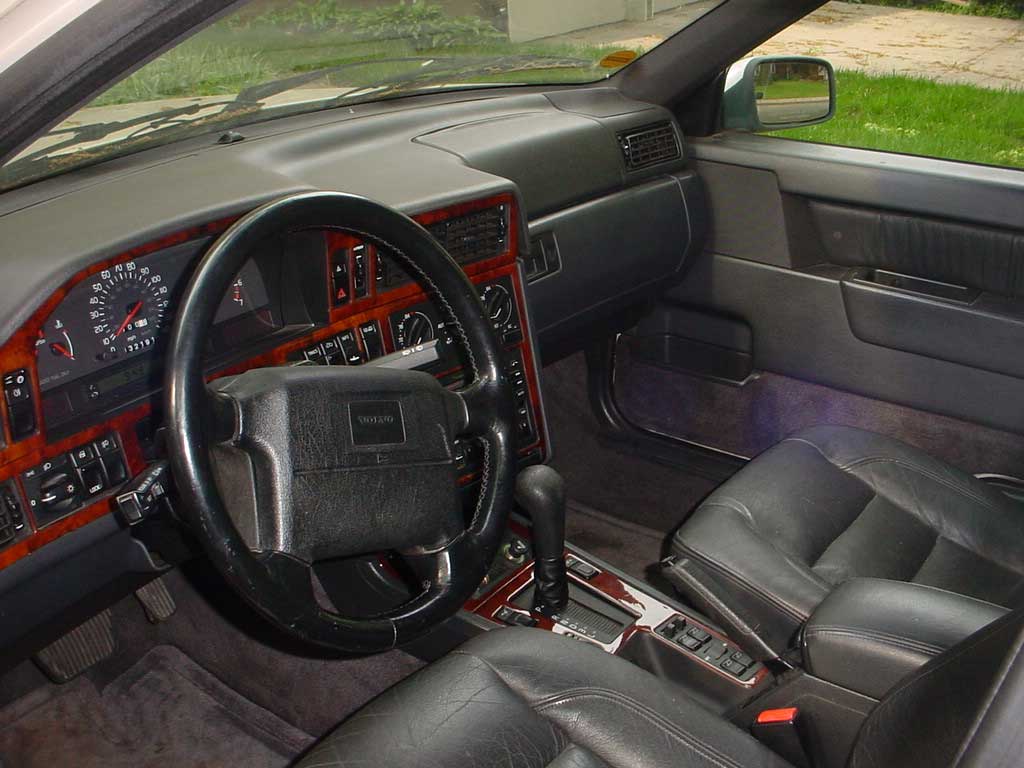
When I purchased the ’96 Platinum Edition Turbo I noticed that the passenger’s side of the dashboard was flopping all over the place. When I bought the car I thought I needed to replace the evaporator anyway so I didn’t let the loose dashboard get in the way of the purchase. It was very noisy and very distracting. The good news is when I got the car home it still had refrigerant pressure so the air conditioner leak is very slow and a couple of cans of R-134A fixed it right up. The bad news is that I still had a dashboard that was flopping around.
In the process of tracing down an electrical problem I wound up just removing the dash anyway.
Chuckcintron has the definitive dash removal guide here as a part of his evaporator replacement guide:
http://www.woodjoiner.com/volvo/VolvoEvapReplace.pdf
If you need a new evaporator now is the time to deal with it – if you are doing the evaporator as the primary focus of the job it would be a good time to deal with your dashboard mounts. Apparently mount failures are common and fall into the inevitable category.
The only difference in my procedure and Chuck’s was that I didn’t remove the ignition switch key cylinder. It didn’t seem to hamper my ability to get the dashboard out of the car.
After getting the dashboard out of the car the problems were obvious. Here are pictures of the broken mounts.
Fortunately all of the pieces were there so I set off to the local Lowes to pick up some epoxy and some fiberglass and resin thinking that the joints would need more than just the epoxy glue job. The epoxy I used was a Loctite 5 minute epoxy that said it worked with plastics. After 24 hours it felt very strong but I still wasn’t convinced it would hold up.
Here is a mount after it was glued back on.
MIJ gave me some links to the subject from VSP and my repair is largely what they have done.
I picked up a strip of 0.025 thick aluminum sheet metal at the Lowes store as well as some self tapping screws. In my case the aluminum came in a 6″ x 18″ panel. I measured the factory mounts and found that they were right at 1 1/8″ wide so I cut out 4 strips of aluminum 6″ (15.2 cm) long by 1 1/8″ (2.85 cm) wide. I then stacked all 4 of them together in a vice and drilled a 3/8″ (9.5 mm) hole, centered 2″ (5 cm) from the end, through all of them at once. Drilling though sheet metal is tricky since it was to catch at the end and wrap around the drill bit. By clamping them all together they get more rigidity.
Here is a picture of the straps.
From here it is a matter of lining the factory mount hole up with the hole in the strap. The will wind up being to long but I mounted them from the front first. The short side of the metal from the hole should go toward the front of the dash. I then shot in two self drilling screws through the aluminum and into the plastic. Be careful here not to strip out the hole. I then folded the strip over the mounts and trimmed the metal to fit. The center mounts are different from the end mounts so they use a slightly different length of the strip on the back side.
Here are a couple of pictures that show the strips in place.
The guys on VSP used some thin foam tape to cover the metal straps but I couldn’t find an equivalent product. Having three 850’s I long ago bought some 3M squeak reduction tape. It is a self adhesive Teflon tape that goes between squeaky joints. I found it through NAPA auto parts. Here is a picture of the box.
I used the tape to cover the aluminum strips and so far so good, no more dashboard noise at all.
With the drying time on the epoxy and further just to keep your sanity this is a 2 day job. If you are doing the evaporator anyway it will only add an hour or so. Only two of my mounts were broken but I reinforced all four of them as a preventative measure.
Here is the finished product.
If you need a new evaporator now is the time to deal with it – if you are doing the evaporator as the primary focus of the job it would be a good time to deal with your dashboard mounts. Apparently mount failures are common and fall into the inevitable category.
The only difference in my procedure and Chuck’s was that I didn’t remove the ignition switch key cylinder. It didn’t seem to hamper my ability to get the dashboard out of the car.
Last Updated on August 25, 2024