

Volvo Forum member and contributor polskamafia mjl takes us carefully through each of 20 or so steps to replace (and gap) spark plugs, cap & rotor, and wires. This isn’t difficult at all, and this tutorial makes it even simpler.
A Fine Spark Plugs, Wires, Cap & Rotor Change Tutorial for Pre-1999 Volvo 5-cyl
Here is the Spark Plugs, Wires, Cap & Rotor print link for those who like to have a hard copy next to them while they do repairs. I recommend printing tutorials, always.
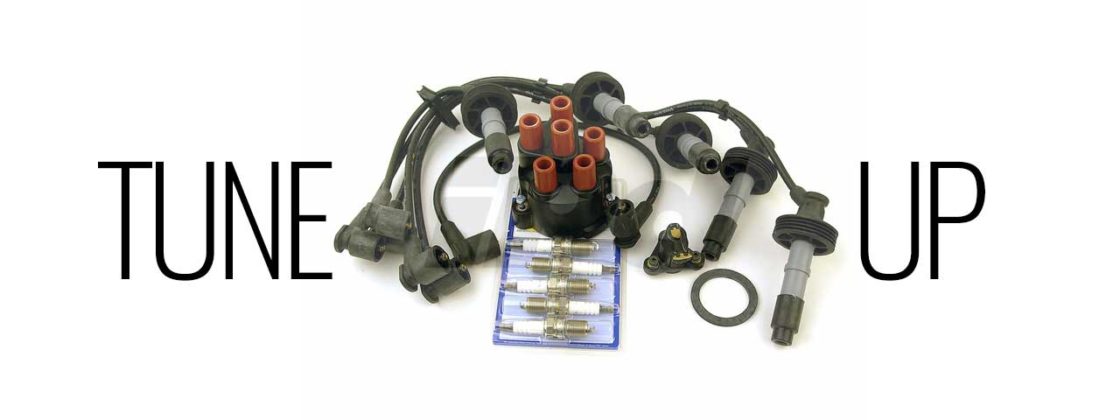
This write up covers the removal of the distributor cap, distributor rotor, plugs and plug wires. This repair requires no special tools aside from a spark plug gapper.
Spark PlugS/Wires/CAP & Rotor Change Tools Required
- Socket Wrench
- 5/8 Spark Plug Socket
- Cheater Pipe
- Torque Wrench
- 3mm Allen Key
- 10mm Wrench
- Extension for Spark Plug Socket and Wrench
- Spark Plug Gapping Tool
- T-30 Driver
- Flat Head Driver
- Anti Seize
- PB Blaster
Spark PlugS/Wires/CAP & Rotor Change Steps
1. Start with a cold engine; it would be best to let it cool overnight
2. Use a T-30 driver and remove the 6 Spark Plug Cover screws. Cover removed:
3. Disconnect the electrical MAF connector.
4. Use a flat head screw driver and loosen the hose clamp between the MAF and throttle body. Remove the hose from the MAF.
Hose removed:
5. Use a 10mm wrench to disconnect the battery. HAVE YOUR RADIO CODE HANDY!
6. Release any and all hoses and tubes from the upper portion of the airbox.
7. Release the 6 snap clips around the airbox. Lift the upper portion up and off to the side. Then remove the lower portion from the car and set it aside. Be careful with the air filter and heating hose (NA models only).
8. Label the wires with their cylinder number. Use a flat head screw driver and remove the 3 screws holding the distributor in place. You can also try removing the wires from the distributor. Mine were stuck on pretty well and I was replacing them anyway, so I left them on the distributor.
9. Pull off the metal cowl under the distributor cap. 10. Use a 3mm Hex key to remove the rotor.
11. With the rotor off, note the groove used for aligning the new rotor. The arrow is pointing to it. This is the only orientation that the rotor will bolt up to.
12. Bolt the new rotor on.
13. Put the cowl back on. I almost forgot this and had to go back and put it on after I had screwed the cap back on.
14. Finally, bolt the new cap on.
15. Take your wrench, cheater pipe, extension, and spark plug socket and assemble them.
16. Guide the socket onto the plugs and remove them using steady pressure.
17. Before installing the new plugs, gap them to .028 inches…
18. …apply anti seize to them…
19. …and put them in hand tight…
20. …before torquing them to 18 ft/lbs.
21. Then install the new wires, and try to arrange them similarly to how they were before. Be careful and make sure you have the wires hooked up to the correct plugs!!! If your wires don’t come with dielectric grease in the boots, apply a little bit before installing them.
22. Secure the wires and reattach the spark plug cover. Start the car and listen to that 5 cylinder growl.
Nice write up for sure! I’ll be doing this after I replace the heater hoses and put the turbo back in.
The 3 flathead screws on the distributor cap are also hex bolts. I can’t remember right this second if they’re 7 or 8mm, but a 1/4″ socket with a 5-6″ extension works well. I found this out when I couldn’t get the bottom one off with a screwdriver.
Spark Plugs, Wires, Cap, & Rotor DIY
Last Updated on August 8, 2022


2 Comments
[…] replace the Volvo distributor cap & rotor, this job requires removal of the battery and then the bottom half […]
ALWAYS GOOD INFOMATION HERE!!! THANKS.