

DIY AC Recharge Instructions for Volvo S80 Models
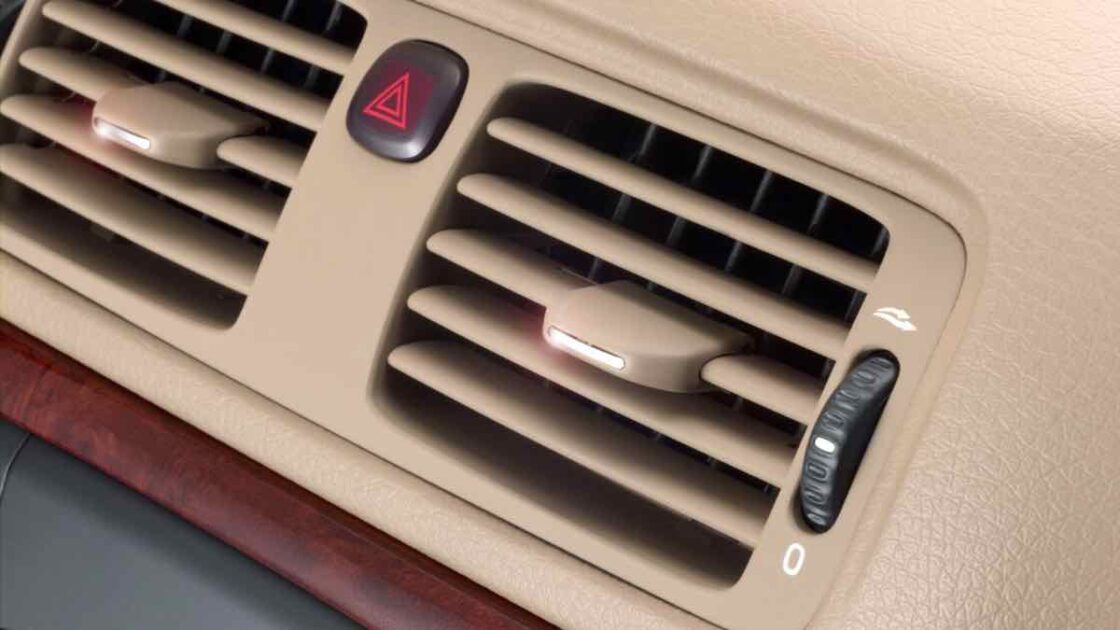
Per VADIS, you recharge on the HIGH side, opposed to the low side. 1. remove the cap from the high side valve (22mm). 2. connect your quick-fit high side coupler (I had to modify the slam panel slightly to allow mine to fit) 3. connect red hose to gauge manifold 4. connect yellow hose to cylinder …
firstvolvo »
Hello everyone, I just bought my first Volvo and found this great forum. As when I bought my first BMW, I’m now finding out I got into the first year production of the S80 (1999), so I can apparently expect a myriad of bugs and issues – just my luck. Fortunately, the PO took care of many of the known issues already, and the car does run quite nicely.
I have noticed that my A/C compressor is cycling quite frequently, so I decided to recharge it. Per VADIS, you recharge on the HIGH side, opposed to the low side, which is how I have always known to recharge an A/C system. In looking at forums for other Volvo models, they recommend recharging on the low side. Anyone know if the S80 T6 can be charged on the low side, or how do you go about charging on the high side? Anyone here done it before & care to share your procedure?
Second, how do the caps on the lines come off? Do they unscrew, or just pull straight out?
Thanks in advance and I’m glad to be part of your forum.
vegasjetskier »
ALWAYS charge on the LOW side, never the high side. The high side pressures are enough to blow your little can of freon sky high, causing you severe injury. This is why the high and low side valves are different sizes and the little kit you buy from your auto parts store only has the low side valve on it. To charge correctly, you really need a set of gauges so that you can measure the high side pressure and bring it up to factory specs as you add freon (unless your system has a sight glass, then just add freon until the bubbles in the glass disappear). You can get AC gauges here.
When you let gas out of the system, it is not “air,” it is vaporized refrigerant. It is illegal to vent this gas straight into the atmosphere as it is a greenhouse gas and contributes to global warming. The gas must be recovered by a machine that costs about $600. So it is best to just add freon until the system is full and leave it at that.
It is very possible to overcharge from the low side. The pressure in the can could be up to 100 psi, yet the low side of the system is only 0-40 (the pressure differential is what forces the freon from the can into the system). Without a gauge on the high side, you have no idea how much freon is in the system.
Firstvolvo, it would seem that you overcharged your system and caused a leak somewhere, probably a compressor seal, that vented the excess freon. You’re lucky your system is still working.
sheaton »
Just recharged the aircon on my Volvo S80.
I bought a bottle of R134A and a set of professional gauges with a quickfit adaptor for the high side and a sight glass. The quickfit adaptor has a screw-down pin which opens the high-side valve when required. Vadis specifies filling from the high side only – not sure why.
The high side inlet is on the condenser. What you need to do is “pour” liquid R134A through the hoses into high side inlet.
IMPORTANT: DO NOT RUN THE ENGINE AND DO NOT USE CAN TYPE QUICK FILLS ON THE HIGH SIDE.
Procedure
1. remove the cap from the high side valve (22mm).
2. connect your quick-fit high side coupler (I had to modify the slam panel slightly to allow mine to fit)
3. connect red hose to gauge manifold
4. connect yellow hose to cylinder
5. screw down valve on quick fit adaptor; red gauge will indicate some pressure
6. open red valve on gauge block and loosen fitting on cylinder slightly. Use some of the remaining gas in the car to purge the line.
7. weigh the gas cylinder and make a written note of the weight
8. open the valve on the gas cylinder and turn upside-down
9. fluid refrigerant should flow through to the condenser (check the sight-glass)
10. allow flow for 10 sec, close the valve on the cylinder, and re-weigh. Loss of weight obviously confirms the transfer is taking place.
11. repeat until 1000g has been added
12. open the screw-down valve on the quickfit connector and disconnect the connector. Replace the high-side plastic cover.
13. Colse the valve on the cylinder, and very carefully release the line pressure.
Notes
Always wear gloves and goggles throughout the procedure
Refrigerant will only flow into the condenser when the pressure in the refrigerant bottle is higher than the car. You may need to warm the refrigerant cylinder in a washing-up bowl of hot (50C) water for a few minutes.
Following the recharge, the aircon was dropping the incoming air temp by 12 degrees Centigrade.
Volvo S80 (1998 – 2016)
Volvo S80 (1998 – 2016)
Volvo S80 generation I (1998 – 2006)
The all-new Volvo S80 made its debut in May 1998 and was the first Volvo on a new architecture, internally called P2. It represented a new strategy: up until now most Volvo models had been sold as both a sedan and an estate, but the S80 was a pure sedan. It aimed for customers wanting a big and exclusive sedan that was not related to the more practical estates.
The S80 presented a variety of technical innovations, such as a transversally mounted inline-six, the Inflatable Curtain for side impact protection and front seats with built-in protection against whiplash injuries.
The base engine at launch was a 2.9 litre inline six that, in the top of the line twin turbo version, produced 272 hp.
Subscribe to the MVS Newsletter
The MVS Volvo Newsletter is a once-a-month email delivered to your email. It’s simple to unsubscribe at any time if you change your mind.


4 Comments
Shane is right. Never charge an automotive AC system on the high side. Not sure where people are getting this from but automotive AC systems are always charged on the low side. This is the procedure with every single car; charge the system on the low side port while the car is running with the AC on full blast. I have had many Volvos (still have 3) and have worked on many AC systems for context.
Why can’t I get a straight answer about recharging my a/c on a 2000volvo s80 2.9 L nonturbo
@bruce… for real! the low pressure port doesn’t fit the recharge cans you buy and i can’t find any resources that address this issue! i called the volvo dealership and they quoted me $350 for labor not including the “fluid”… so fuuuuuck that.
pretty frustrating that this seems to be an unaddressed problem.
If you attempt to recharge on the high side when the compressor is running it can blow up our can of r-134a. A normal can is somewhere around 100 psi or so (it depends on the ambient temp). The high side of an ac system can be around 250 psi. The refrigerant will NEVER tranfer from the can to the system. It’s pretty dangerous and not correct to charge on the high side. If you have a recovery/recycle machine like the dealer is using the charging is done with the engine and compressor turned off. With the compressor off it could be charged through the high side, but i don;t know many people with an ac recovery/recycle machine sitting around their houses nor do i know anyone who would modify their machine to reverse charge.