

MVS Forum member and beloved contributor CN90 hit another DIY out of the park with his better-than-OEM modification to the P80 Volvo’s PCV crankcase venting system.
CN90 takes Justin’s world famous PCV repair tutorial, and goes “all in”.
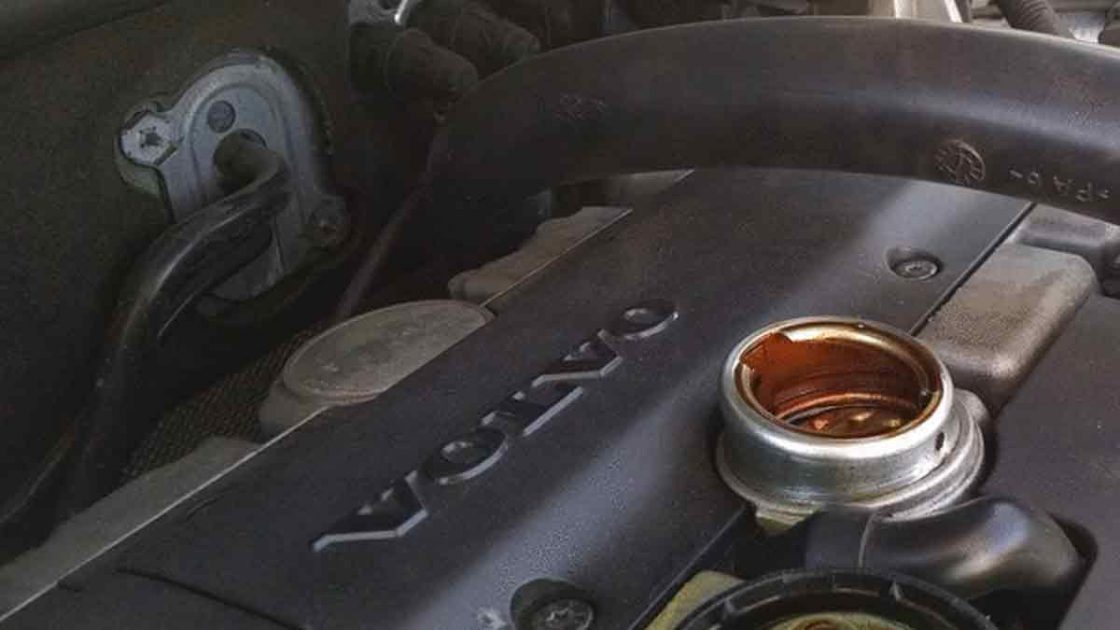
DIY: 1998 Volvo S70 GLT PCV Modification, how to get rid of smoking dipstick!
cn90 »
There are a few threads/DIYs on how to overhaul the PCV (See REFERENCES section below).
Many people overhauled the PCV only to find out they still have smoking dipstick (no increased in PCV pressure but simply smoking dipstick, whose significance is unknown).
Some people install a snorkel tube out of a modified oil cap —> intake (ugly looking but works).
Some use plumbing copper pipe to replace the plastic pipe, seemed to work.
My PCV was performed by the Volvo dealer 2 years ago (by previous owner), and from looking at the previous service records, they did a half job. I overhauled the PCV again and found the 2-year-old plastic pipe (from oil trap —> intake) broken, piece of junk.
After I modified this plastic pipe (ID = 3/8”) with standard heater hose (ID = 5/8”), the smoking dipstick issue is solved!
My theory (see sketch below), my numbers are arbitrary strictly for illustrative purposes:
- Let’s say from factory, the engine blow-by rate (volume/minute) is 4 for Top hose and 4 for crankcase hose, and let’s say the 3/8” pipe was designed to carry a rate of 10, then the PCV system works fine from factory with a margin of 2.
- As the engine ages (mine has 150K), the piston clearance increases, the valve stem seals are not as tight, now there is increased crankcase pressure that the factory setup cannot handle —> smoking dipstick.
- So the engine with 150K miles blow-by rate (volume/minute) is now 8 for Top hose and 8 for crankcase hose, and since the 3/8” pipe can only handle 10 —> crankcase pressure builds up! By using 5/8” heater hose, the diameter is increased by a factor of 5/8 divided by 3/8 = 1.67; surface area is increased by 2.77 times, so now the flow is 27.7 instead of 10. Remember surface area = pi r^2 (high school stuff).
PARTS For 1998 S70 GLT
- Heater Hose with ID = 5/8”, $6 for 6-foot roll at Advance Auto Parts.
- 956561…Oetiker clamp…qty = 4; $1.94 x4
- 976584…Oetiker clamp…qty = 2; $2.00 x2
- 977964…Oetiker clamp…qty = 2; $2.58 x 2
- 8653339…Short hose to engine block…$5.85
- 1271653..Short hose to engine block… qty = 1; $8.76
- 1271654..Hose to top of engine… qty = 1; $21.24 (I guess you can use heater hose here, just a guess)
- 1271988…Oil trap $29.88
- 9146266…Intake manifold gasket… $13.86
9471644… piece of junk, save $40 for beer! This PN has 2 items: 3/8” pipe and vacuum hose. Do NOT buy this for 2 reasons:
a. The plastic pipe will break in 2-3 years.
b. The pipe is too restrictive for high mileage vehicle.
Instead, use 5/8” heater hose as I mentioned above. For the vacuum hose: use standard vacuum hose.
TOOLS
For Tools, see the other DIYs listed in REFERENCES section below. The bottom line is:
– Some 10-mm, 12-mm sockets, wrenches. Box wrenches are useful here!
– Iron Pipe (for stubborn bolts, I slide the ratchet inside the iron pipe for added leverage) or 3/8” breaker bar
– 3/8” Universal joint is a must-have!
– Telescopic magnet to retrieve dropped bolts!
– Oetiker clamp crimp tool (about $10, go to Sprinkler section at Home Depot)
– Grease/antiseize for the bolts
– Blue Masking Tape for marking hoses etc.
PROCEDURE (Abbreviated Version)
– This has been discussed in the other DIYs, so I won’t go into detail. Instead, I will only highlight the important tricks of the trade:
1. Get some blue masking tape, any part that is disconnected, put blue tape on so it is easy to know that part needs to be re-connected.
2. Label all bolts removed.
3. D/C battery (check your radio code).
4. D/C Turbo hoses (via clamps) and set aside.
5. De-pressurize fuel system 1st via Schrader valve, then disconnect fuel line using 14-mm/17-mm wrenches as shown. If you have the EVAP fuel line (like mine), then later you need to undo the 2 bolts holding the fuel rail/injectors, gently lift that up and ease the EVAP line out a bit. Don’t disturb the fuel injectors too much.
6. The Intake Manifold has 3 UPPER bolts and 4 LOWER bolts and two (2) more bolts from underneath.
– Remove the 3 UPPER bolts using 10-mm socket with swivel and telescoping magnet.
– Note that I put some paper towel under the bolt to catch it from dropping down.
– Do NOT remove the 4 LOWER bolts, loosen them a few turns only.
– Underneath the Intake Manifold: reach your hand down, there are two (2) 12-mm bolts holding the Manifold to the L-shaped bracket(longer bolt) and Engine Oil Dipstick (shorter bolt). If they don’t come out, get a socket and long extension passing in front of the subframe and come from underneath with breaker bar (R hand hold socket/swivel extension; L hand holding ratchet/break bar). No need to have car on ramp. I did all this job from above.
7. Lift the Manifold upward and rest it on iron pipe as shown. During this process, watch the throttle side to be sure no hoses are strained. If in doubt, disconnect appropriate vacuum hose(s) and label them with blue tape. I d/c the connector to the idle valve.
8. Note the Oil Trap and its connections. Note the following:
– Rad hose is tied out of the way (cushioned by some paper towel to prevent string from cutting into rad hose).
– EVAP line is moved out of the way.
– L-shaped bracket that supports the bottom of the manifold.
– Manifold rests on iron pipe.
– The Manifold pass side nipple, connect the vacuum elbow before re-installing the Manifold!
9. Note Intake Valves don’t look too bad at 150K miles.
10. Once the oil trap is removed, get the heater hose and connect to the “Oil Return” Port, blow through it: if you hear air bubbling inside the oil pan, then this port is open. Mine was wide open.
(The Volvo dealer told the P.O. that he had smoking dipstick and the oil pan needs to be dropped for inspection, and they quoted 4h of labor and $600! As you can see, this is a simple test from above, no need to drop the oil pan!).
11. Plumb all the connections on the oil trap before install. This will make your life easier.
– Now this is the time to get rid of factory 3/8” pipe and replace with 5/8” Heater Hose. This will increase the flow by a factor of 2.77!
– Make sure the heater hose is 2-3 inches longer than factory length. This way you can trim it later where it enters the intake.
12. Alright, as they say installation is the reverse of removal.
– Do not forget to re-connect the fuel line and EVAP line.
– Install the vacuum elbow on the pass side of the Intake Manifold before install!
– Use new Intake Manifold gasket.
—> For the L-shaped bracket holding the bottom of the Manifold:
– Once the Manifold is properly tightened and secured by its 7 bolts, install the 12-mm bolt from the L-shaped bracket —> bottom of the Manifold (note this is the longer bolt, the shorter bolt is for the dipstick housing); then install the 2nd 12-mm bolt from the bracket to the engine block.
– Don’t forget the dipstick housing bolt that goes underneath the I.M.
– Use antiseize/grease for the bolts.
– Prime the fuel system before cranking (leave key in position II for 30 sec).
– Visually check all hoses/blue tape and make sure all are connected.
CONCLUSION
– Went for a long drive at night, came back home, opened the hood, guess what: no more smoking dipstick!
– So the morale of this long story is: this mod (getting rid of factory 3/8” pipe using 5/8” heater hose) solved the smoking dipstick mystery!


1 Comment
Hi, can I use AN 10 steel protected hose with 7/16 or 14.3mm inner? or is it better to go with 5/8 heater hose?